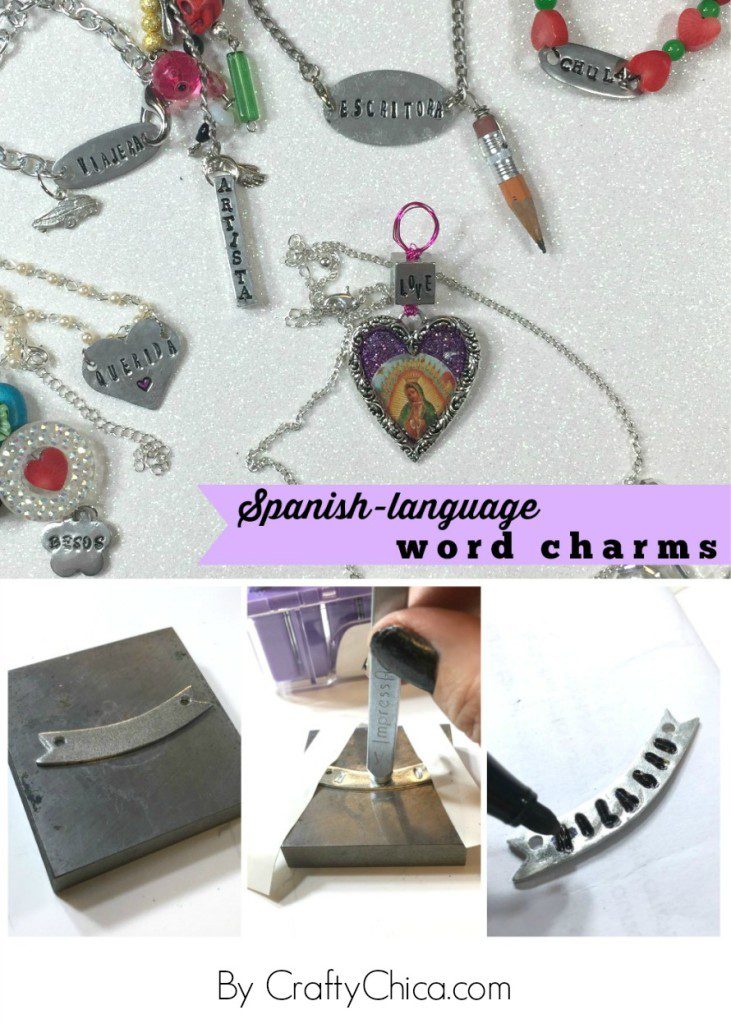
These DIY metal stamped charms are all about taking your goals and turning them into wearable art to keep you motivated! You can have fun and stamp in different languages, or whatever you want. Just relay the message!
Another idea: Make a whole bunch of empowering words and pass them out to your friends and family. Then everyone can toast to their word!

And about the Spanish – I made these all in Spanish because they don’t sell anything like this at the store. Another reason why I love the concept of DIY!
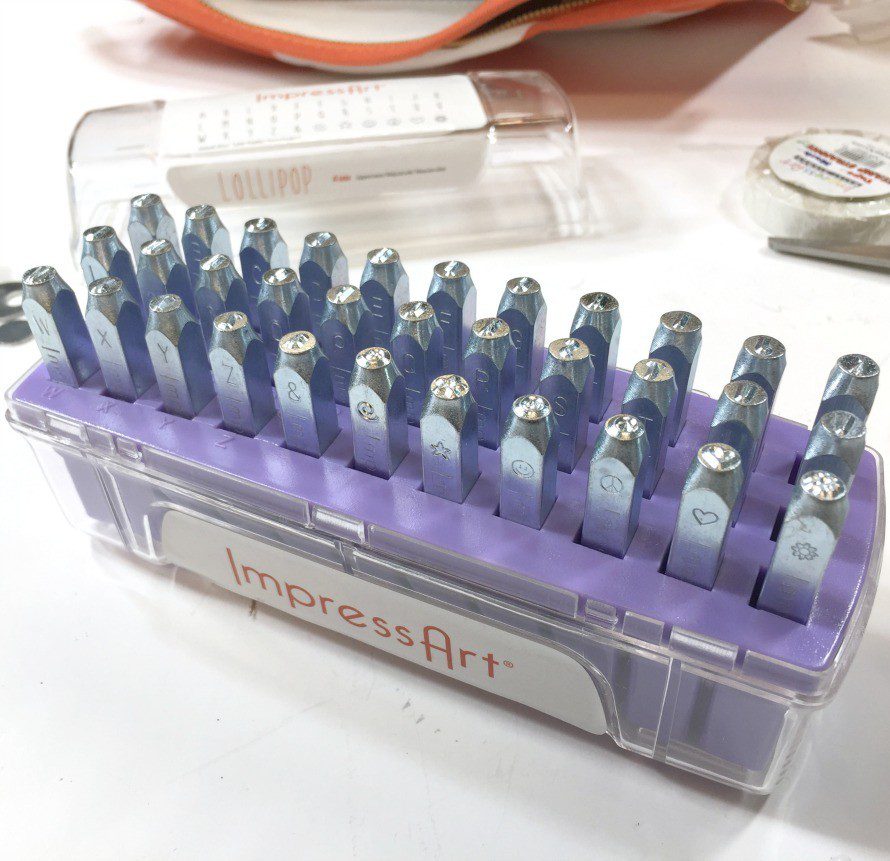
I really love the case for the set. It has a labeled slot for each stamp so they don’t get jumbled. Really speeds up the process!
OK, here is what you need to make these. You can find supplies at the craft store or online. Here is some affiliate links for items I found on Amazon.
SUPPLIES for stamped metal charms:
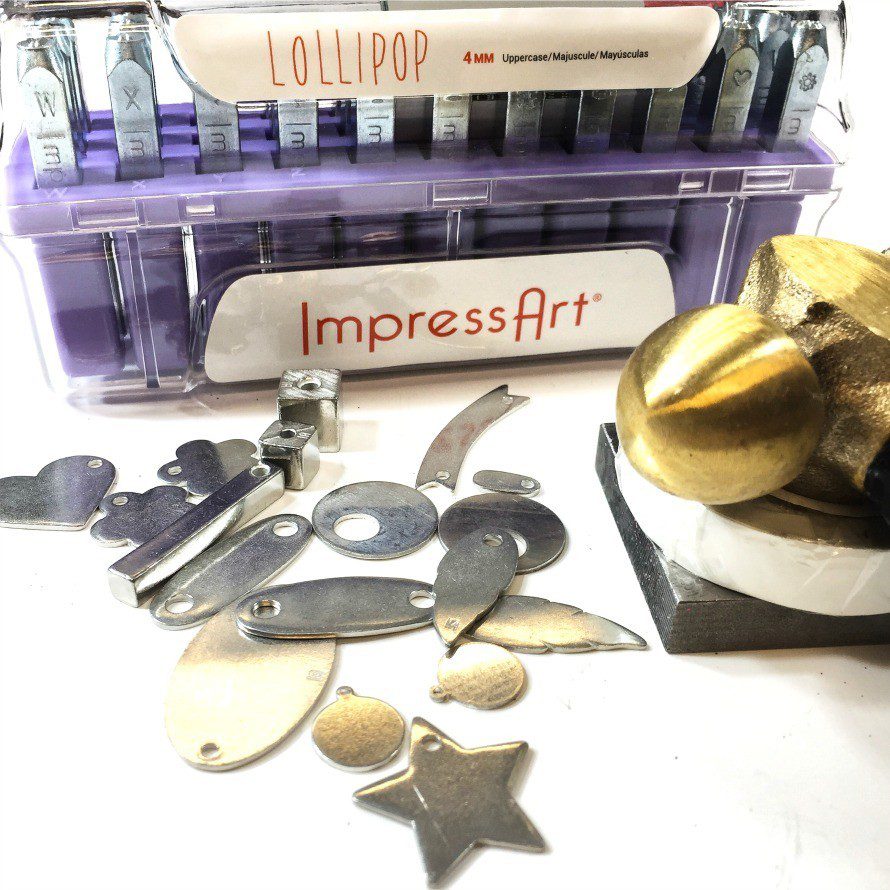
Directions for DIY metal stamped charms
Choose what blank you want to use and what word you want to stamp. What I like about the Lollipop set is that the letters are skinny so you can fit a longer word on a smaller blank!
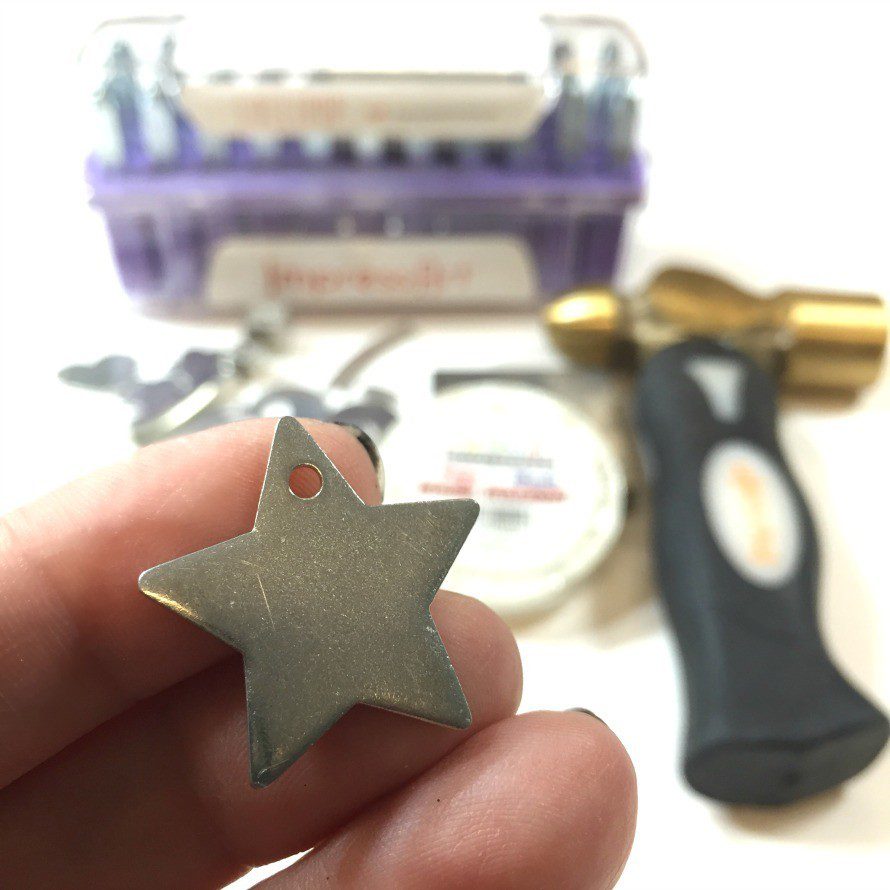
Another way to stretch your area is to tape the blank down to the block and hammer away to make the blank thinner. It spreads.
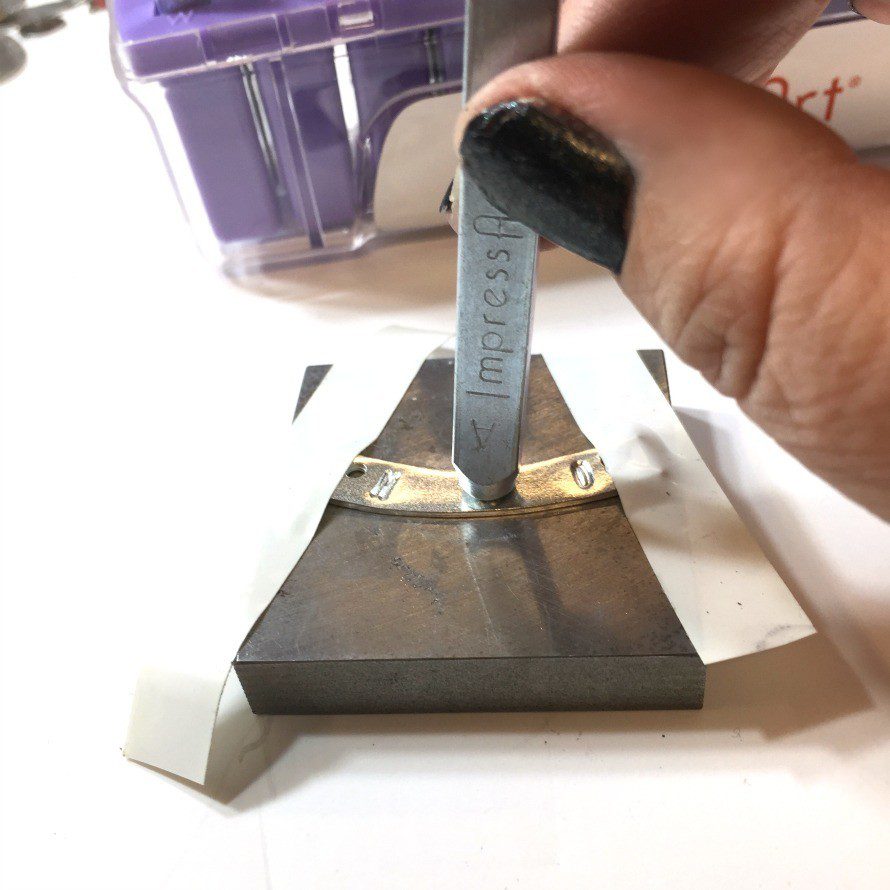
OK, choose your blank and use the tape to secure it to the block, next, choose your stamp and line it up against the tape. NOTE: Practice on a scrap piece of metal first. Not gonna lie, it takes a few tries to get it just right.
None of my pieces came out A+ perfect, but I’m okay with that, they look very handmade!
But the more you work with the stamps, the easier it will be!

Here’s a tip for spacing. First I write my word on paper and find the center letter. Then I stamped the first letter on the left and the last letter on the right. Next, the middle letter in the center.
Fill in with the other letters.
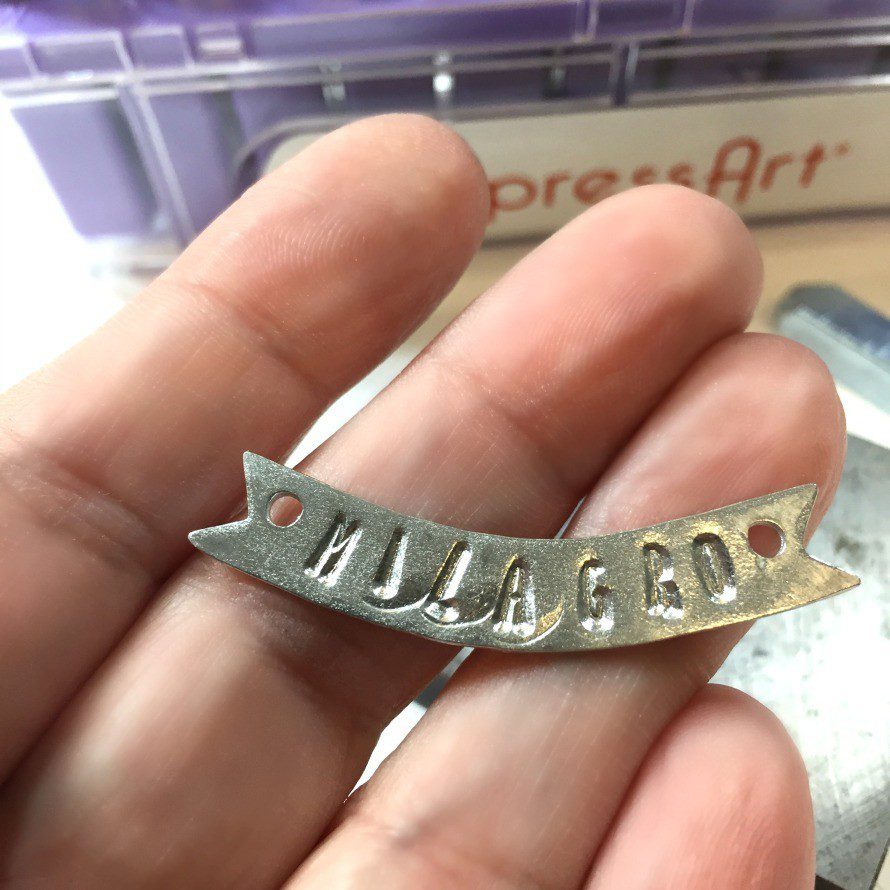
Once you have your word stamped, it’ll look like this.
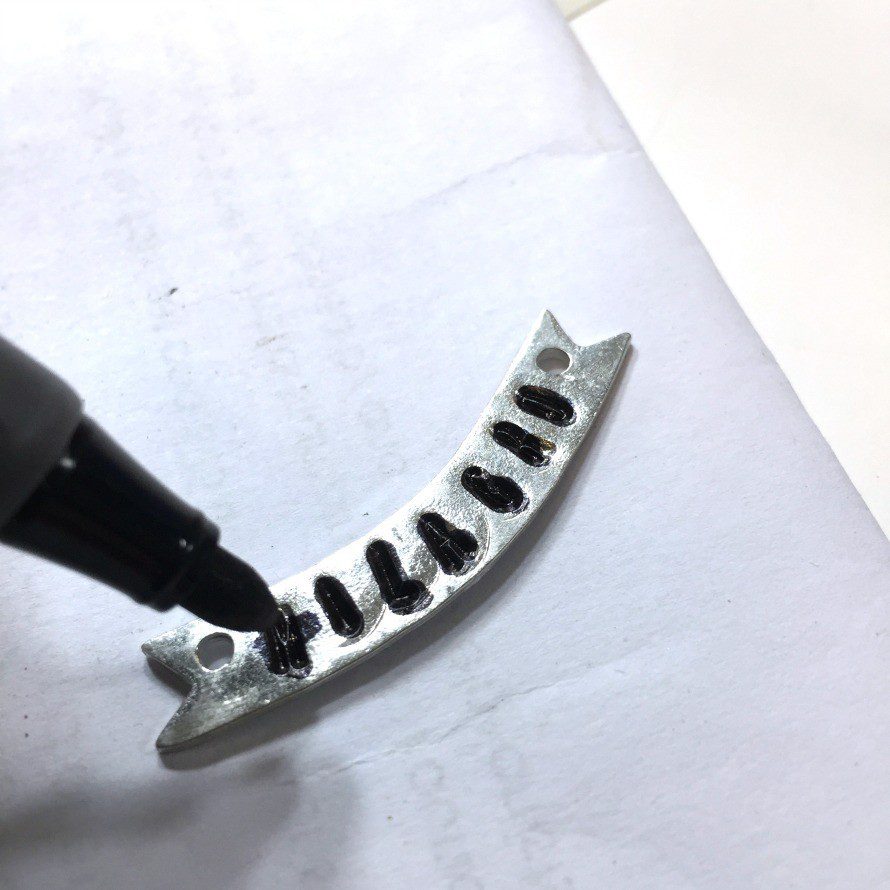
Now you’re going to use a permanent black marker and color over the indentations, then wipe it all off with a wipie.
TIP: See how on my letters you can see the circle from the stamp around the letter? This can be prevented when using pewter (like I used).
Simply don’t bang the heck out of it like I did. The metal is softer so you don’t have to hit the stamp as hard.
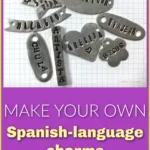
And there you have it, keep going! You can pass them out like this, or…

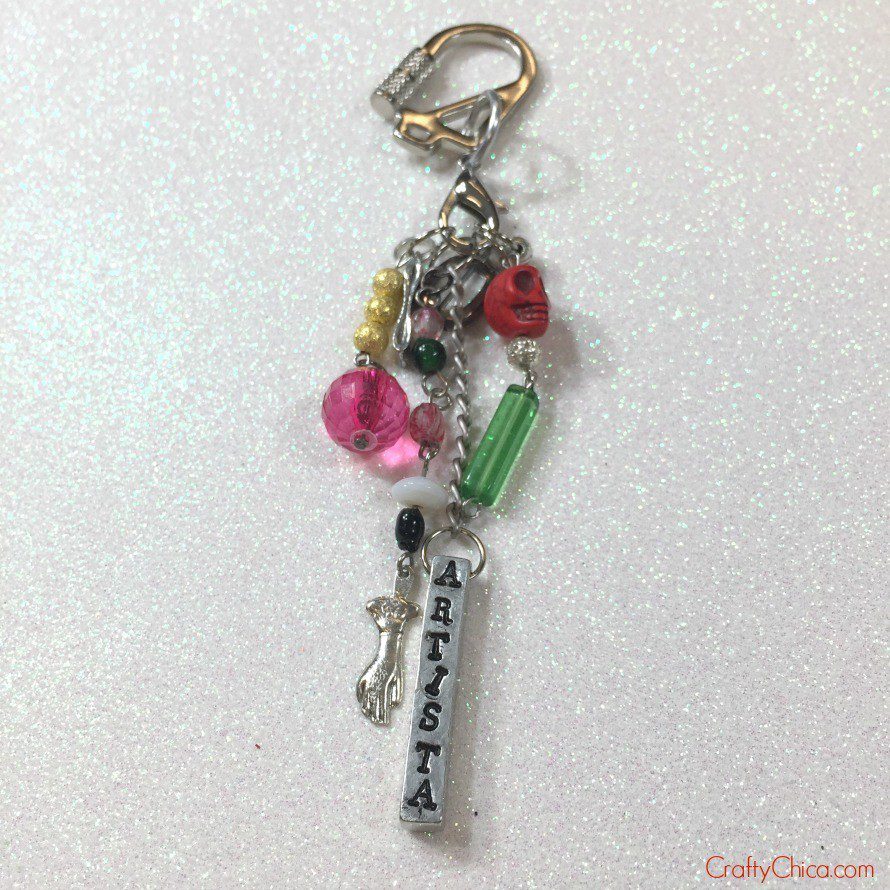
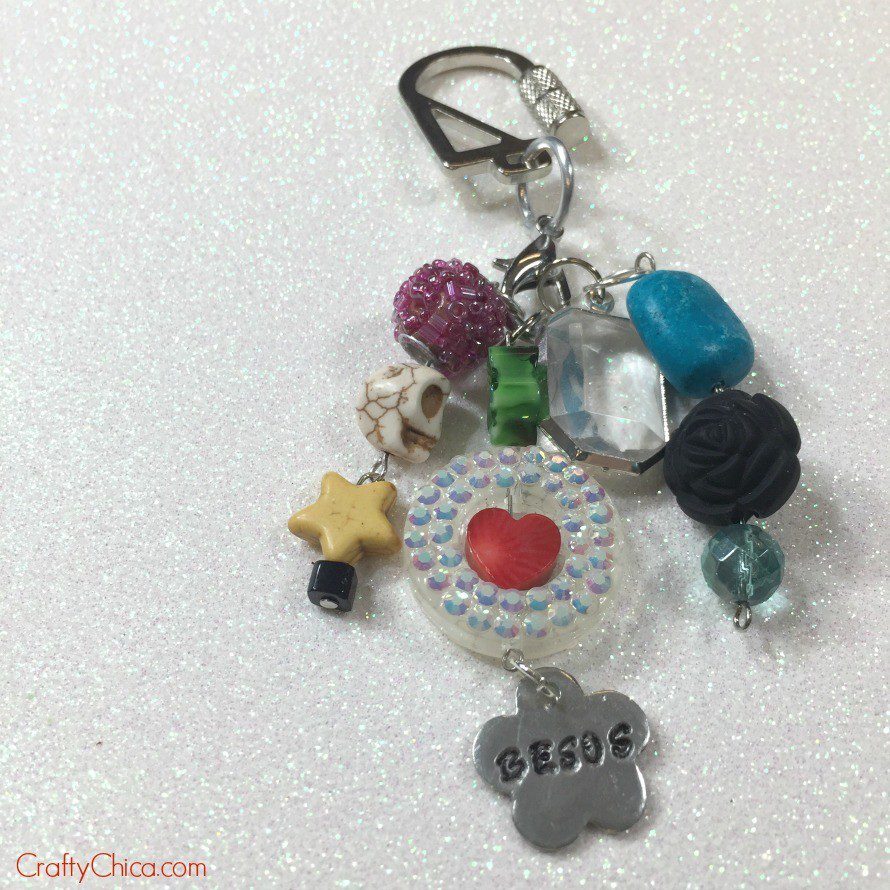
Turn them into jewelry! Here are the pieces I made! Here are two bead collage keychains! Oh! Keep in mind that this is a LOUD craft, so I wouldn’t do it in the middle of the night or around napping infants or Chihuahuas who frighten easily, LOL!
Besos means “kisses.”
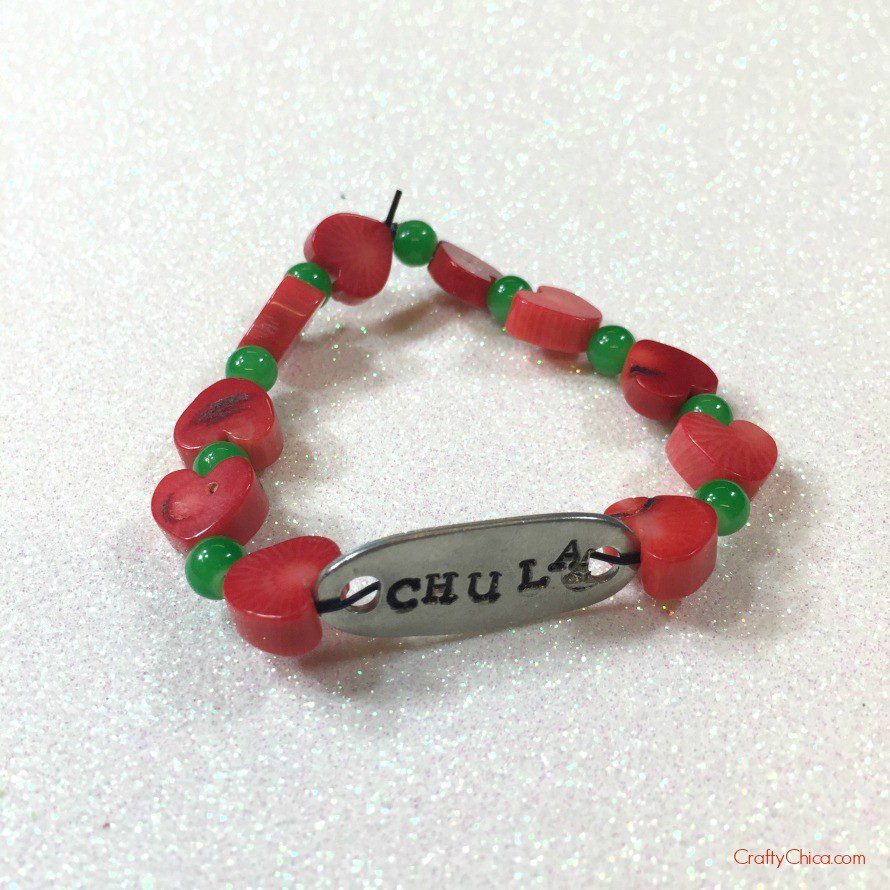
A beaded bracelet. I’m going to restring this though! Chula means “cute.”
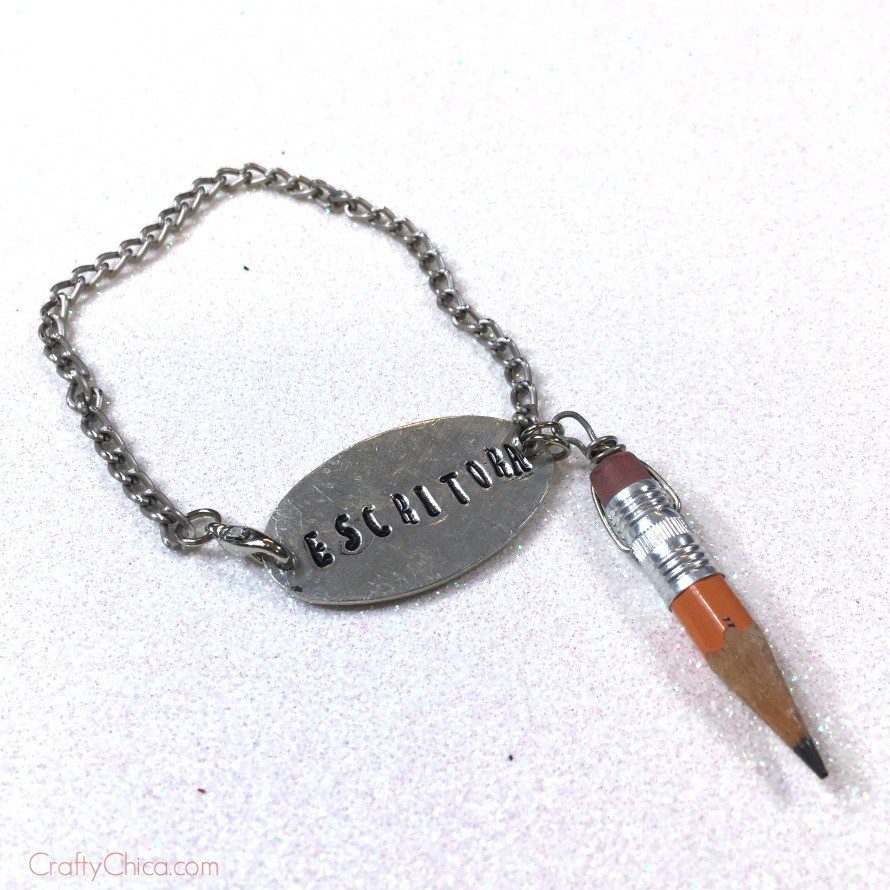
This necklace says escritora – which means “writer.”
Necklace charm.
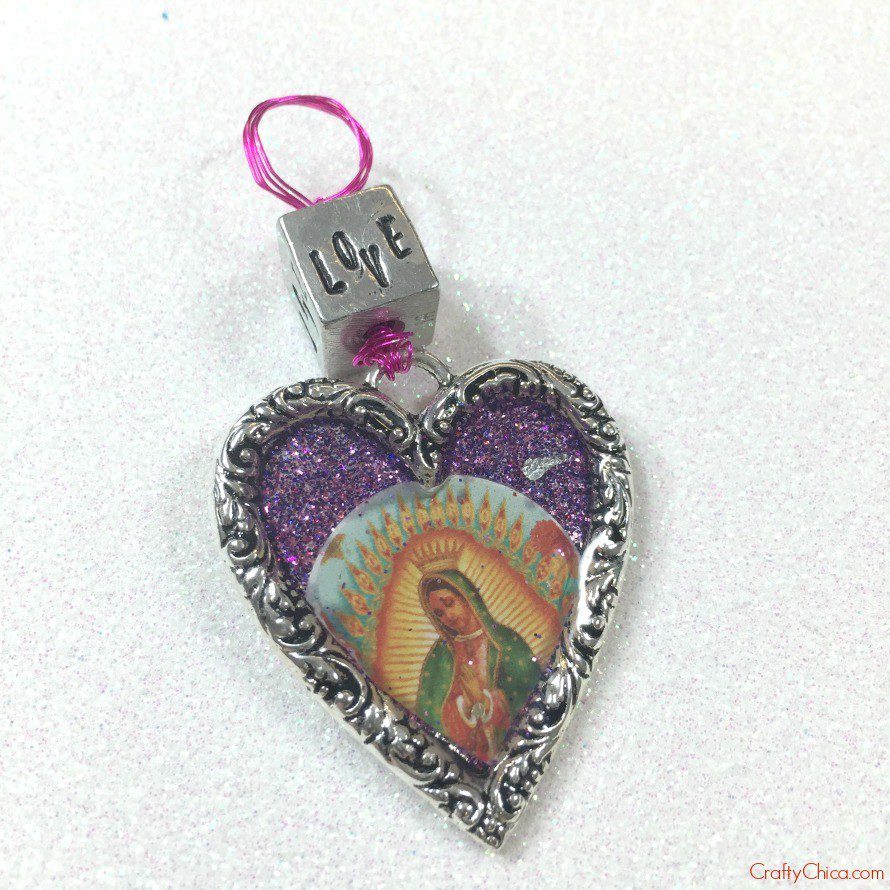
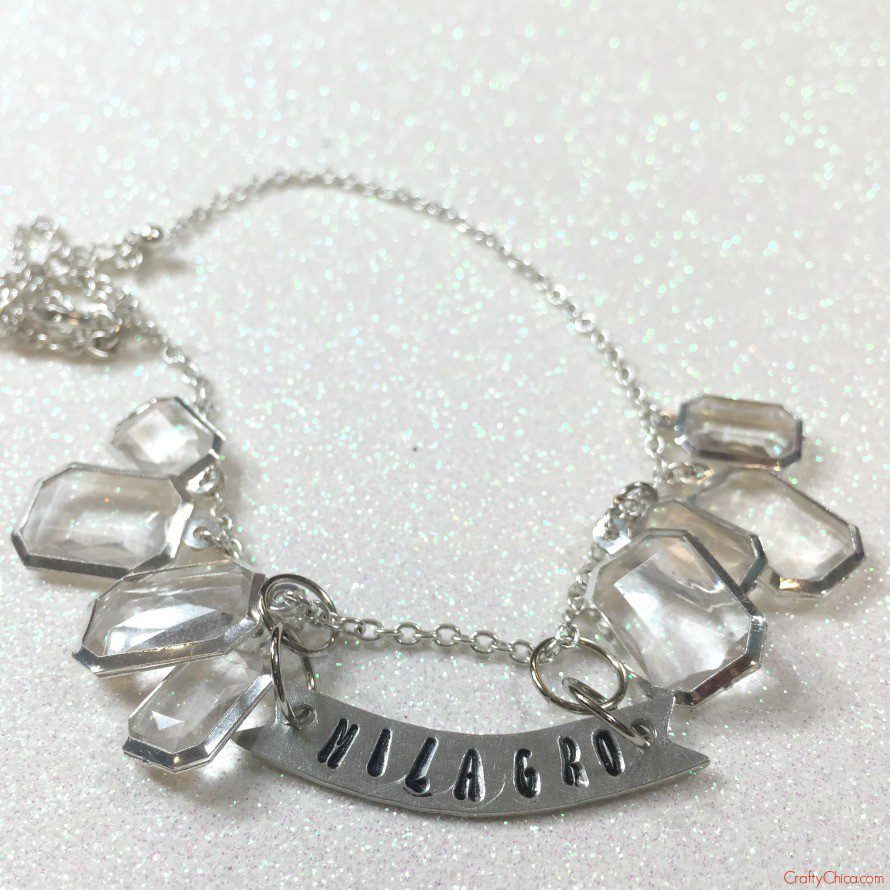
Milagro means “miracle.” I took apart an old necklace and incorporated the pendant I made.
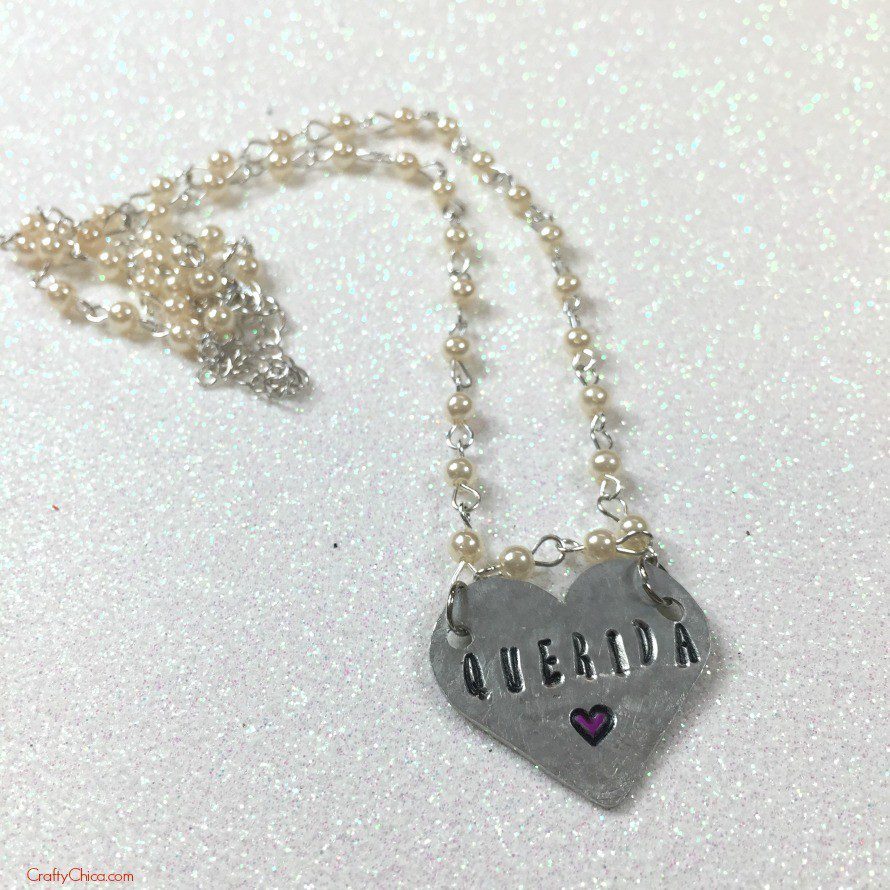
Querida means “my love.” The chain is from Rue Romantique.
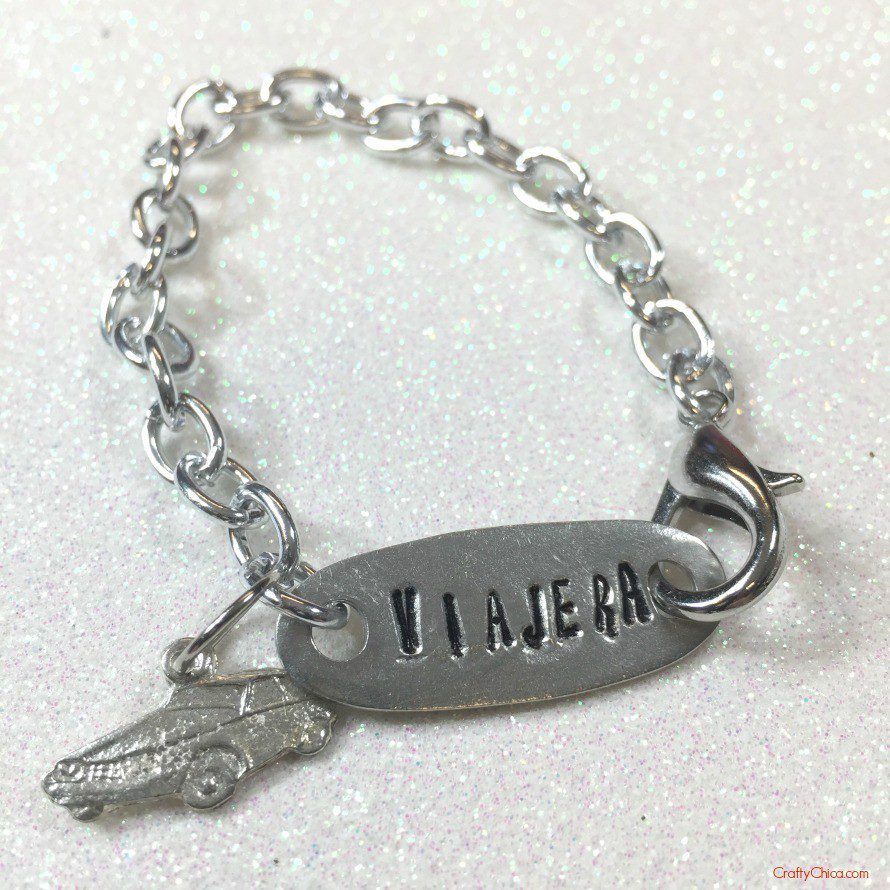
Viajera means “traveler.” I can’t believe I found a car milagro in my stash!
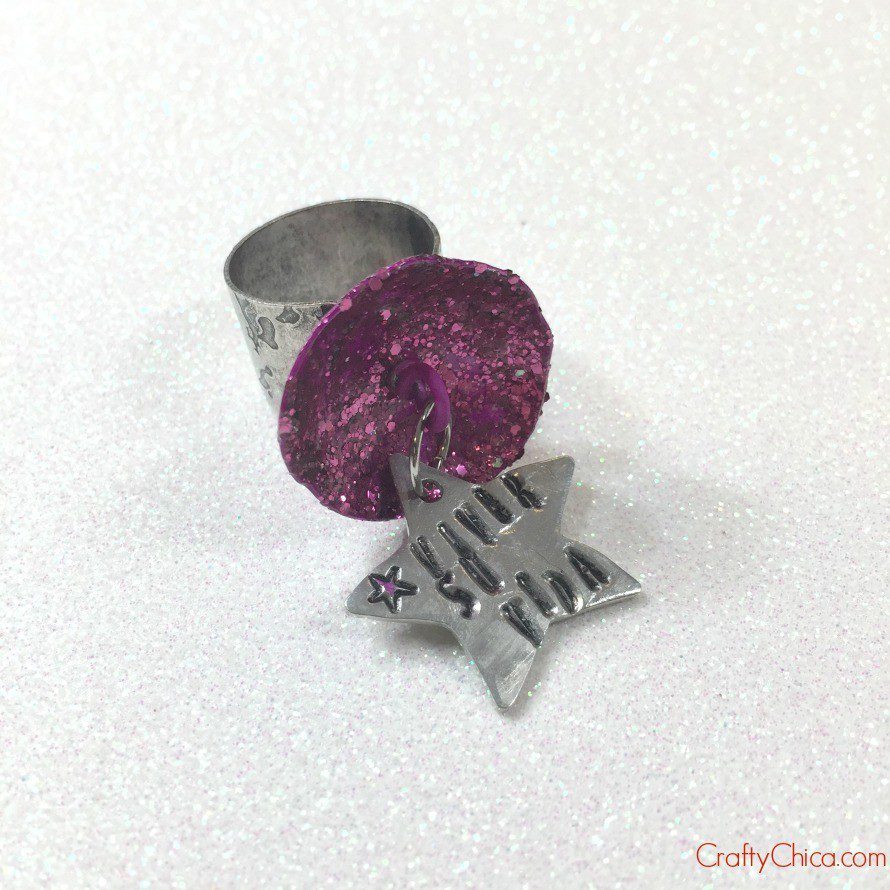
This metal stamped charm says Vivir su vida, which means “live your life.” I used a ring blank from Industrial Chic. I painted the base with nail polish.
Thanks for checking out my metal stamped charms tutorial! I hope you are inspired to try metal stamping too! Thank you again to Impress Art for sending me the samples to try!
Stamped Metal Bracelets as promo items


Hi Kathy, I have a very interesting art project I’d like to talk to you about it. thanks, Gloria Furman
I bought a set of these stamps but have not used them. You have inspired me! I’m taking Christmas down and plowing through the mountain of packed boxes and trying to organize my craft room. In 2014 I want to fine tune my craft, focus on completing projects, which I have a problem with and do some traveling retreats. Do you have anything coming up in 2014? Say hello and Happy New Year to the family, and many blessings to you all! Love and hugs!
Hi Kathy! You truly DO inspire us! Such beautiful works of art here. The heart is absolutely gorgeous! Did you make this yourself? Please let me know if you did & how you made it. Now I HAVE to get this set and create my own! Thank you so much for sharing.
Thank you, Crissy! I did! I used a bezel from IceResin, then glued in the picture and added more Ice Resin!