
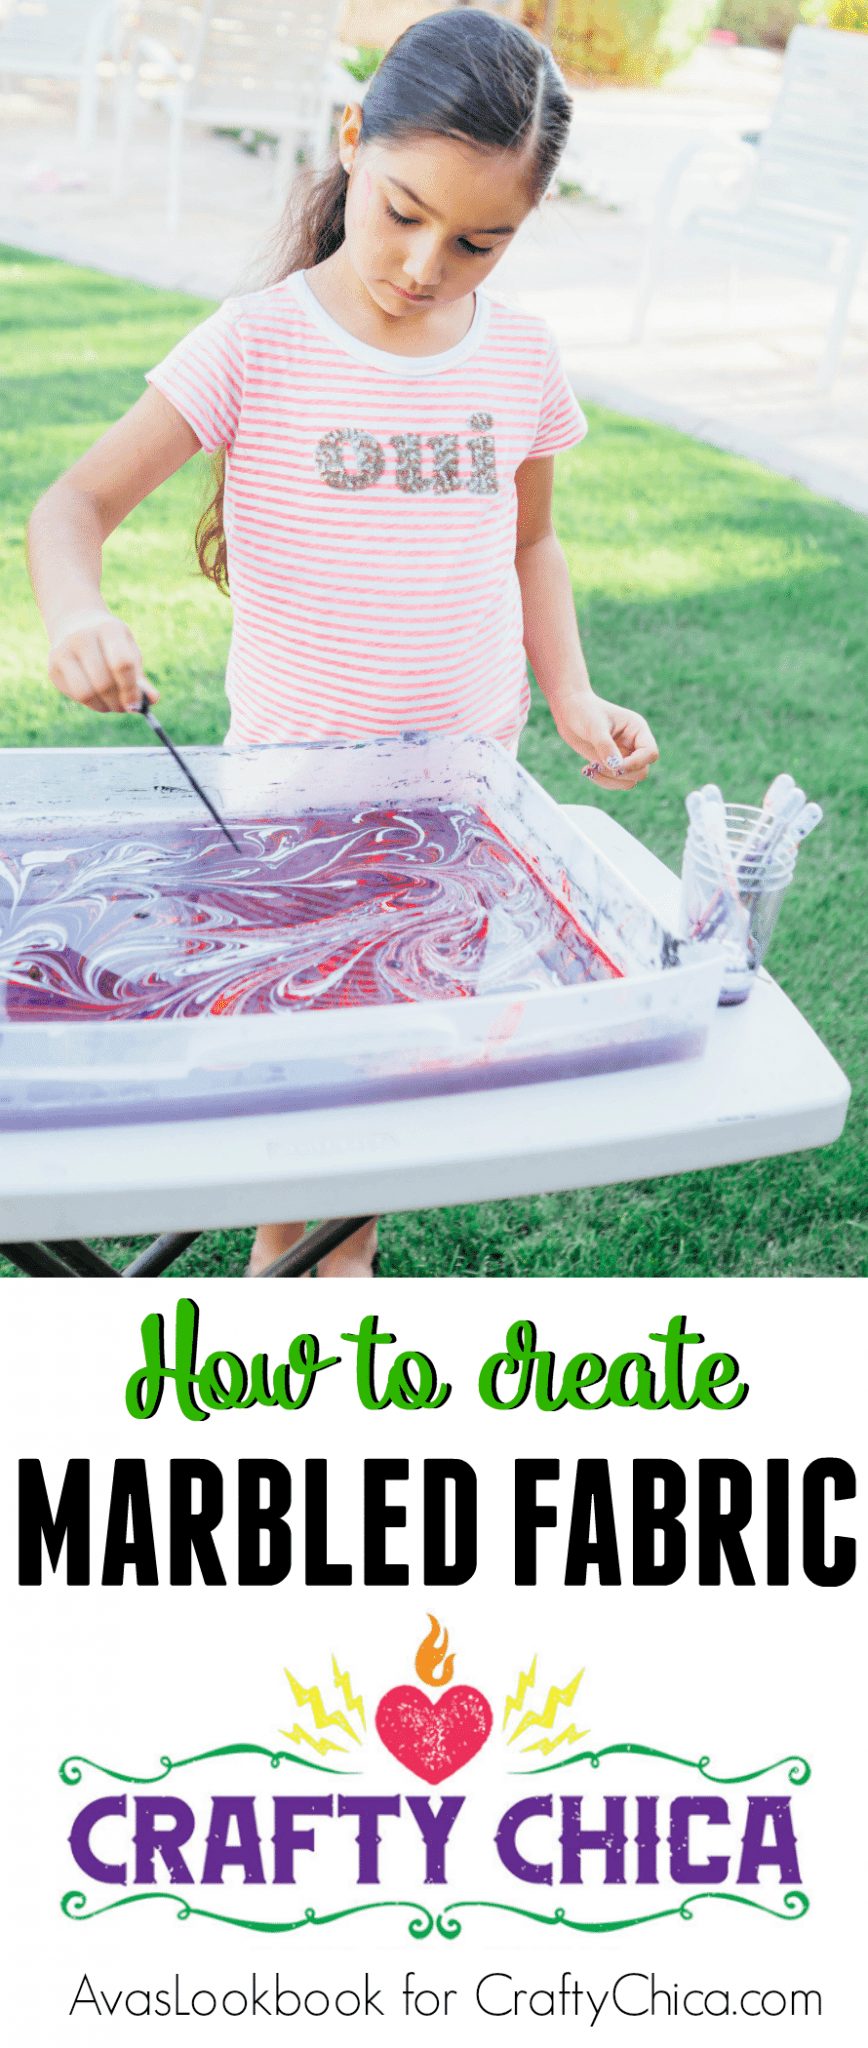
By Meagan Mora of AvasLookBook.com, special for CraftyChica.com
I’m always looking for new and fun ways to customize or create my own textiles.
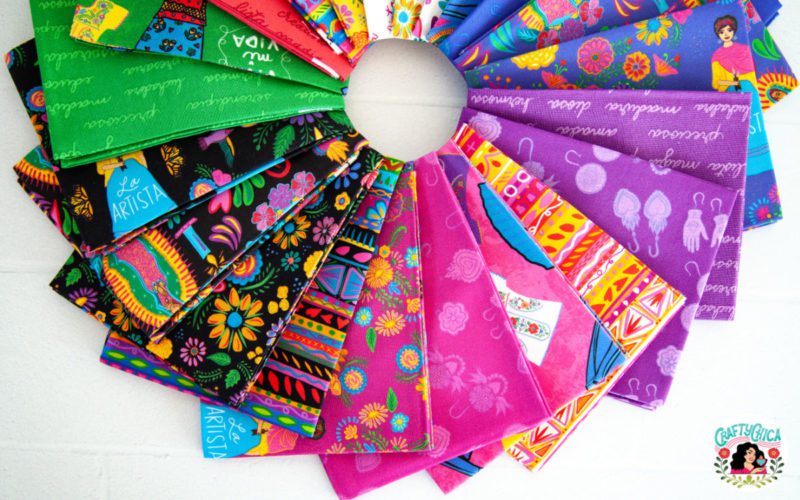
Here’s my inspiration for this marbled fabric tutorial:
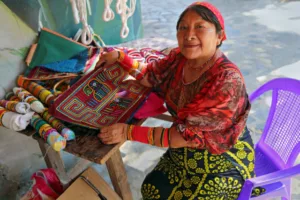
One day around Easter, I came across a tutorial on how to marble dye Easter eggs. I loved the idea! It sparked a thought in my head about trying to achieve the same effect on fabric. After doing a little research, I found out that it is indeed very possible and is a method that has been used traditionally for a very long time. Throughout history, marbling was used for things like preventing forgery on official documents and also to cover the seams on the inside of books.
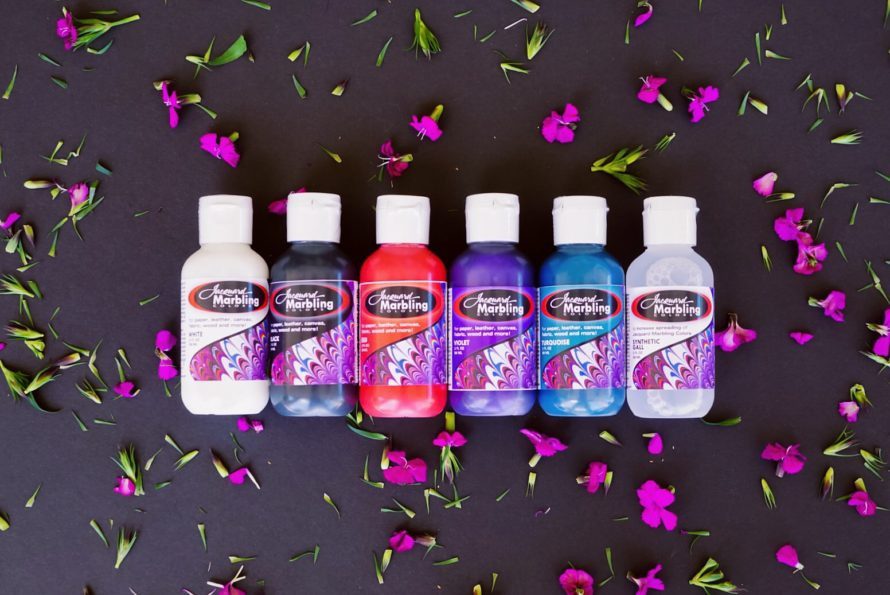
The process of marbling sounded a little daunting to me when I first learned about what all goes into the preparation. I’m more of a spur of the moment creator rather than a planner BUT, It’s good to get out of our comfort zones sometimes right? After doing more research on the best method to use for a beginner, I settled upon purchasing a Jacquard Marbling Kit for Fabric and Paper. I was excited because everything I needed came in one kit!
First off, let’s talk about fabric.
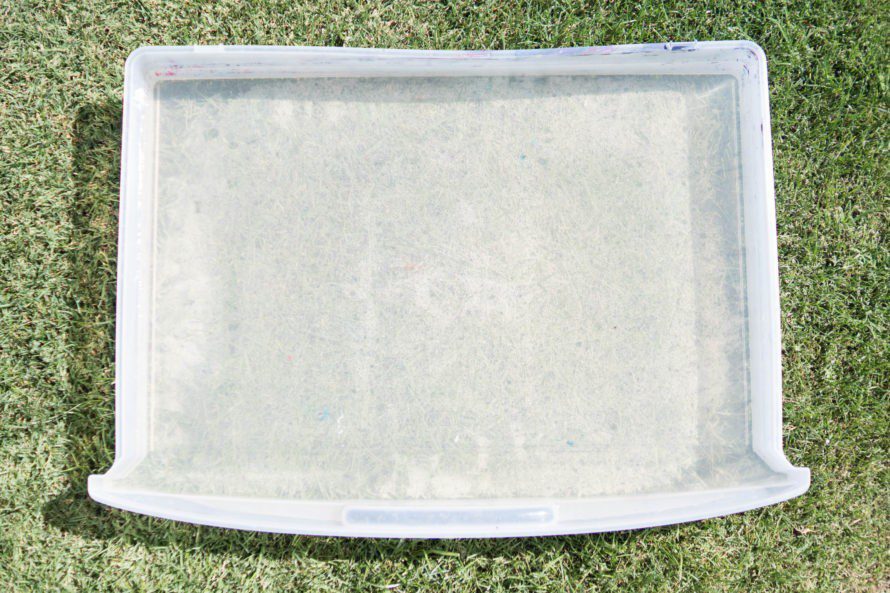
I went with a 100% quilting weight white cotton fabric, but you can use silk or any other fabric that doesn’t have too much of a texture on it. You’ll need a container big enough to fit the piece of fabric in that you’ll be marbling so that it lays flat and has an inch or so of space on all sides. I originally planned on using a turkey baking pan but I couldn’t find one big enough so I ended up using a plastic drawer from one of my craft storing dressers. (LOL)
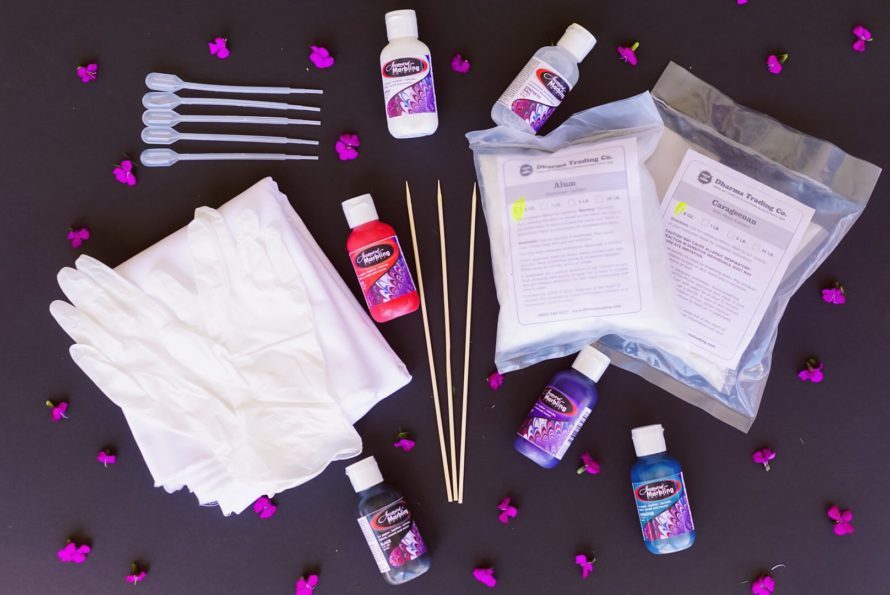
You’ll also need gloves, chop sticks, skewers, a comb, anything really that you can use to create your design in the paint. I personally went with some wooden skewers. You’ll also need some Disposable Plastic Graduated Transfer Pipettes![]() (eye droppers!) to drop the paint on with.
(eye droppers!) to drop the paint on with.
The Marbling kit contains pretty much everything else you’ll need. Now comes the fun part.
Starting at least 24 hours before you want to marble your fabric, you need to prepare the size.
The size is the liquid that we’re going to use to float the paints on. I read about a few different ingredients that you can use to make the size but for beginner’s carrageenan is recommended. In the marbling kit, carrageenan comes in powder form. I used 2 tablespoons per gallon of water. A note that I should share is that it’s important that the water is not “hard” water because it’ll prevent the paint from floating properly.
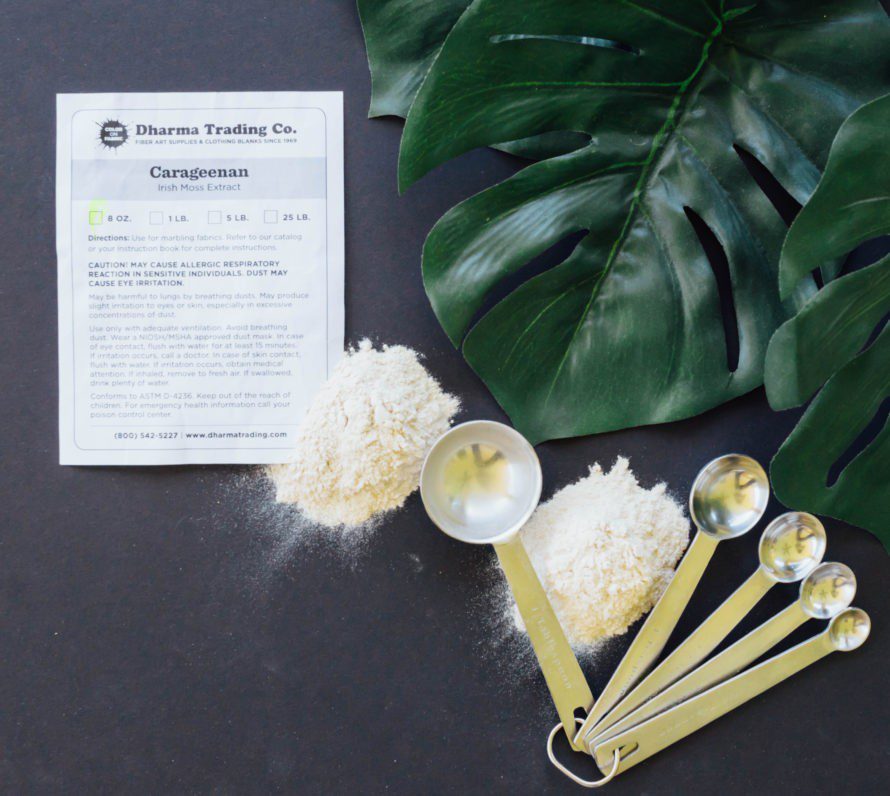
In Arizona we have very hard water so I used distilled water but you could also just add a little water softener to your tap water.
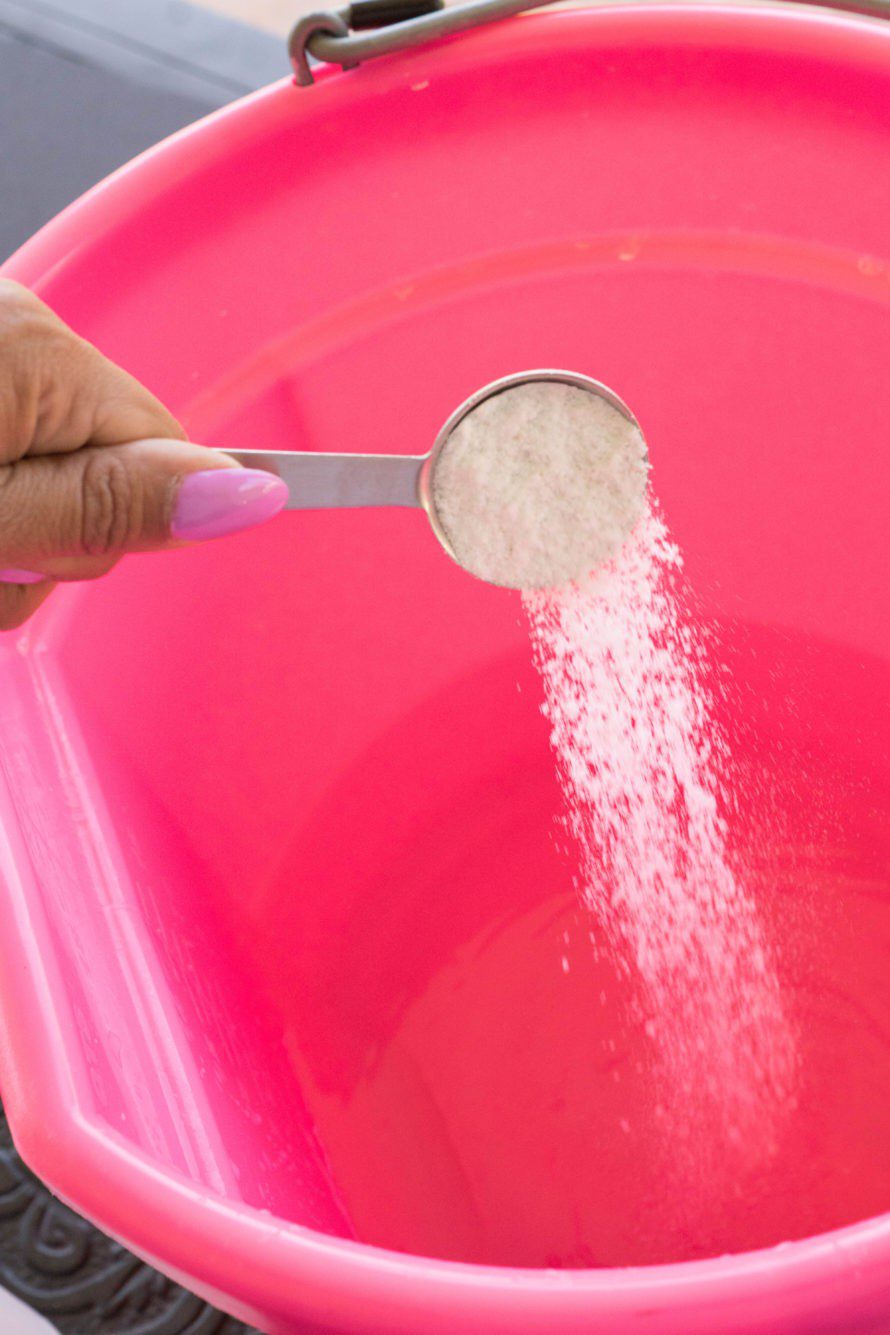
Once you add your carrageenan to the water, mix it up until all the powder is completely mixed in. I used a mixer but you could also use a blender. Once mixed, store your size in the refrigerator for at least 24 hours so that it can set properly. Take it out of the refrigerator a few hours before you’re ready to marble and let it reach room temperature.

While that’s setting, wash and dry your fabric, don’t use any fabric softeners though.
This will help to ensure anything the manufacturer put on is removed and the paint can adhere better. Once your fabric is all clean and ready to go, we can prepare the mordant. The mordant is what will help keep the paint on the fabric while we’re marbling. The kit comes with what is called alum. It’s also in powder form just like the carrageenan.
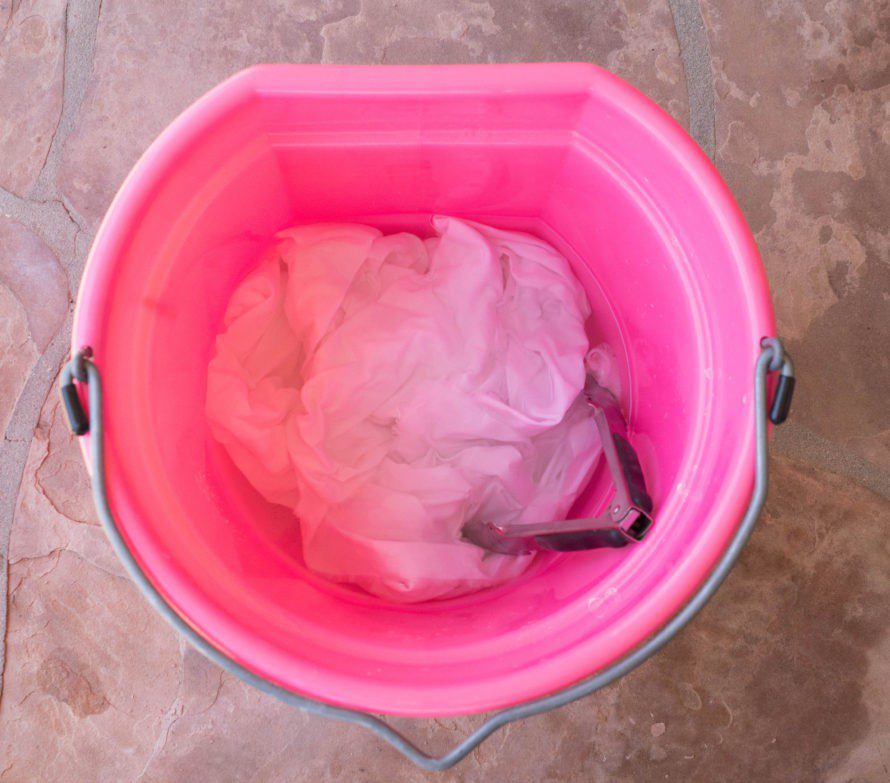
I used a gallon of distilled water in a big bucket and 8 tablespoons of the alum and thoroughly mixed it up.
I recommend using gloves so you don’t get any of the alum on your skin.
Now, dip your fabric in the solution. I let my fabric sit for 5 minutes and that seemed to work well for the cotton I was using. But be careful because letting your fabric sit for too long in the alum could potentially cause it to fall apart.
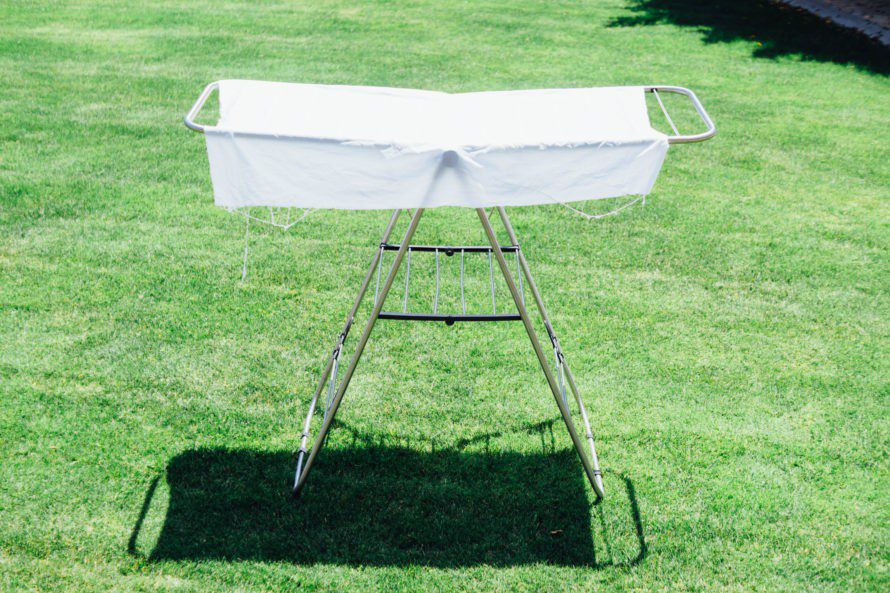
After your fabric has soaked, lay it to dry. I should also note that if something comes up and you can’t marble your fabric within 24 hours, wash off the alum with water because it will weaken the fabric. You can always just repeat the process when you’re ready.
Okay now that 24 hours have passed, our fabric is prepared, and our carrageenan is set, we’re finally ready to marble.
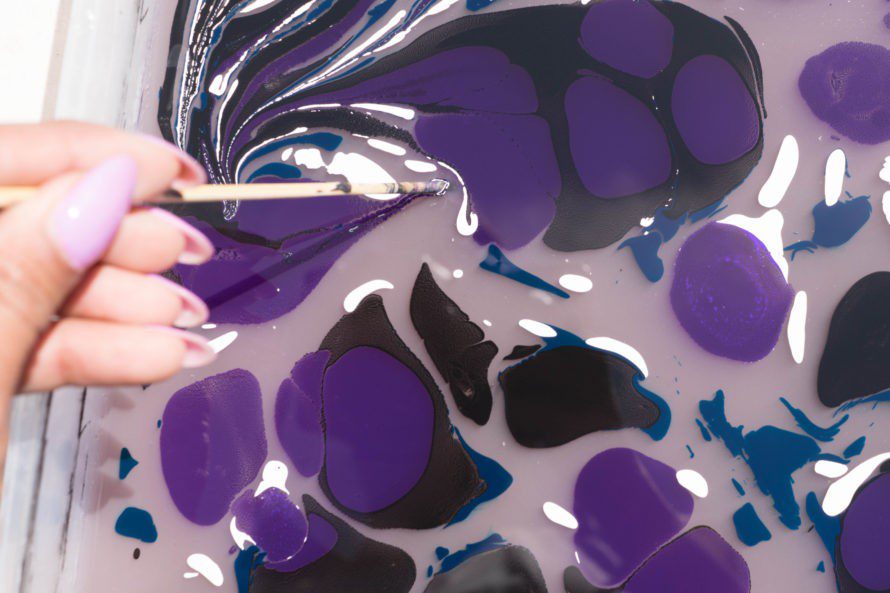
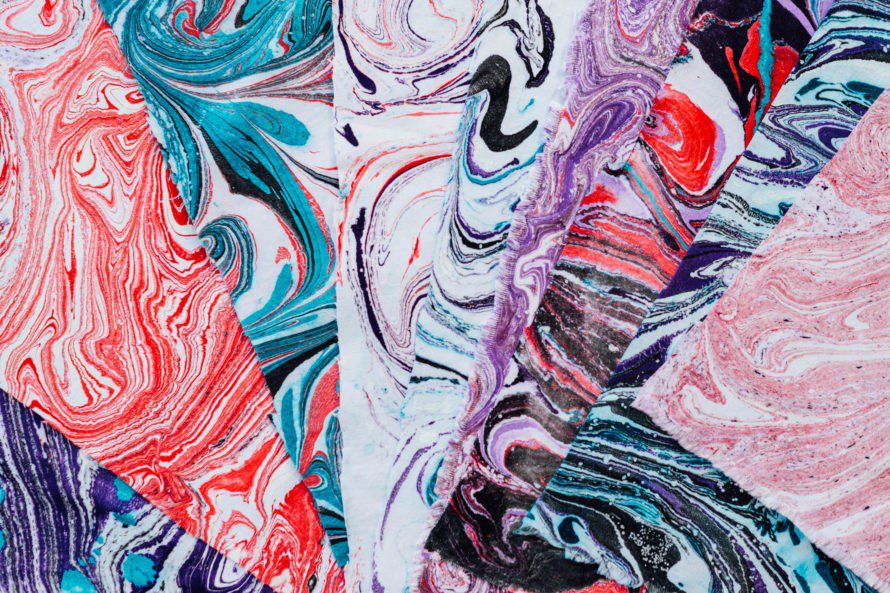
There are actual patterns that you can use, or you can wing it and create your own design with the paint. I personally wanted a more organic look rather than a traditional marble brownie type pattern. So, what I did was add it layer by layer with the eye dropper. Whatever color you put first will be the largest and will spread the most. Think of it as your background color.
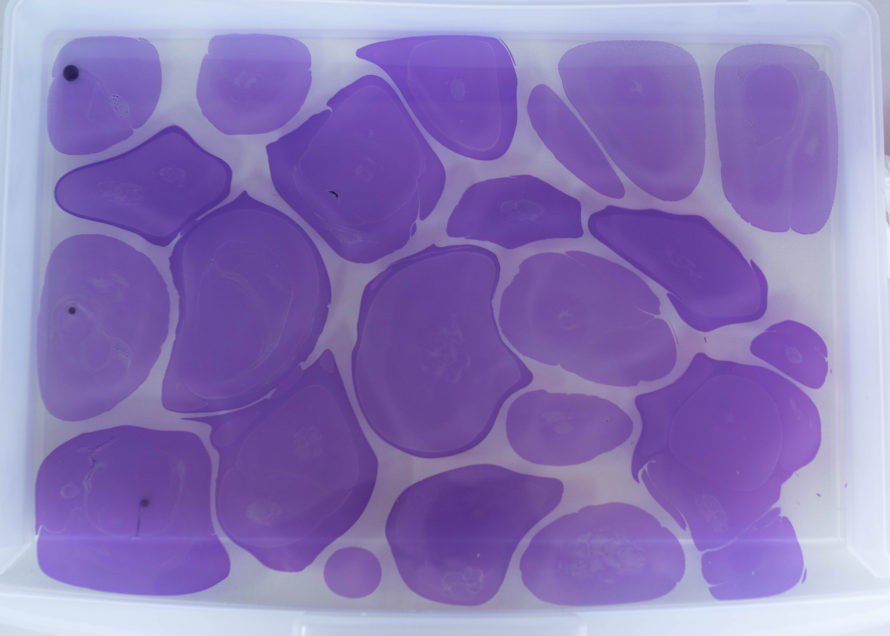
Keep adding colors until you’re satisfied.
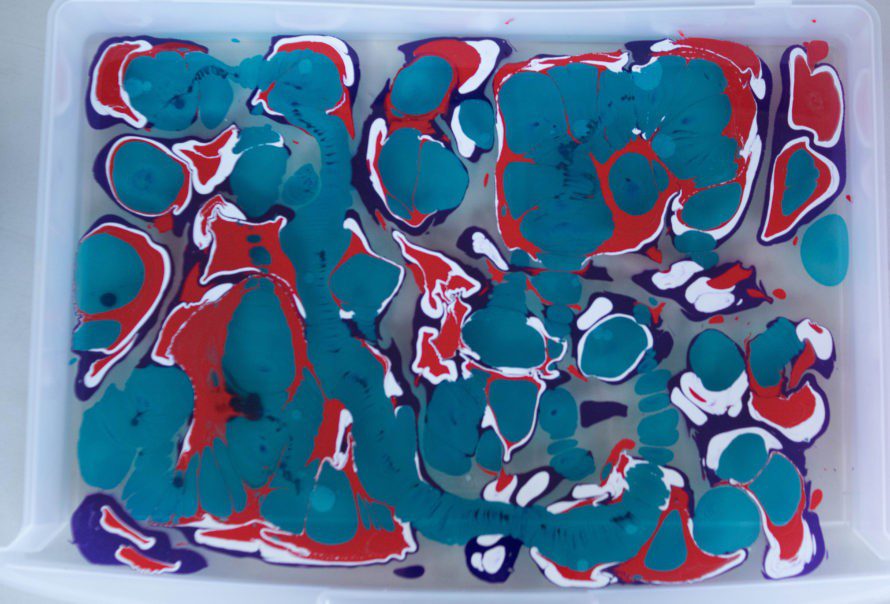

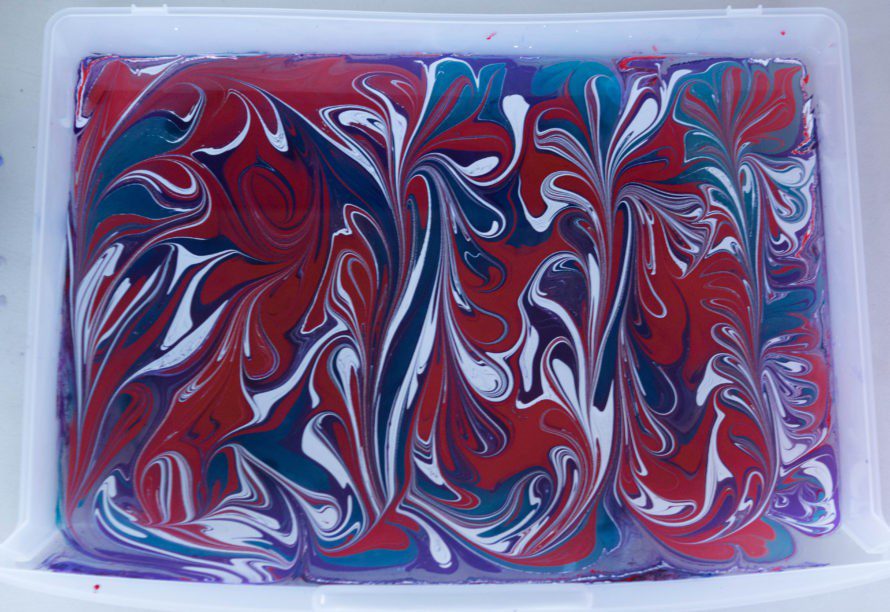
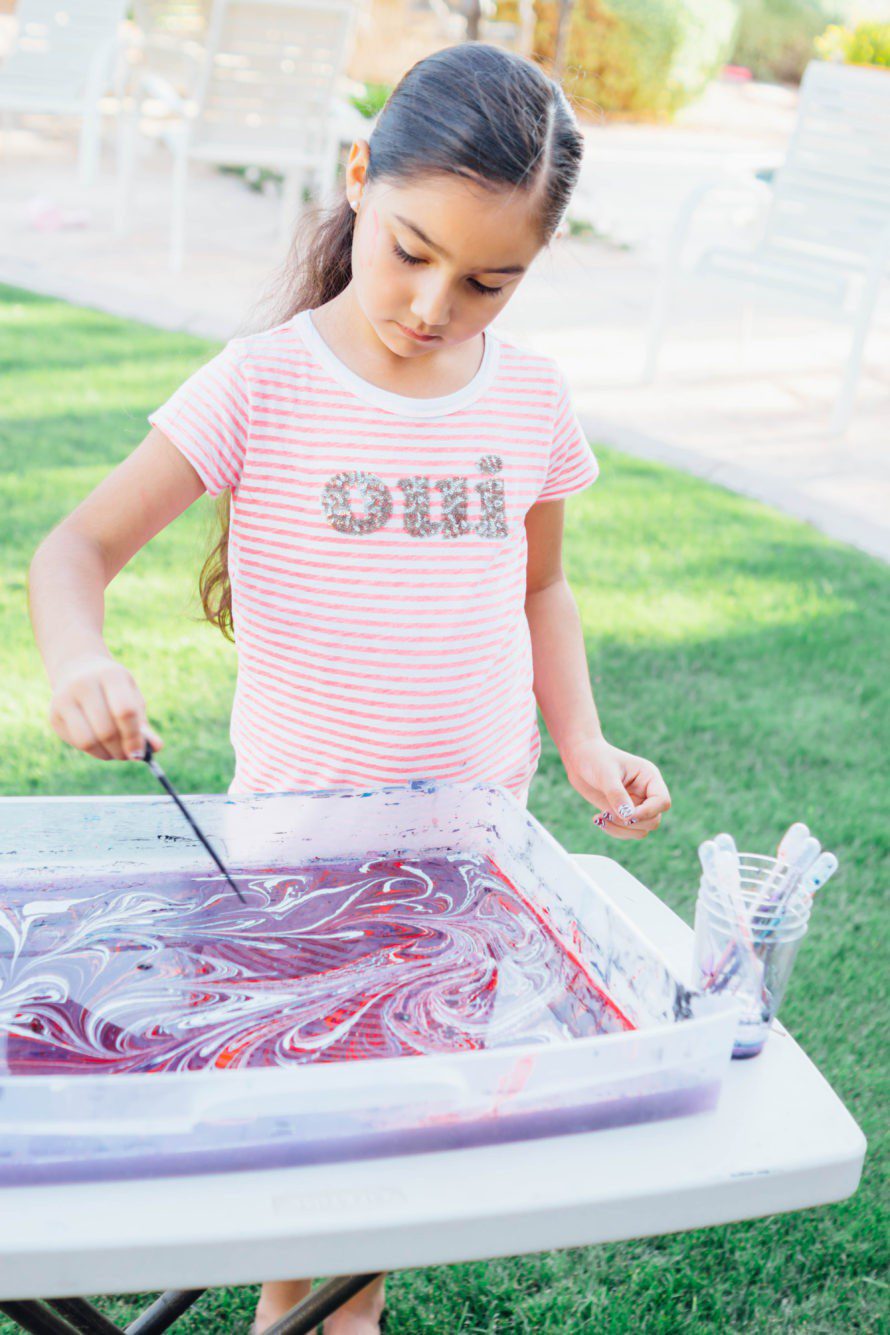
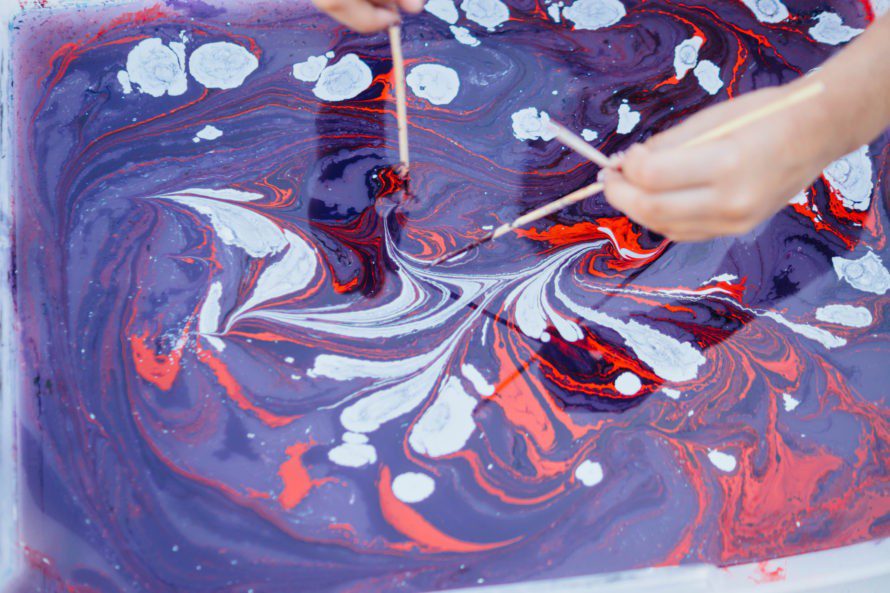
To make the patterns, grab your tool, and start dragging it across the surface of the size.
You’ll see the colors move, yet not blend together and get muddy. It’s super cool and you can’t really mess this up. Swirl to your heart’s desire!
Ava even had a chance to make a design or two, she loved it!
Now we’re ready to transfer our design onto our fabric.
Because the space is somewhat limited, you’ll want to cut your fabric in pieces that’ll fit in the container you’re marbling in. You can do this before or after you soak it in the alum. Once you’re happy with your marble design, you can lay your fabric piece on.
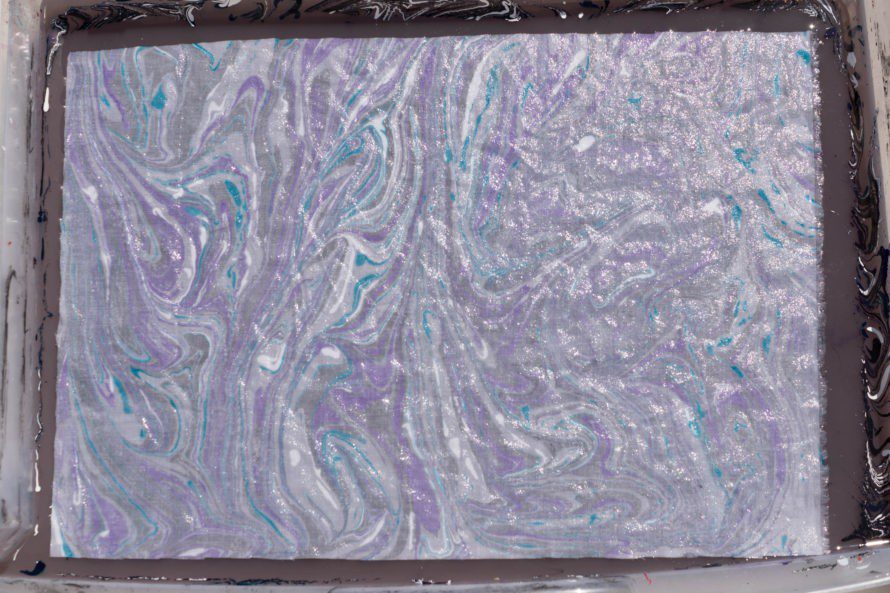
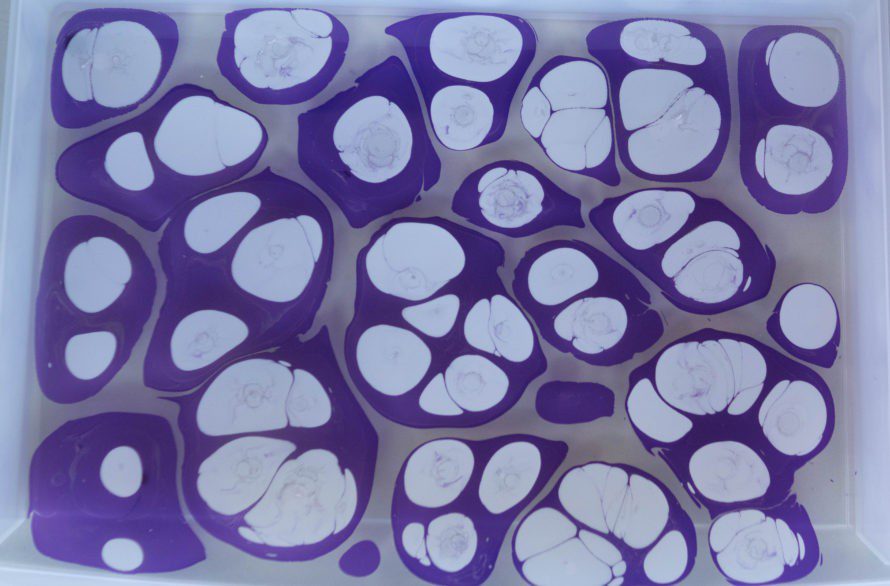
In the kit it recommends that you place the middle on first and gradually let the outer edges go.
For some reason I could not get this to work for me. I kept getting huge areas that would not have paint on them. See what I mean:
Once I experimented a little, I found it worked best for me to just lay the fabric in from one side to the next.
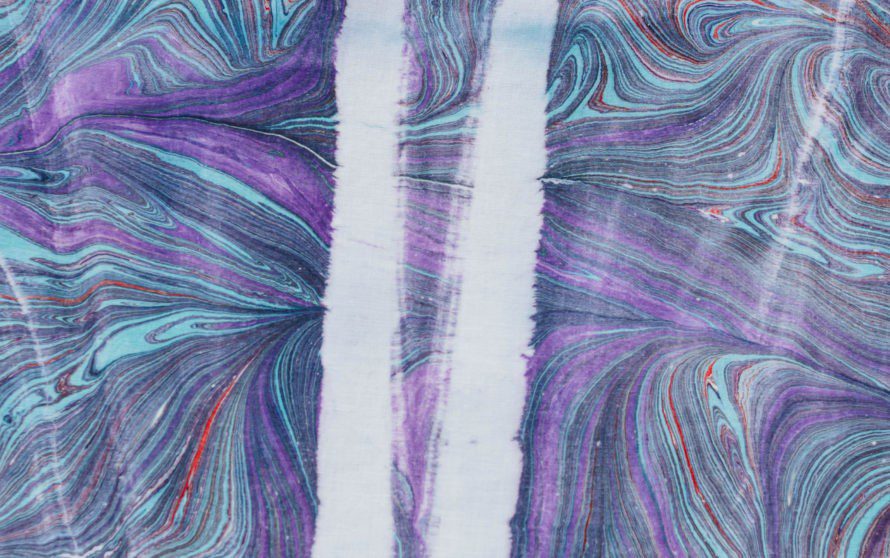
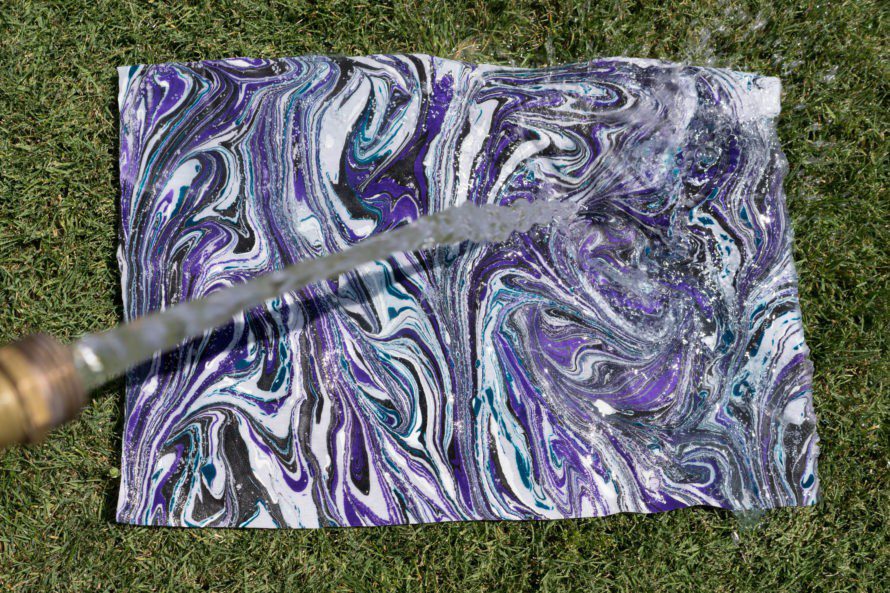
Everyone’s different so experiment with what works best for you. After your design has transferred, carefully wash off any excess size until it’s not slimy anymore. I did this with the water hose. Be careful as too not let it fold over on itself because the paint is not set in and it could ruin the design. Lay it flat to dry and heat set it 24 hours later with the iron. The cool thing about marbling is that you can keep reusing the size.
Just grab a paper towel, or even a piece of newspaper and drag it across the top to remove the excess paint. Now you can create a new design for a new piece of fabric. The size will even stay good for a dew days if you store it in the refrigerator after your done. Pretty cool right?
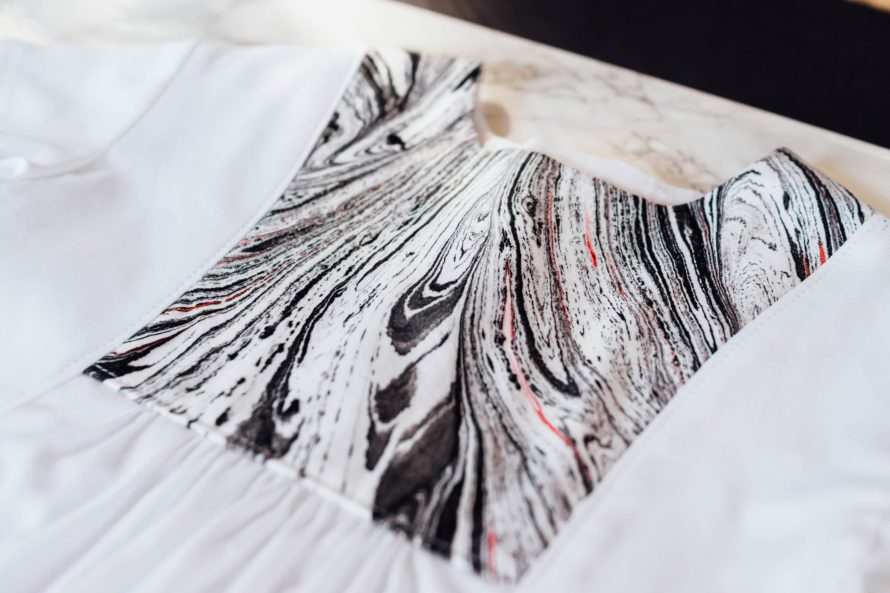
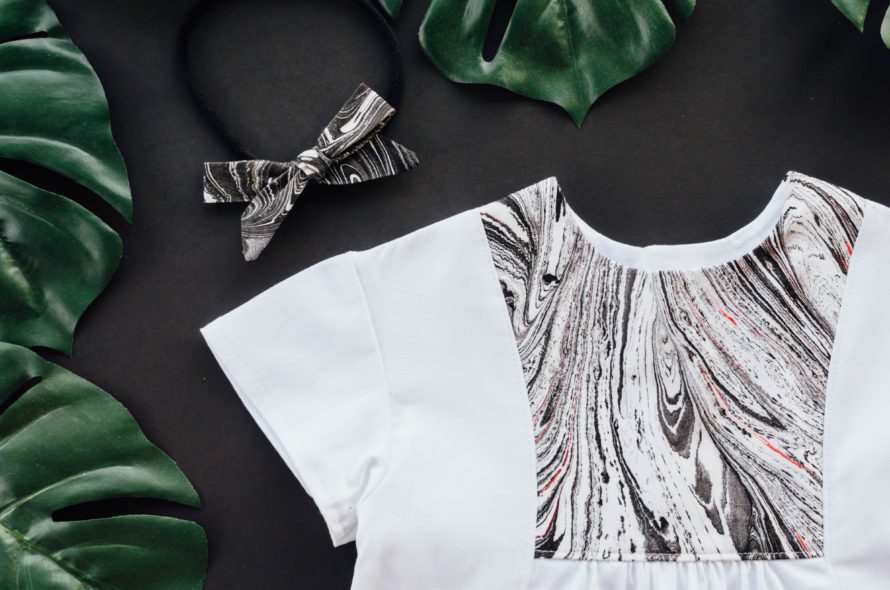
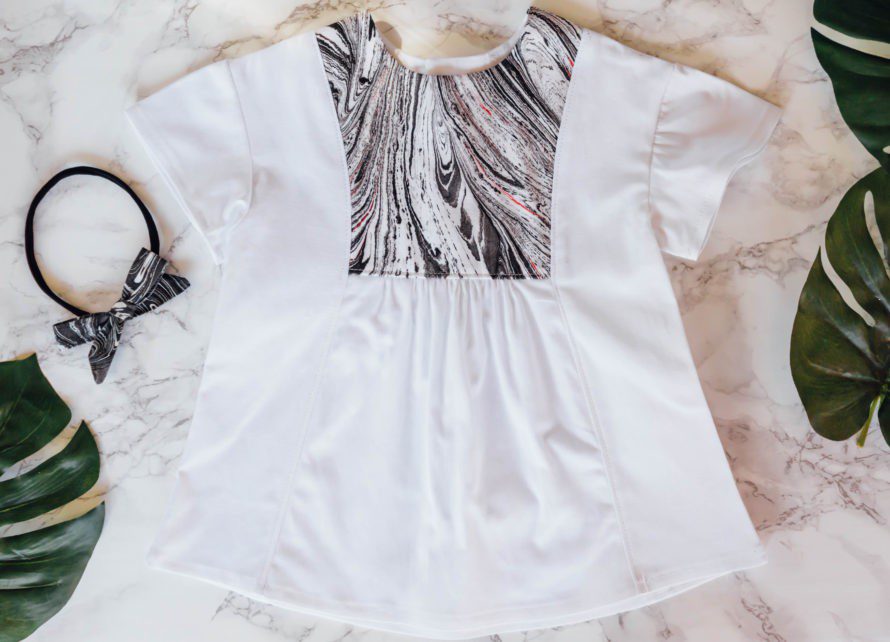
Since the pieces were pretty small I decided to use one of my favorites as an insert for a baby tunic. It’s the perfect baby shower gift! I love the way the pattern almost mimics wood. You could also make bias tape or hair bows; the options are endless!
For the tunic, I used a pattern by Oliver + S called the Hide and Seek Tunic in the size 6-12 months. I’ve used this pattern in the past a few times and I absolutely love it. It’s one of my fav’s.
Marbling was a blast! It’s strangely addicting, I highly recommend everyone try it at least once. We made a bunch of fun designs and each one came out completely unique. It’ll be a great summer project for the kiddos too.
I found some great resources for if you get stuck, need inspiration, or need to order more supplies. Try Dharma Trading Co. and Jacquard Products, they both have a wealth of information on marbling.
As always, thank you to the amazing Crafty Chica for having me! See you next time!
Don’t forget to come visit me over at avaslookbook.com!
xoxo Meagan and Ava

Follow AvasLookBook: Twitter – Pinterest – Instagram
I really like your tutorial. Thanks so much for sharing! I can’t wait to try !
Do you have to prepare a new batch of paint/water for each item? I want to try this with scouts but I’m not sure how to go about it.
Even though I just found this tutorial, so haven’t tried it yet, I have to take the time to say, what an excellent tutorial. I’m looking forward to following this and checking the rest of your site properly. Thanks!
Excellent ?
Love this, thankyou.