
This Gelli Plate monoprint happened by accident last night. I’d spent way too many hours on the computer this week and felt the urge to make something not related to any sort of deadline, contract, assignment or trend. I just wanted to make something…but I didn’t know what. I haven’t used my Gelli Plate in years and when it caught my eye as I wandered around the art room, I grabbed it – along with a bunch of supplies!
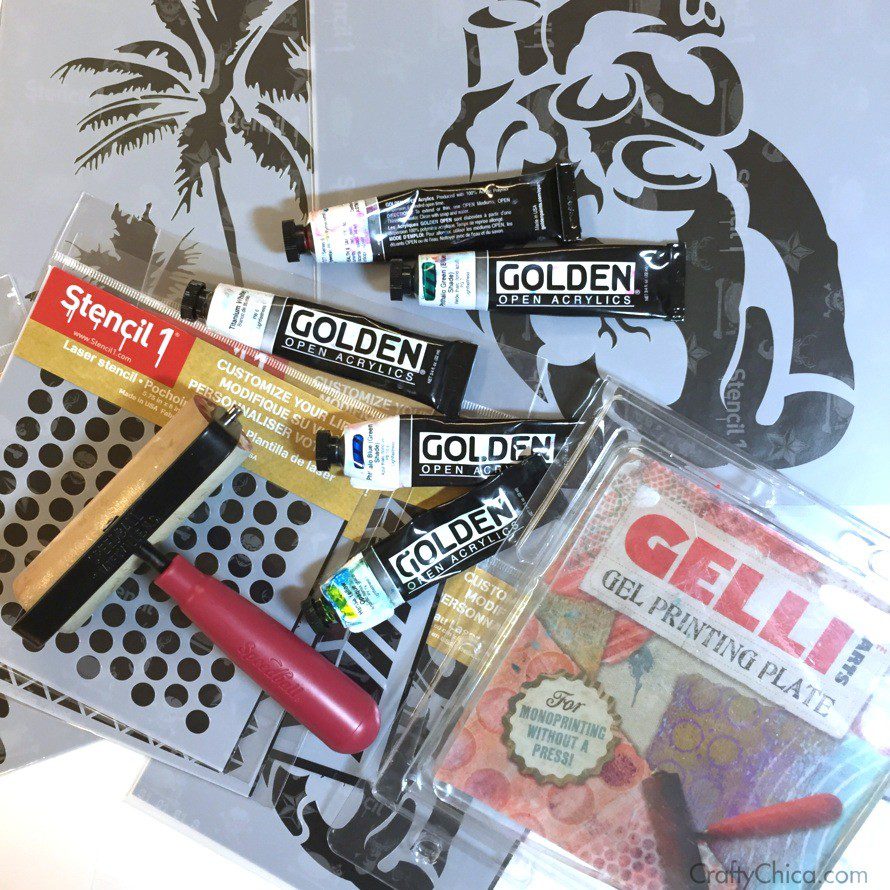
SUPPLIES:
Gelli Plate (here is their web site with oodles of tutorials!)
Rubber brayer
White paper cut to 6×6″
Golden Acrylics
Baby wipes
Optional: Stencils (I used designs from Stencil1)
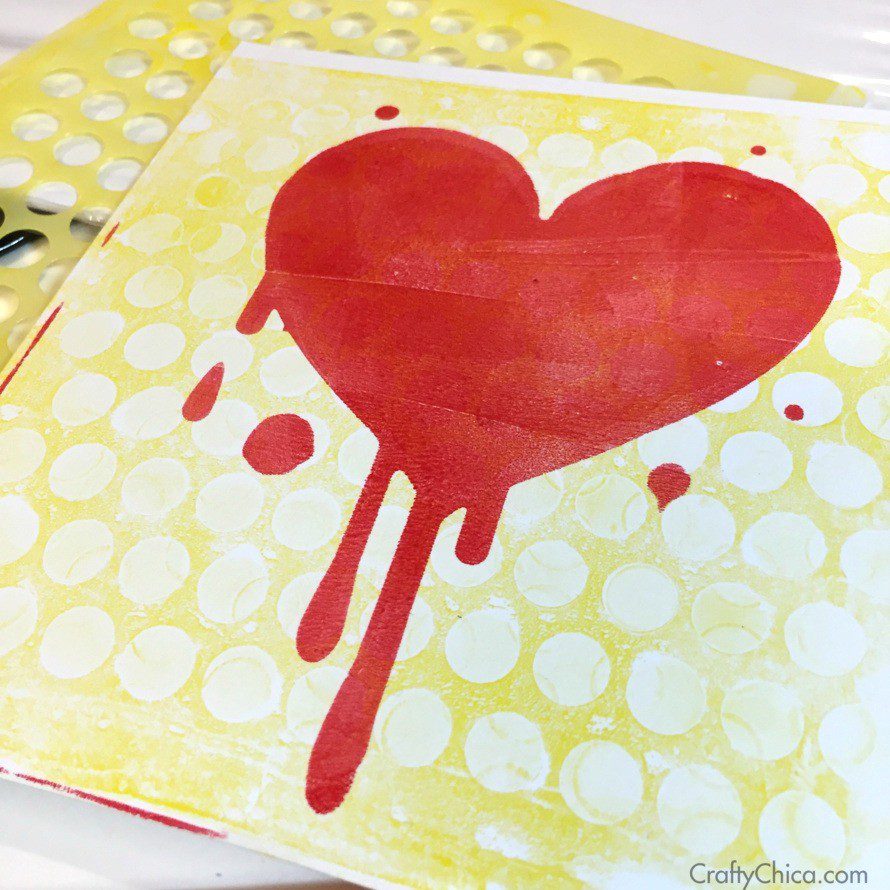
I had no idea what kind of project I wanted to make. Most of the Gelli Plate projects I’ve seen have been about creating background textures for collage work and mixed media. So I played around with that idea thinking I could make greeting cards or journal pages. I applied a few dots of paint to the plate and used the brayer to smooth it out to an even layer. Then I set the stencil on top, then applied my paper and pressed. I lifted the paper to (OK, I’m so doing a video tutorial of this soon!) and let it dry. Then I removed the stencil from the plate, and pressed another piece of paper onto the plate to pick up the remaining paint. I repeated the process with other stencils (thank you Stencil1!) and layered designs.
Here’s another one I tried. I tried to use a rubber stamp but it just didn’t excite me. I wanted a Plan B.
I thought back to how much fun I had at the monoprinting class I took last spring and wondered if the same process would work with the Gelli Plate. The plate is made of gelatin and holds paint and grips the paper. So it’s like a mini-version of using plexglas and a press. YES!!!
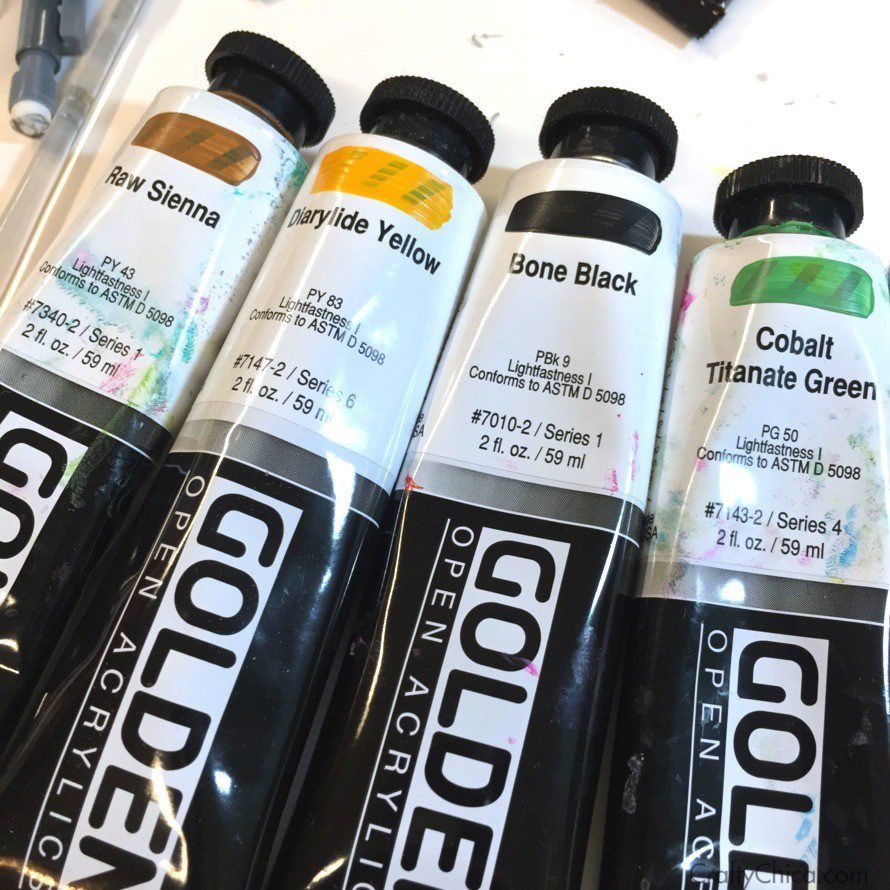
Here’s what made it work – the paints! You can’t use craft paint straight from the bottle – it will dry too fast. You have to use paints that have a long dry time, that way to can get your design covered with paint and still have it wet when you apply the paper. My Golden acrylics were perfect!
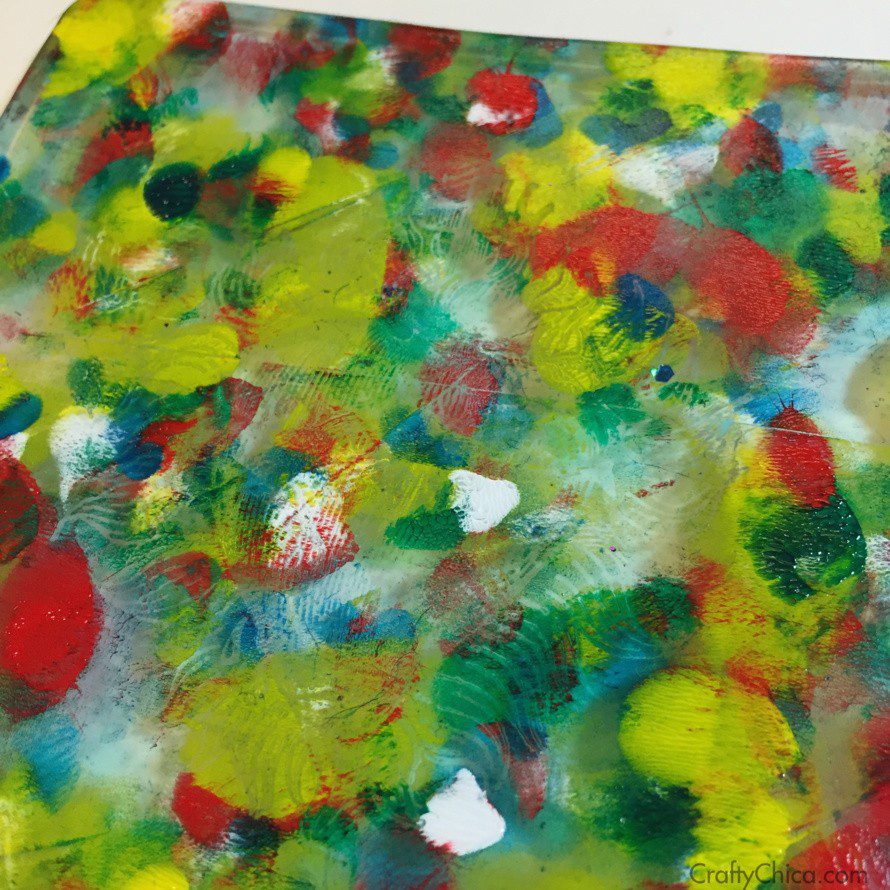
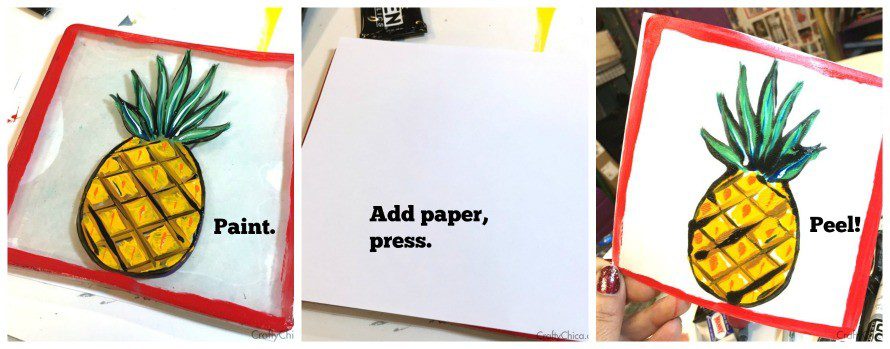
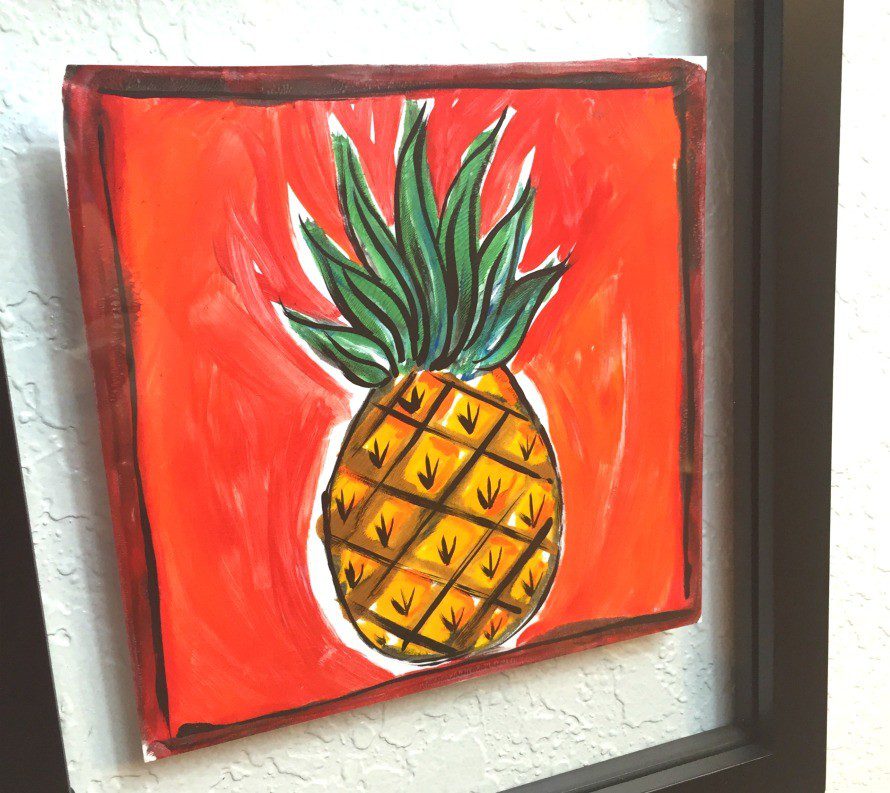
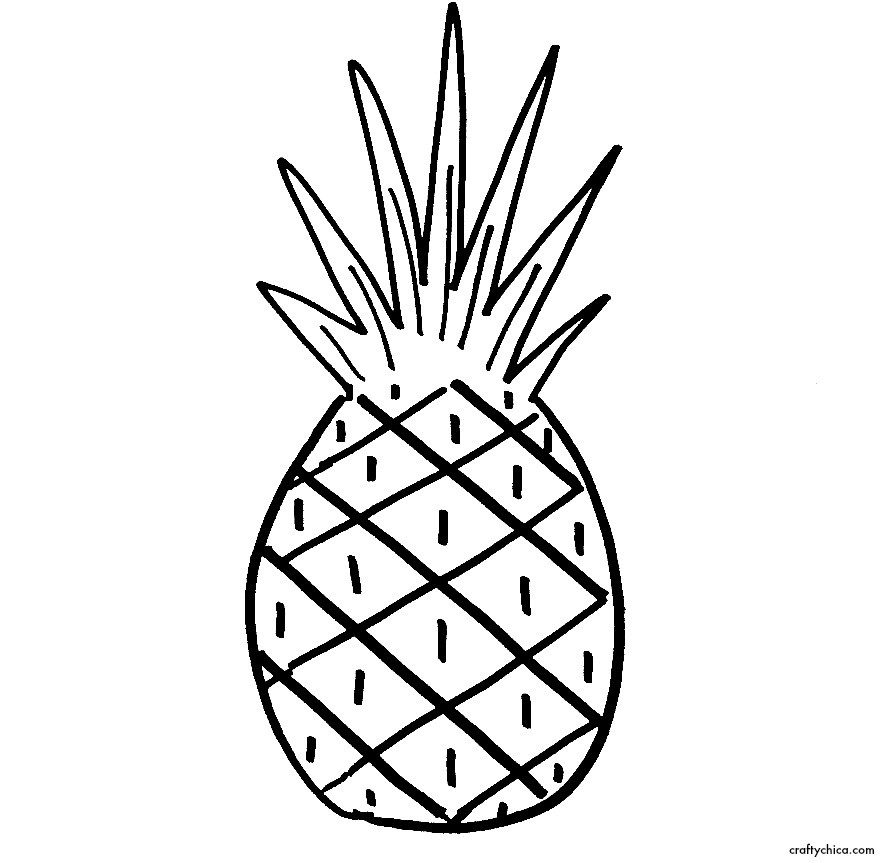
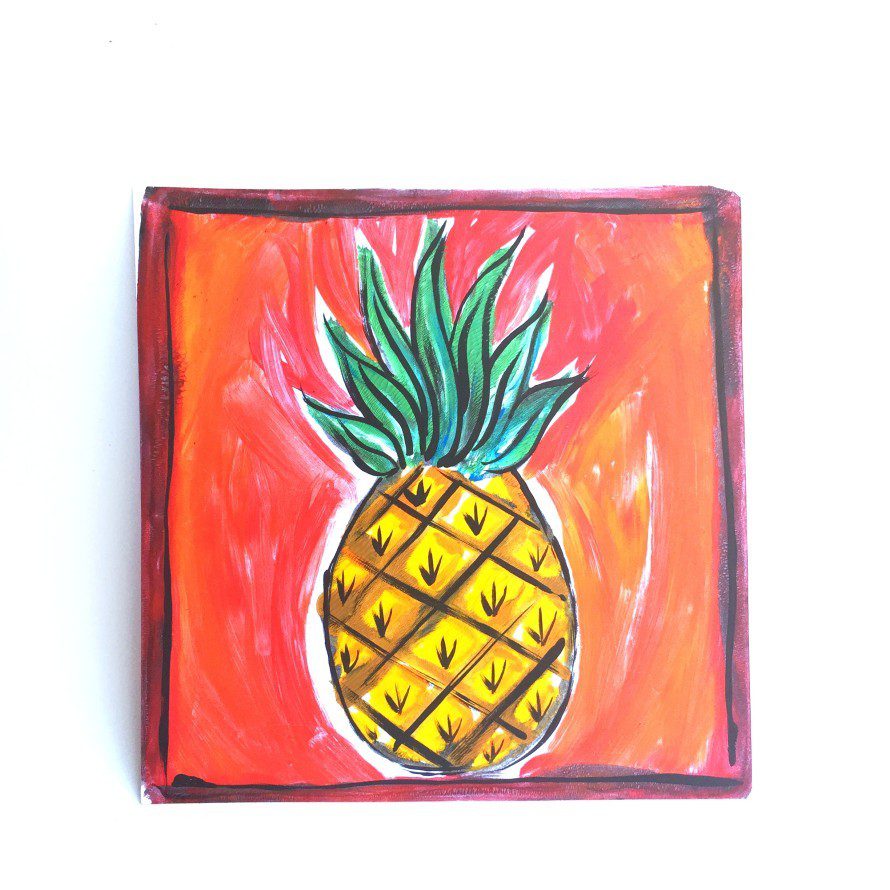
I took a 6×6″ piece of paper and drew my version of a pineapple. (I have a printable at the bottom of this post in case you want to use it!) Then I slid it under the Gelli Plate and applied my paint. If you look closely you can see that the Gelli Plate is very thick and gooey – but clear! So you can easily paint your designs with or without a pattern.
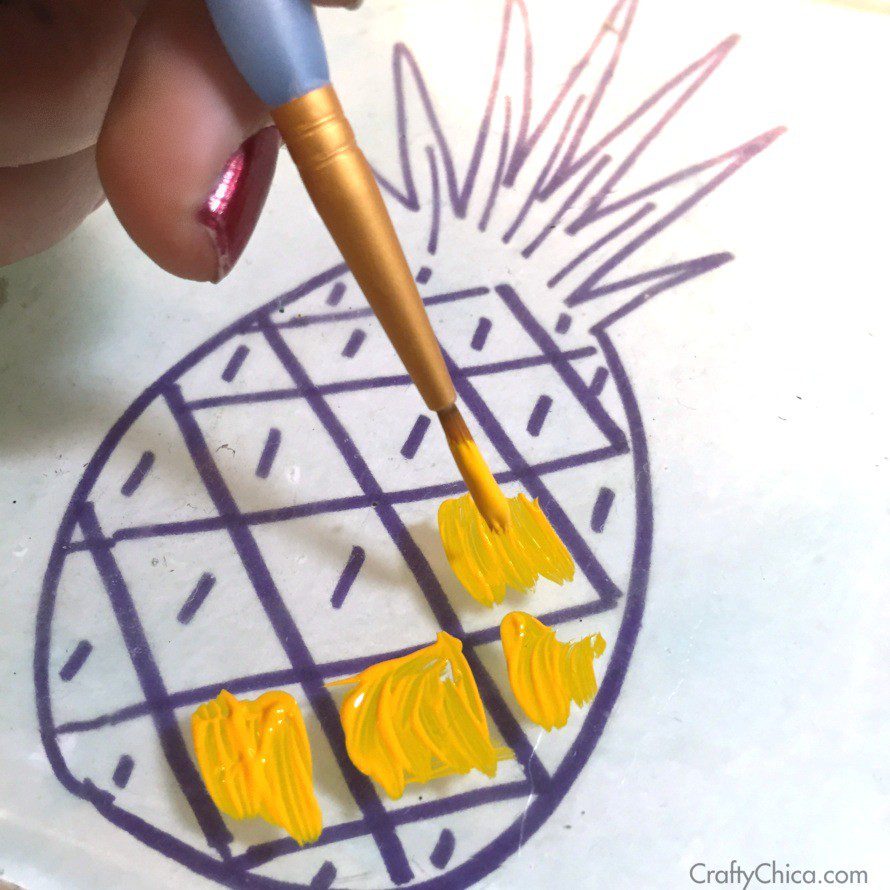
Once it’s all painted, then carefully set your paper on top and press. You don’t want to brayer, because it will smear like mine did! Just press firmly with your hands to make the impression! NOTE: You’ll need the brayer for other Gelli Plate techniques.
I did another one. Now, you’ll only get one print, but you will have the design still on the plate. So I simply filled in the areas with fresh paint and added red to the background and made another print. I don’t like how it spread in some place,s but I guess that is what this method is all about, right?
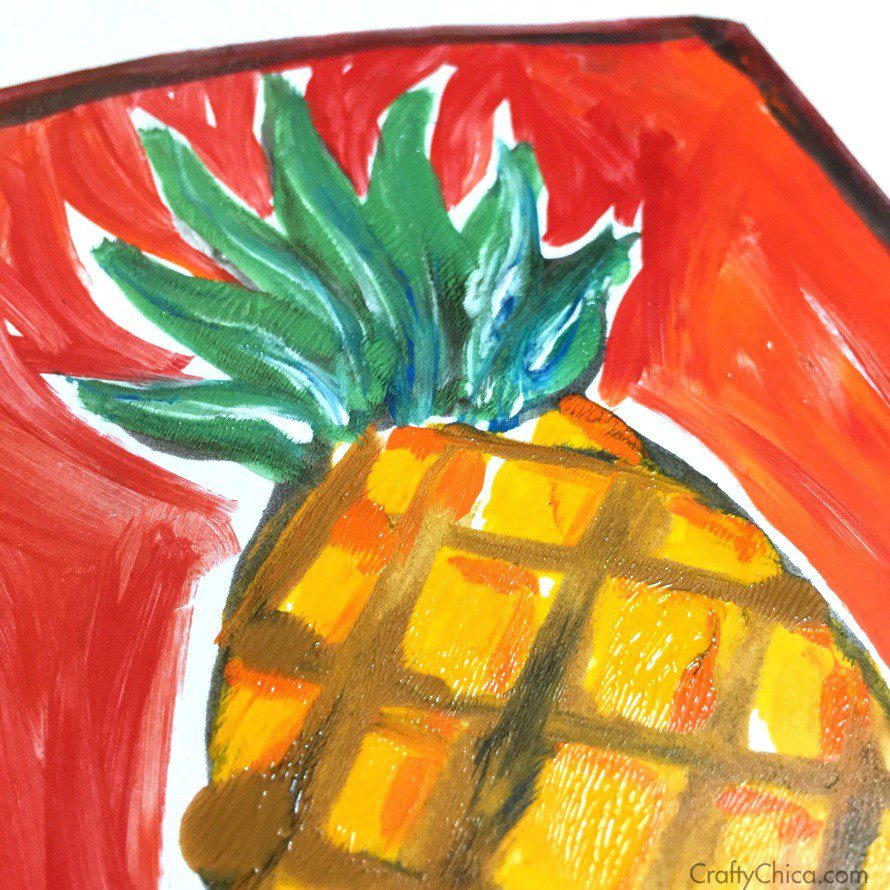
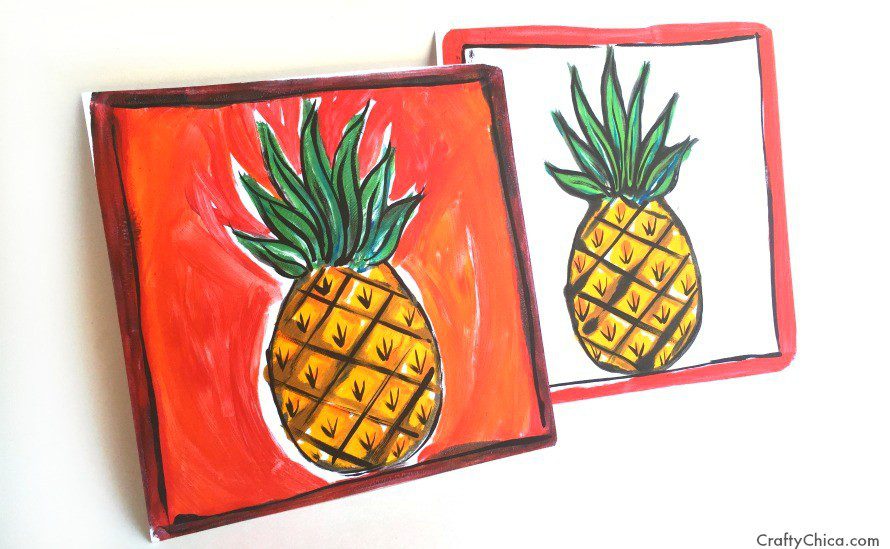
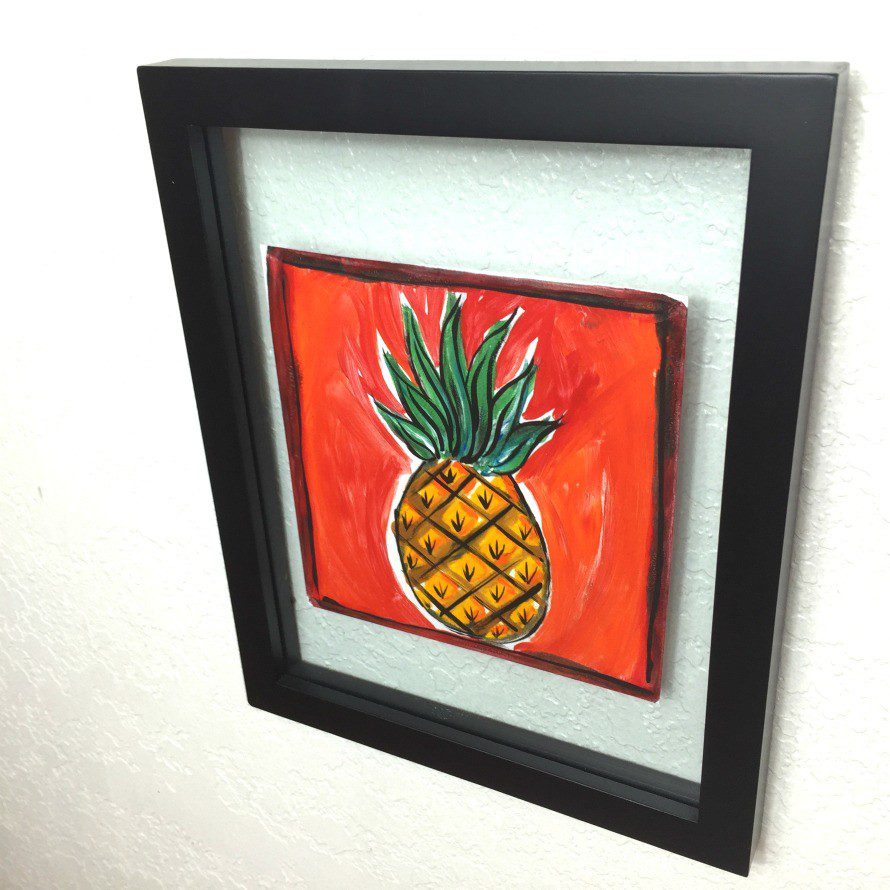
I let these dry over night and then cleaned them up by outlining with black. MUCH better!
I also did a ukulele! It looks like it is lost at sea, lol…But I had such a blast playing with this technique. i’m really excited to make more prints. And I love that they are small and easy to make!
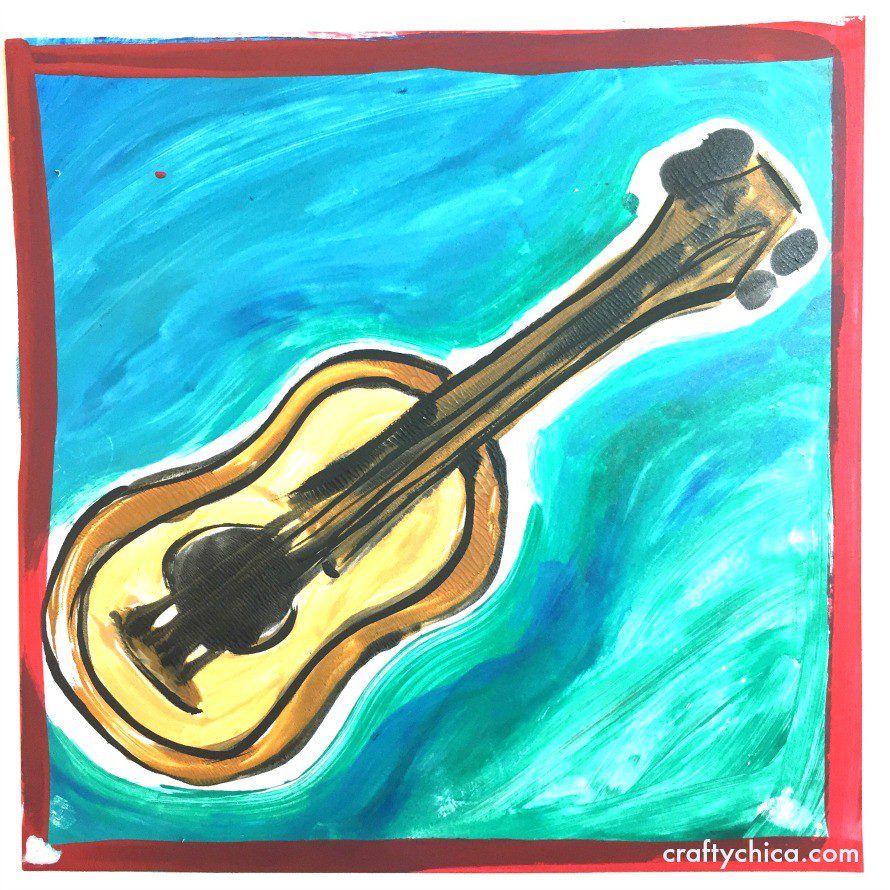
I framed my favorite and hung it in our new photo studio.
And here is the pattern if you want to use it!
My tips for using the Gelli Plate:
– I LOVE this item, it is so versatile and you can make so many fun designs using lots of techniques.
– I like that I can practice monoprinting on a smaller scale before I pay money to take a workshop using bigger scales of work.
– Use a baby wipe to keep it clean.
– It comes sandwiched between two plastic sheets, keep those and store it in its clam shell package to keep it juicy.
– Aside from stencils, you can also use cotton swabs to draw designs, rubber stamps, anything with texture like bubble wrap, combs, etc.
– Clean your hands constantly, it’s easy to smudge the paint on the paper!


Thanks for the mini-tutorial! I’ve recently gotten into Zentangle & am interested in art journaling, and had seen references to gelli plate on Pinterest, but had no idea what it was. It looks fun. I always enjoy your creativity- it’s inspiring!
Thank you! I’m so happy you like it!