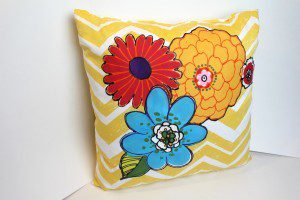
This 3-Step Media Bag Tutorial will take under an hour to make and it super simple – the best part is that it is also mega-functional. I needed a media bag for my local film and blogging adventures (to hold my camera bag, laptop, tripod and mic case), but didn’t want to use anything big and bulky. Then it happened that JoAnn Stores sent me samples of a new line of home decor fabrics they have called “Square By Design.”
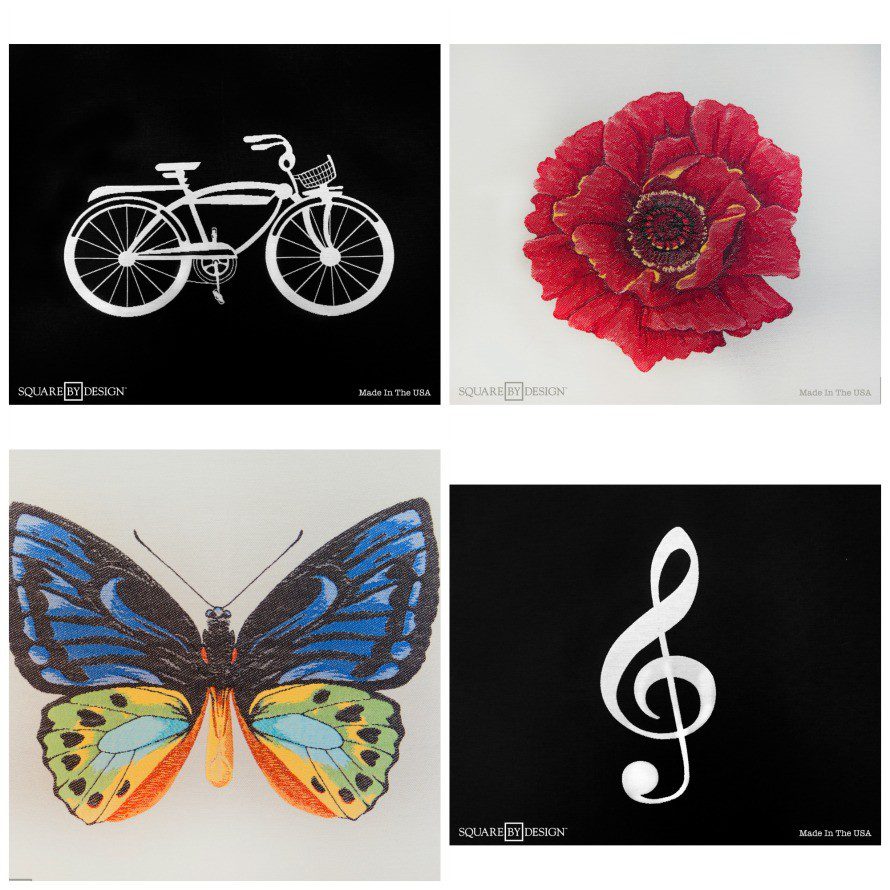
It’s pretty clever – each piece comes in 25″ woven-fabric squares, with double-side designs, and seamed edges. Basically, you choose your designs and then stitch them together to make anything from pillows to wall hangings – and so much more, right? I immediately noticed the heavy-duty-ness of the squares and knew what I would use them for – to make my media bag!
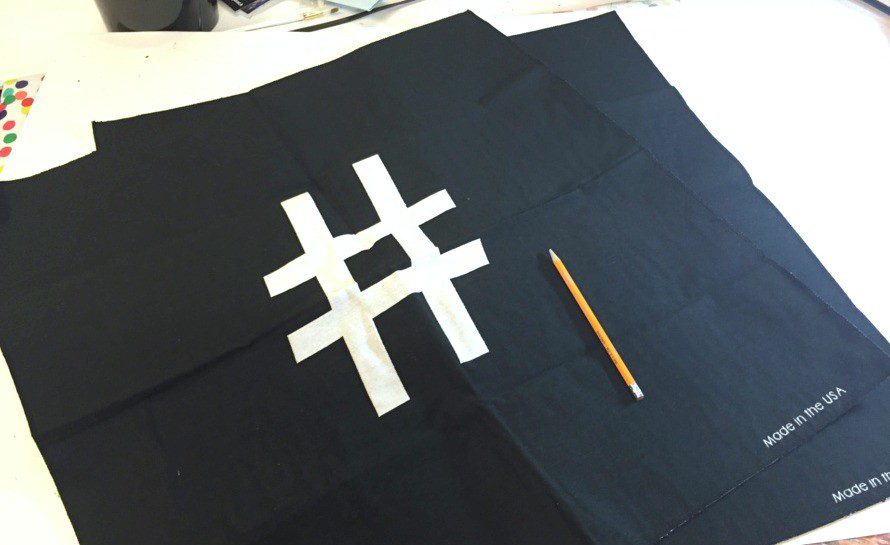
Here are the two pieces, I put the pencil so you can see the size proportion.
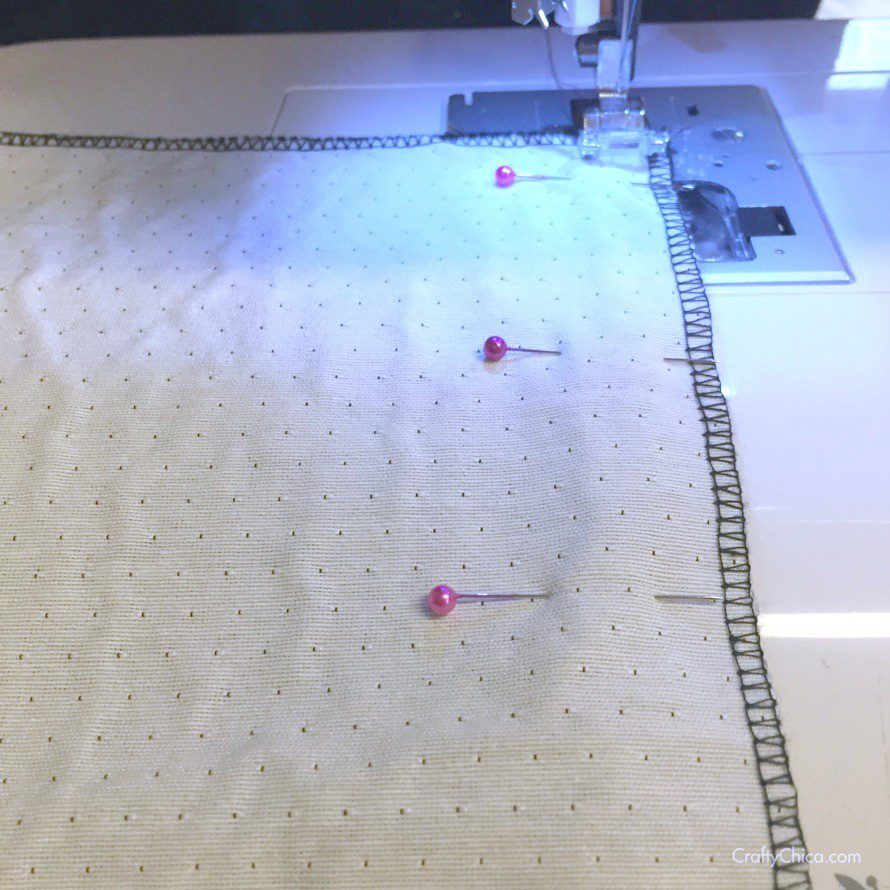
STEP 1: Sew the sides and bottom. I wanted the black to show on the outside, so I placed both pieces with the white facing out, so after it’s done, you turn it inside out and the black shows. Don’t forget to backstitch!
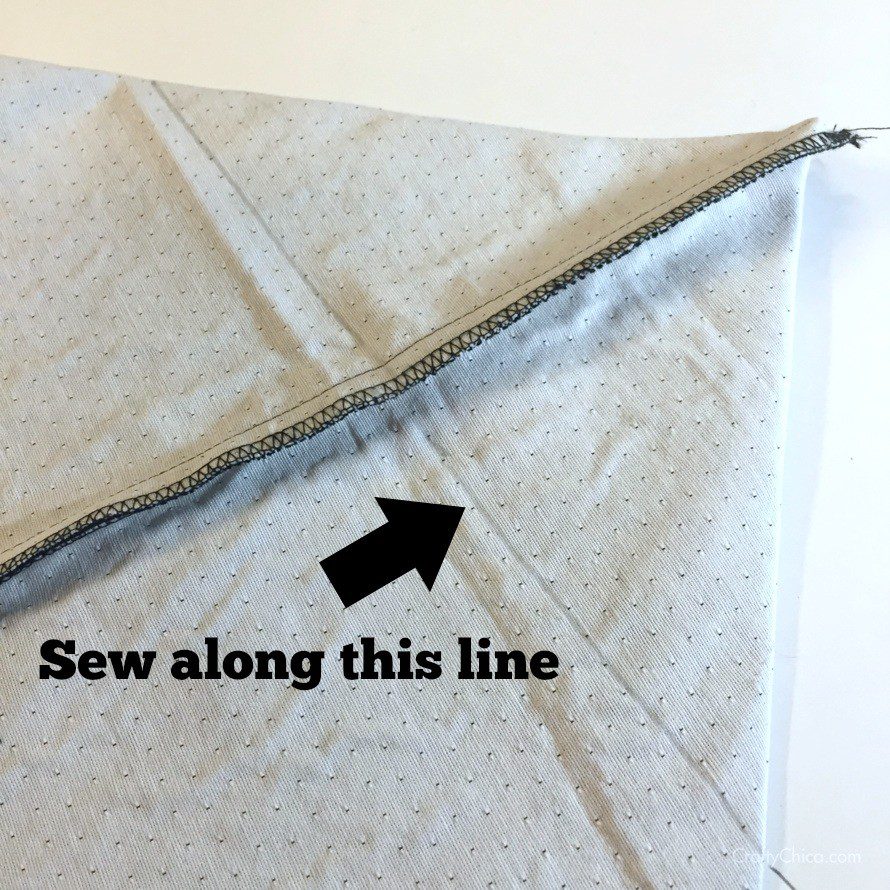
Step 2: Sew gussets! Open the mouth of the bag and press it flat so the seam runs down the center. Measure 5″ from the seam to the left or right. Do the same for the other side to make it all lines up evenly. Draw a line with a pencil all the way across, pin and sew along the line. This will give your bag nice depth.
Don’t know how to sew gusset? Here is a video tutorial, it’s easy!
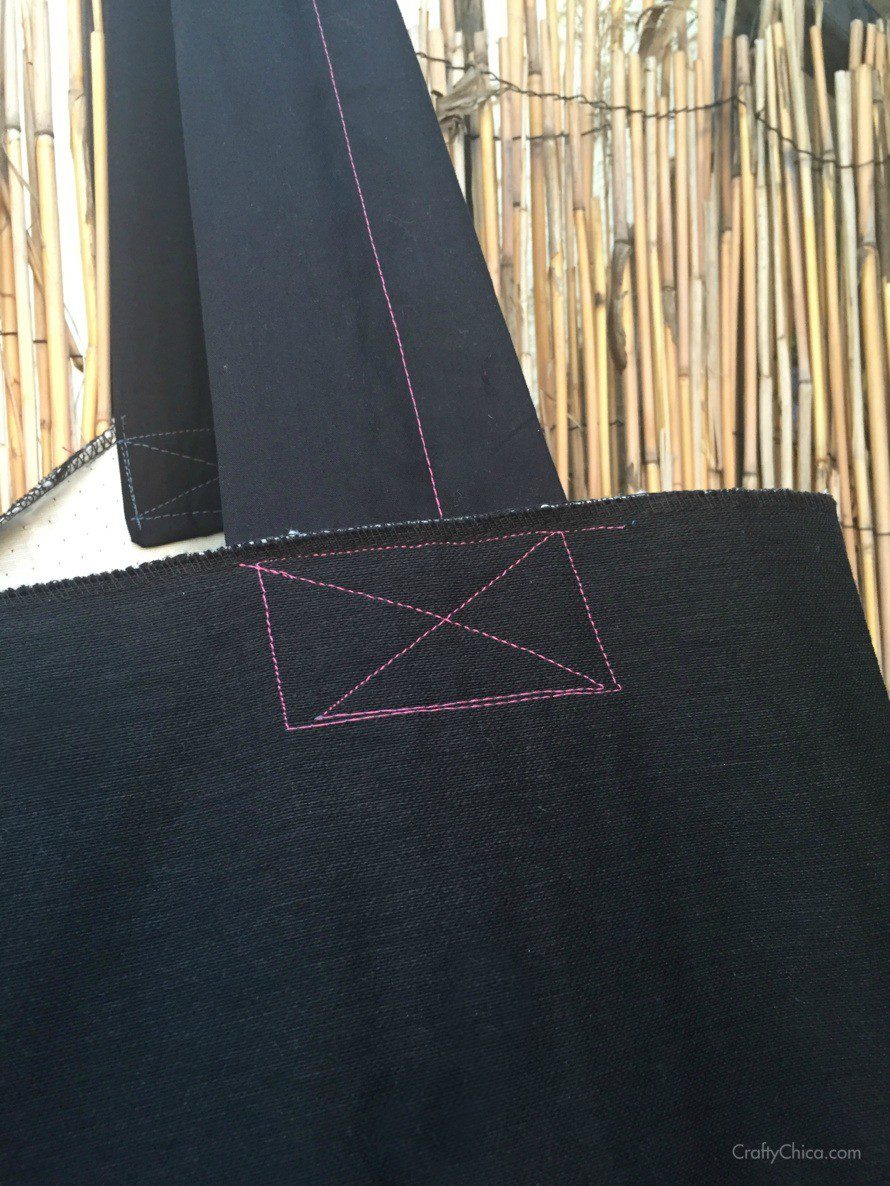
Step 3: Add straps! Cut two pieces of 20×4″ woven fabric straps or folded/hemmed duck cloth. You can also choose to buy straps at the store. Pin inside at least 2″ down to the inner top side of the tote. Make sure to fold in raw edges before you pin and sew. Repeat for the other side of the tote. Sew them in place and make sure to box stitch so they are super sturdy since media equipment can be weighty!
And there you go! There are other things you can do to your media bag:
– Sew along the edges on the outside to give it even more structure.
– After your bag is done, insert a piece of chipboard or fabric-covered foam to add support before placing your items in the bag.
– Sew in pockets before you do step one.
– Embellish with fabric paint or embroidered designs!
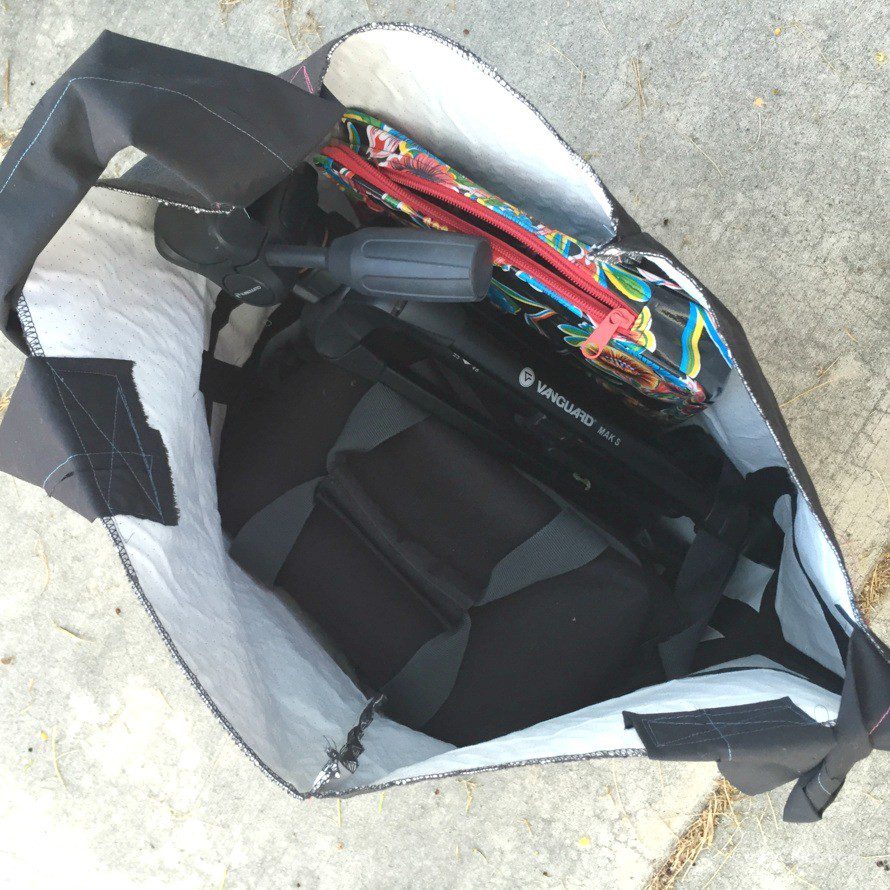
Look how roomy it is!
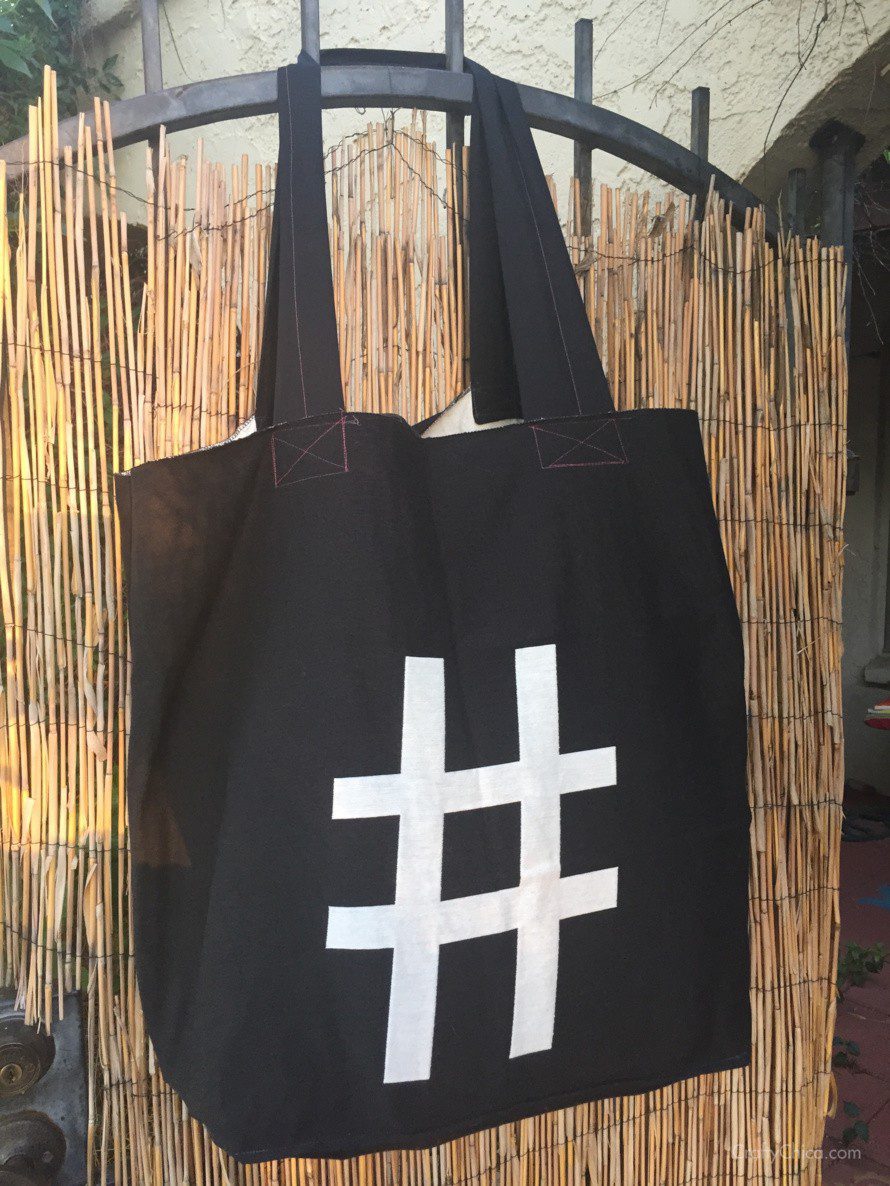
Again, make sure to box stitch the handles like this:
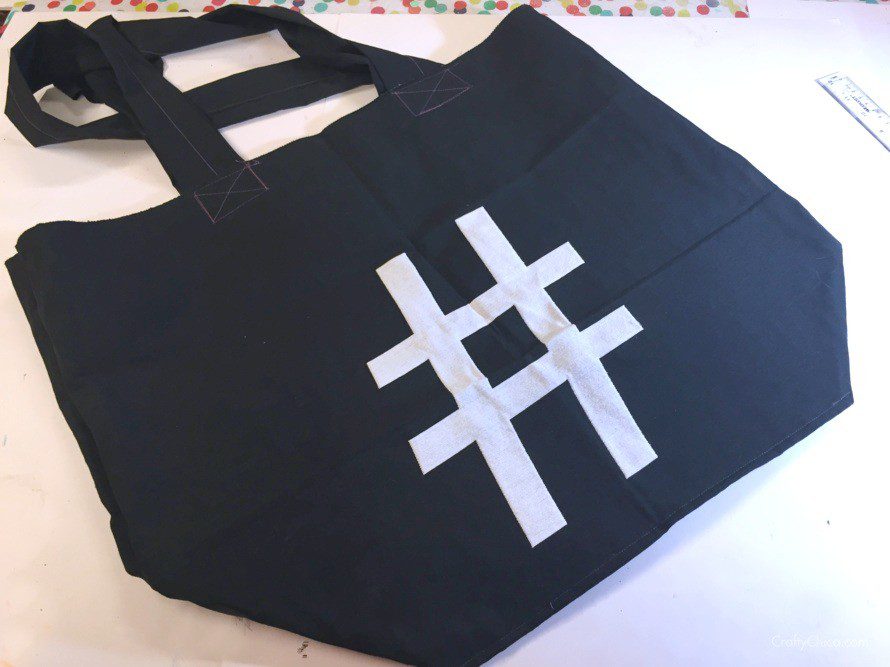
And there you go!
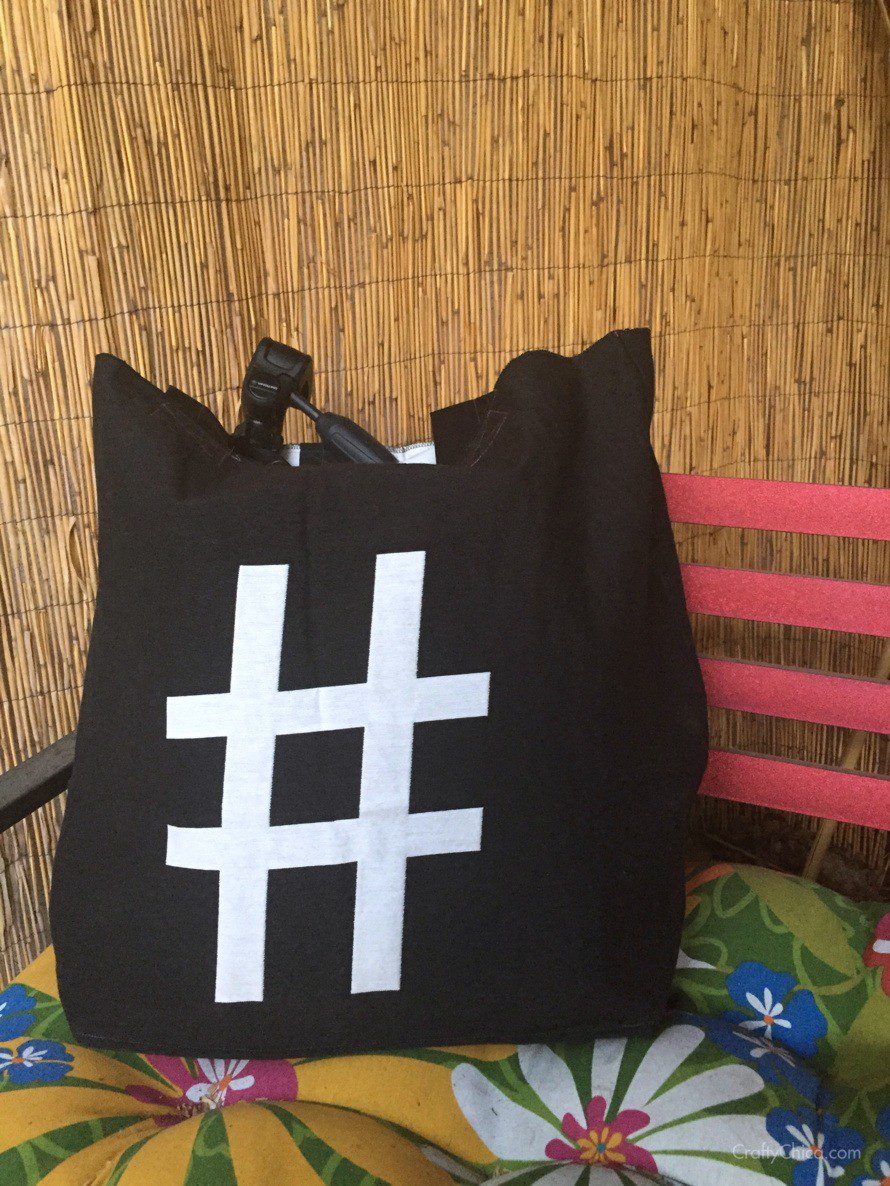
I love the hashtag, it really goes along with the theme of blogging!
Thanks for checking out my project! Definitely look into these squares – I really like them and hope they come out with more designs!