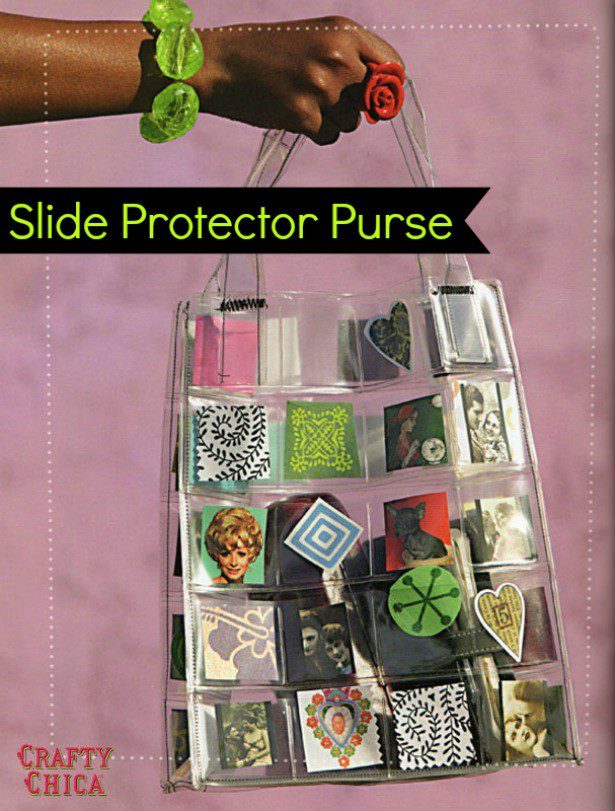
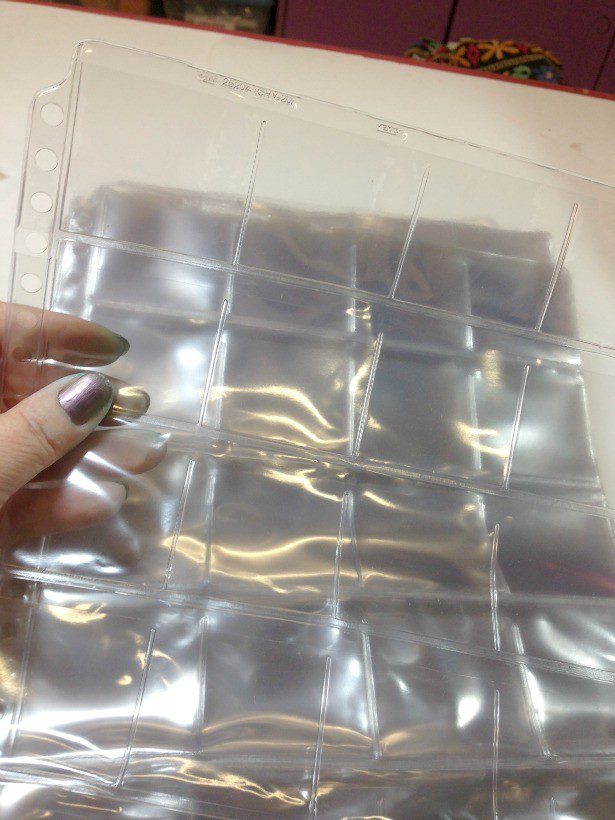
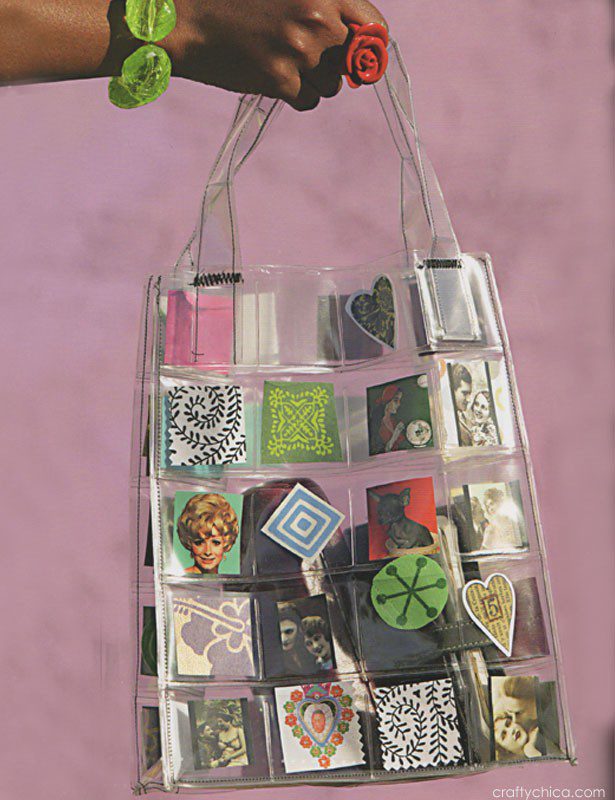
I’ve been seeing transparent handbags everywhere lately and it reminds of a bag I made for my Artful Sewing book a few years back. This is a really cool concept because you can change the look of the bag in a snap, simply by switching out the pictures in the little pockets! I used slide protector pages (can be found online or at camera stores) as the foundation for the bag. You can insert all kinds of small images from magazines, scrapbook paper collection, letters, or even your Instagram photos!
(Note, I’m working another transparent bag because I think they are so cool!)
Supplies:
Sewer’s Aid (this is to grease up your needle so it will stitch through the plastic easily)
4 slide protector pages
Black thread
Heavy duty sewing needle
Mini-pictures to slide in the pockets.
Directions:
1. Cut the side flaps from each page. The cut the pages as follows:
Front and back panels: 2 pieces, 8-1/2×11″
Side panels: 2 pieces, 4×11″
Bottom: 8-1/2×4-1/2″
2. Rub the Sewer’s Aid on the needle, the plate and under the presser foot.
3. Make the handles: Cut 2 pieces for the handles: 2×16.” Fold each strip lengthwise so it measures 1″ wide. Sew up the sides.
4. Keep in mind, you can’t pin the bag because the pin holes will show. Take one of the large panels and sew it to one of the side panels. Now sew that to the other large panel, and then the other side panel until you have one large piece.
5. Sew one handle one side, repeat for other side. For extra strength you can sew an “X” across the joint.
6. Sew up the last side of the bag.
7. Sew on the bottom piece to complete the bag.
8. Insert your pictures!
Other ideas: Sew the pages together to make a larger bag!


Thank you for being so very creative!!!!!