The other day I came across a brand new package of cotton cording and the first thing that crossed my mind was – “I want to dye that!” Not only did I dye the entire package, but I also cranked out a collection of macrame bracelets! Here’s how I did it!
Here’s how I did it!
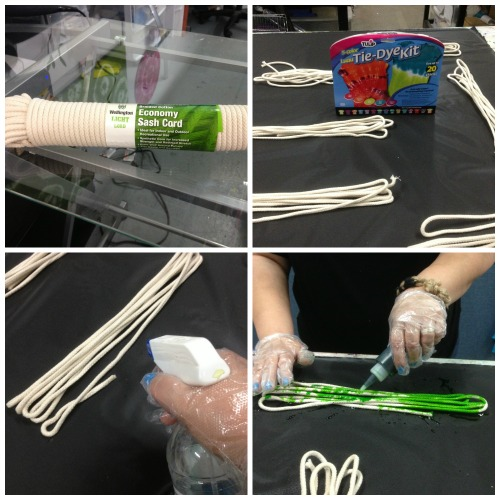

Supplies:
Cotton cording
Cut the cord into equal parts so you have about five-six piles. Wet the cords either by running under water or with a spray bottle. Line your work area with a plastic covering. Set the piles down and add dye.
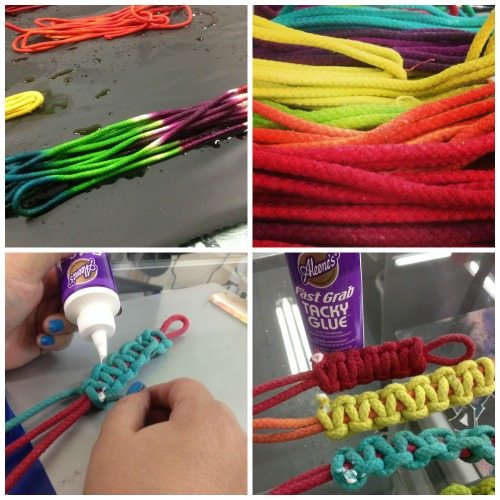
Cover the wet cording with another plastic and let set for six hours. Wash under cool water to remove excess dye. Tie the bundle with rubber bands and run through the washer, and then the dryer. The ends will be frayed, but just snip those off!
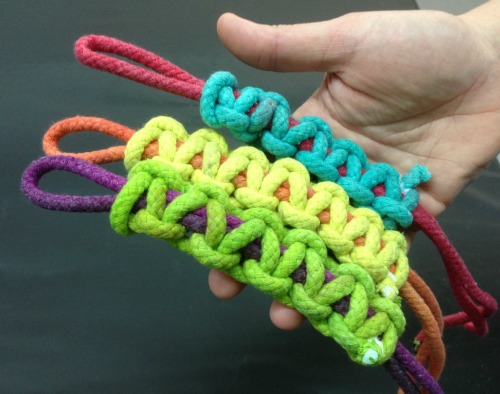
Do you know how to macrame? You’ll need a clipboard, blue painter’s tape and scissors and little bit of duct tape. Cut a piece of cord that measures 24″ long. Fold it in half and place the loop end under the clip on the clipboard. Tape the two ends down to the bottom of the clipboard. Now cut another piece of cord that measures about 30″. Slip it under the two cords, bring the ends up so they meet and tie a knot at the top. Take the left cord and create an L across the two straight cords, then take the right cord, place it down and then under the two cords and up through the opening of the left cord.
TIP: You’ll end up with four long strands at the end of the bracelet. The ones connected to the knots, you’ll want to glue those and then snip them. Coat the ends with more glue to seal them, or you can use decorative duct tape. The other two, you’ll use those to tie on the bracelet. Tie one through the loop and knot it.
Watch my video tutorial to see how to do it!

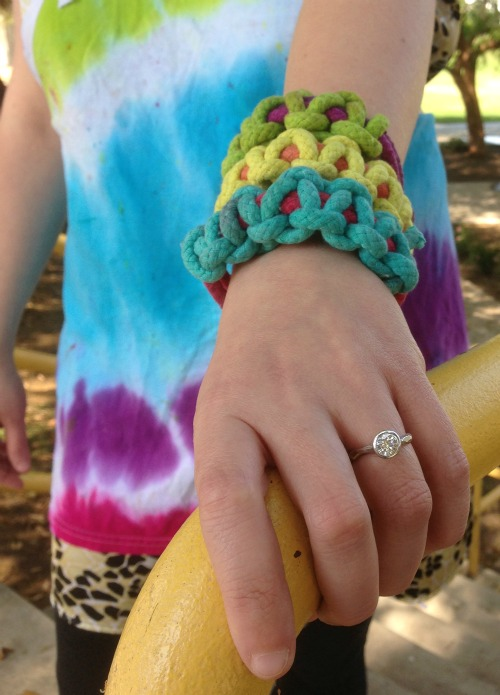
Other ideas: Belts, hats, purses, plant holders (of course!)


