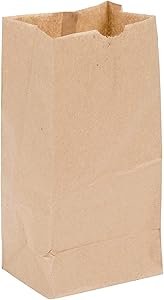
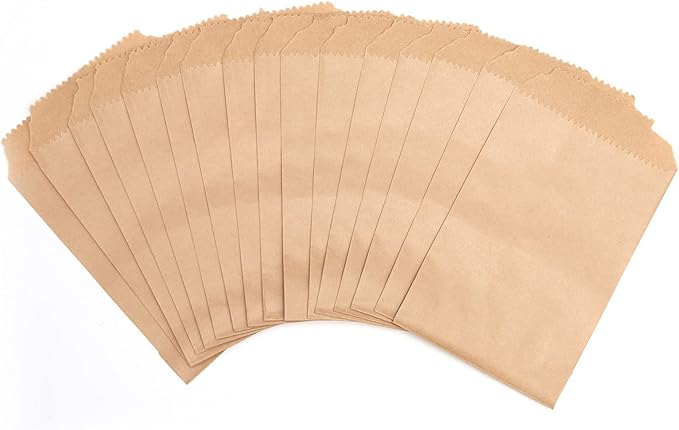
Brown sandwich bags are a classic


Supplies for screen printing on paper bags:
Make your design.
Create a design either hand-drawn or digital. No shading, no super fine lines. I found the thicker the lines, the better. Not too small either.
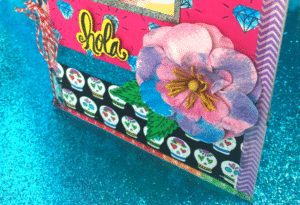
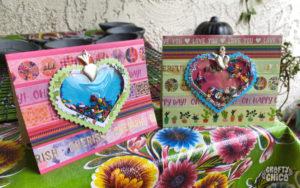
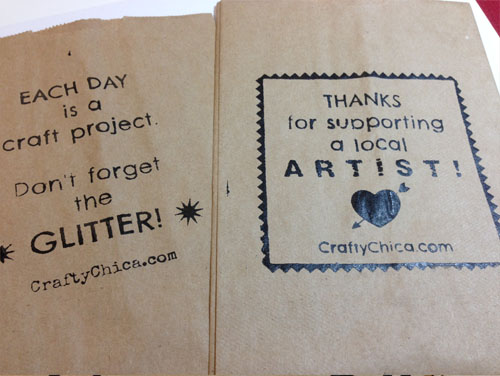
You can even use phrases and make them in Canva or PicMonkey. BE ORIGINAL. What will make your work special is if you come up with something new that reflects your personality! You can do family names, family quotes, etc. I spent time brainstorming on the designs I created and plan to use them to create a line of Crafty Chica merchandise. It was hard and time-consuming, but worth it!
Make sure the designs are at the blackest level, this will help you achieve a crisp burn on the screen.
Use PicMonkey or Canva to layout your designs on an 8-12×11” template. Leave enough room between each design so you don’t have bleed when you apply your paint later on in the process.


Print your design.
The kit comes with a package of printing film for both Inkjet and laser printers. I used Inkjet. Remove one sheet, make sure there are not two stuck together, and feel for the duller side. That is the side to print on. I have an HP printer, so it faced it, dull side down for printing.
Screen printing time

Screen Printing 101: What Is Screen Printing and How Does It Work?
Screen printing is a versatile printing technique that can be used to create a wide range of printed products. In its simplest form, screen printing is a process of transferring ink from a screen to a substrate, such as paper or fabric. The ink is then dried to create a permanent image.
It uses a mesh screen to transfer ink onto a substrate, such as paper, fabric, or plastic. A screen is made of a thin piece of mesh stretched over a wooden or metal frame. The mesh is tightly stretched over the frame so that the ink cannot pass through the holes. A stencil is placed over the screen, and ink is applied to the screen. The ink is forced through the holes in the mesh and onto the substrate.
The screen is covered in a thin film of photosensitive emulsion. When the emulsion is exposed to light, it hardens and becomes insoluble. The areas that were not exposed to light remain soluble and can be washed away with a stream of water. This leaves a negative image on the screen that can be used to print onto a substrate.
The different types of screen printing
There are a few different types of screen printing. The most common type is manual screen printing. This type of printing is done by hand. The other types of printing are automatic and digital. Automatic printing is done with a machine. Digital printing is done with a computer.
Screen printing is a process that has been around for centuries. It is a method that was first used in China to print textiles. Screen printing was later introduced to Europe in the early 1800s.
Benefits of screen printing:
-Produces high-quality prints.
-It is a process that is very durable.
-It’s affordable.
-Allows for a wide range of customization options.
Challenges of screen printing:
-The process is slow and can take a long time to produce prints.
-It’s difficult for large-scale production.
-It’s not suitable for printing extra large images.
Screen printing tips and tricks
If you’re new to screen printing, or looking to improve your technique, then you’ll want to read on for some tips and tricks!
1. Get a good screen printing frame (unless you make smaller crafts then you don’t need one). This is probably the most important piece of equipment you’ll need. Make sure to get a frame that is sturdy and well-made.
2. Use high-quality screens. A good screen will give you a much better print, so it’s worth investing in a quality screen.
3. Use the right ink. Not all inks are created equal, so make sure to use an ink that is designed for screen printing.
4. Make sure your screens are properly aligned. If your screens are not properly aligned, your prints will not be accurate.
5. Apply even pressure when printing. If you apply too much pressure, your prints will be distorted. Apply even pressure to ensure accurate prints.