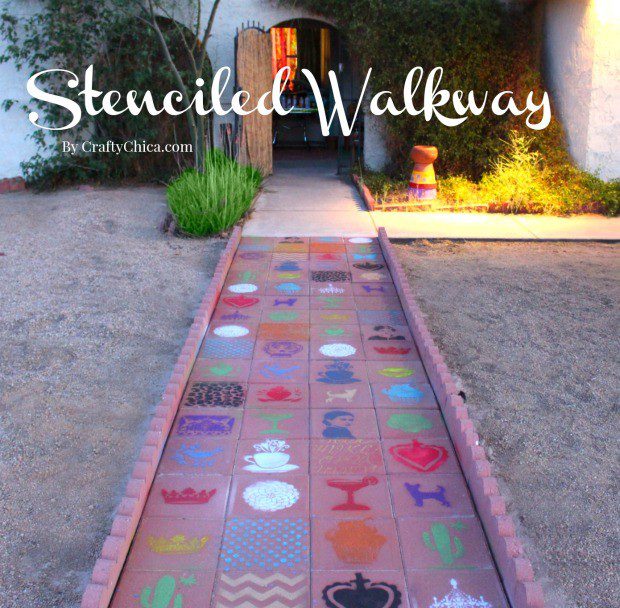
I’ve always wanted to install a paved walkway and then add mosaic designs, but after years of nothing happening, I went this route. And I’m so happy we did!
The first step is to do the paving. We used about 80+ 12×12 pavers from Lowe’s, at $1.32 each, this project is very affordable!
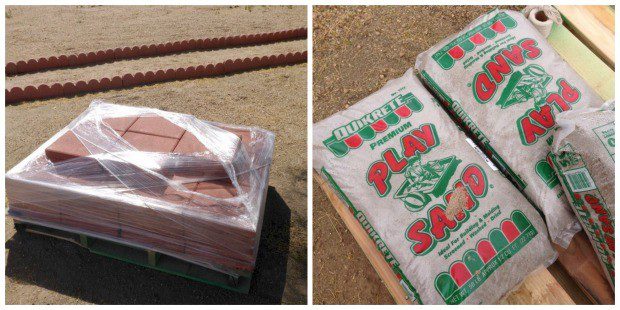
You will also need:
7 bags of fine grade sand (we used six for the ground and one to go on top of the walkway)
A mallet
A trowel
String and anchor to set in the ground to hold the string.
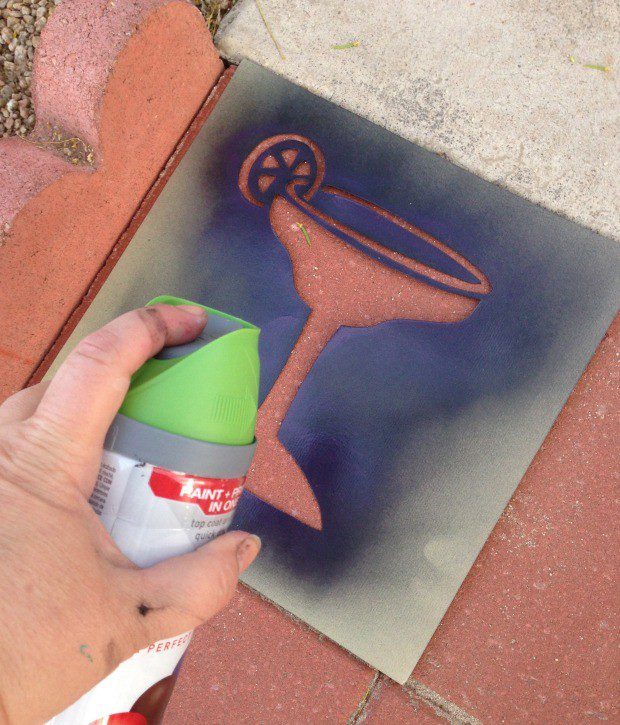
If you want to add the stencil designs, pick up some spray paint and stencils – I cut my own stencils and I also used Tulip For Your Home stencils from the craft store home decor section.
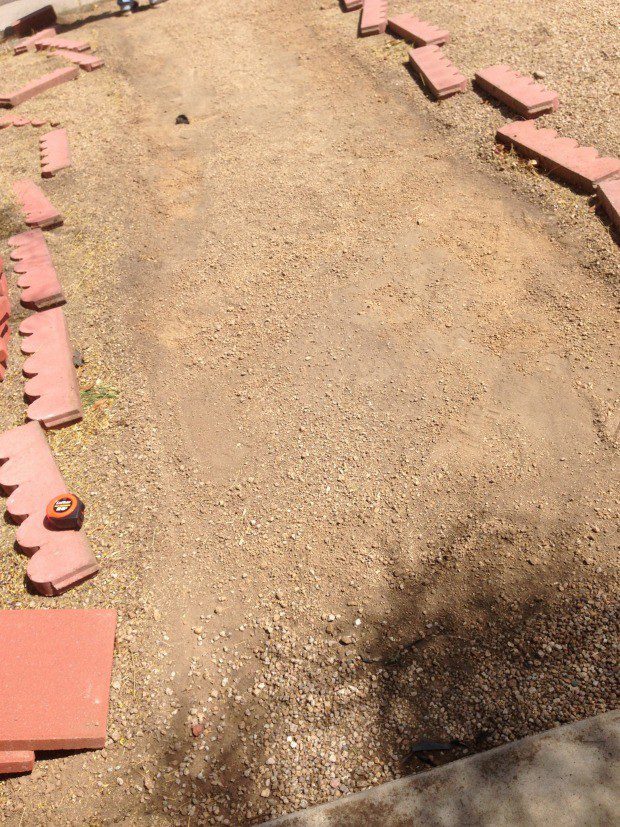
Clear the area where you want to add the pavers. Use a wide rake to get the ground nice and even. Make sure the area is free of any rocks, get it as flat as possible. We used a flat shovel to scrape it smooth. NOTE: This picture shows before we finished leveling the area.
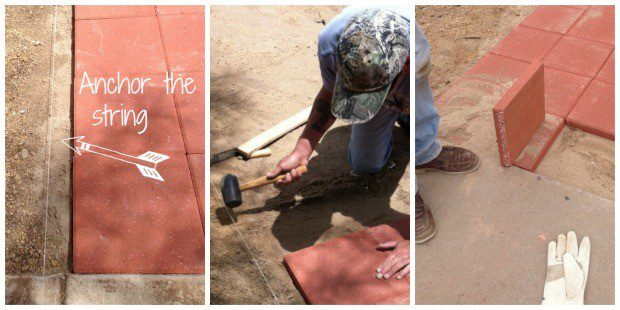
Next, anchor the string in a straight line, so you can make sure to place the pavers in a straight line. The string acts as a guide. Next, pour a very thin the sand on the ground and use the trowel to make sure it is nice and smooth. Set down one paver and tap it lightly on the corners to embed it into the sand. Now repeat for the other pavers. Keep using the mallet to tap each paver tightly against the other.
Lastly, pour the sand on top of the walkway and use the trowel to smooth it over so the sand falls into the grooves between each paver. Spray lightly with water so the sand sets. Sweep away excess. You’ll want to line the sides with other pavers or concrete. We are going to add concrete edges next week, but for now we used these scalloped pavers we had on hand.
After a week, look at the seams and fill in with more sand to make sure every groove is filled. Now, about the stenciling…
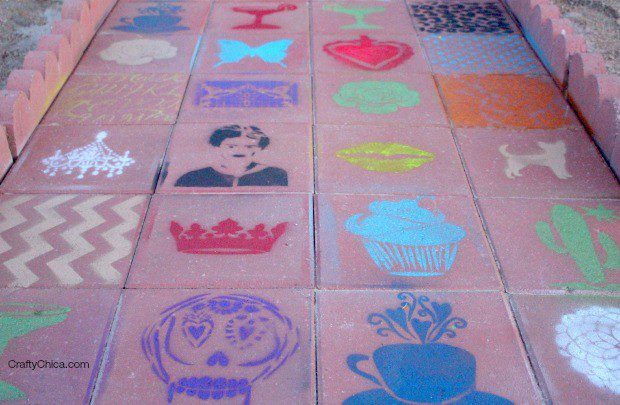
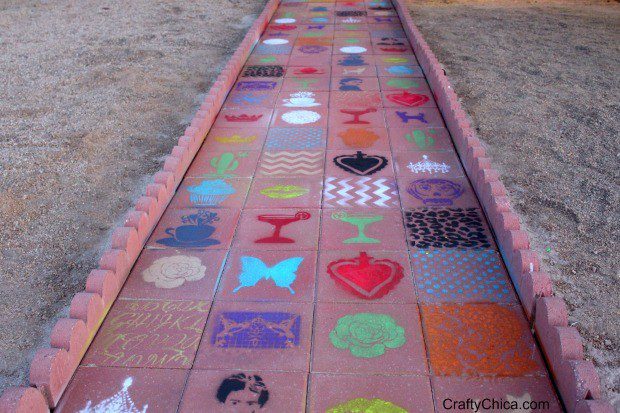
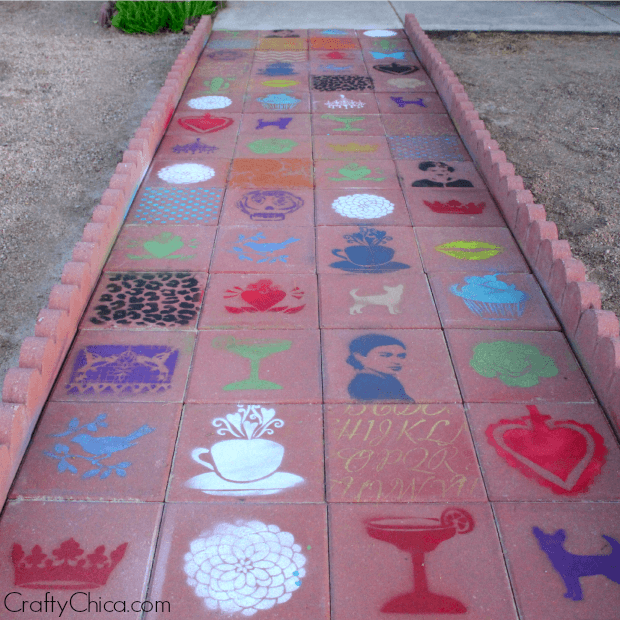
At first I planned to just add a few stenciled designs along the walkway, but you know me, I went there.
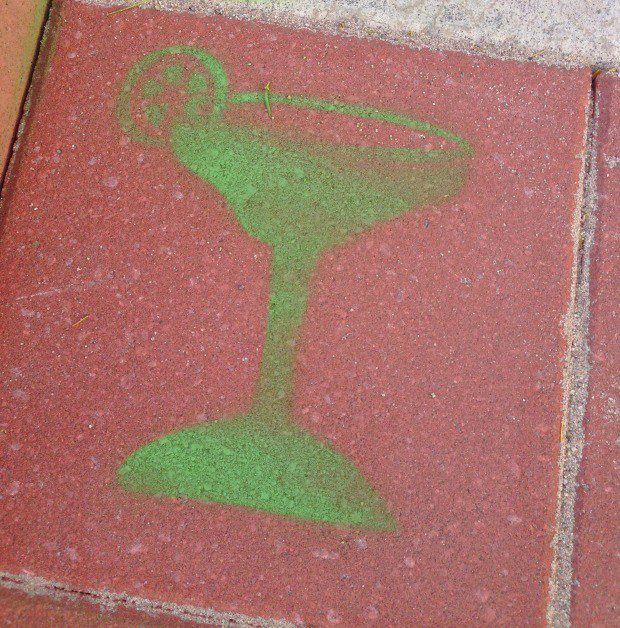
I brought out all of my stencils and chose one. I sprayed and loved how it looked. Then Maya came out and saw what I was doing and she joined in the fun. Next thing we knew, we had covered almost every paver with a stenciled design!
I love how it came out! Now we plan to add a big tree in the yard (we had one when we first bought the house, but it died) and our yard will finally be back on track!
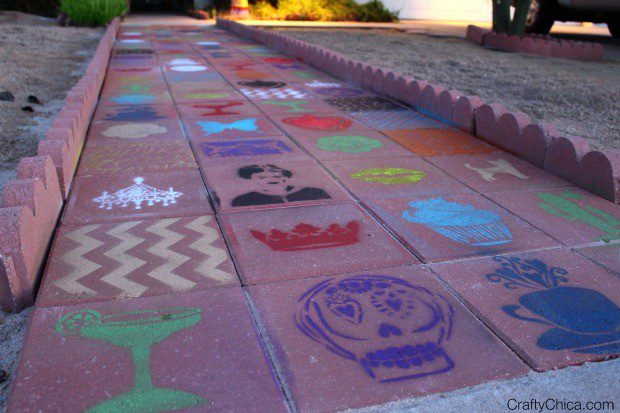
What do you think? This is the most outlandish project we’ve ever completed that can be seen by the public, all the others are within our house. I hope our neighbors like it!
Other ideas:
This would be great for a kids playground, or for a back patio, or an art gallery space – there are lots of ways you can incorporate this idea!
Yes, you can walk on it, the spray paint is permanent. And if it fades, that’s fine too, just touch it up as needed.


Where can I get the Frida stencils? Thanks Mary Lou
Hi! I cut those myself, I have a tutorial here and on youtube!
love the new walway.the colors and pictures give it a warm and welcome look.cant wait to see it in person
love it!!!!
Love it! Delightfully quirky! 🙂
That is a great idea! Came out fabulous Kathy!
This is SUCH a great idea!!