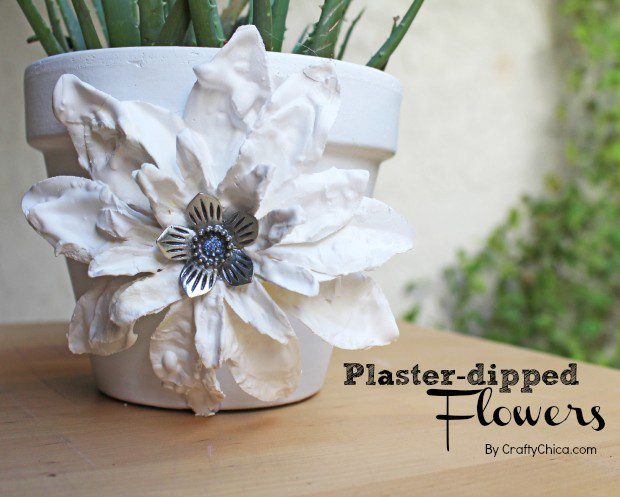
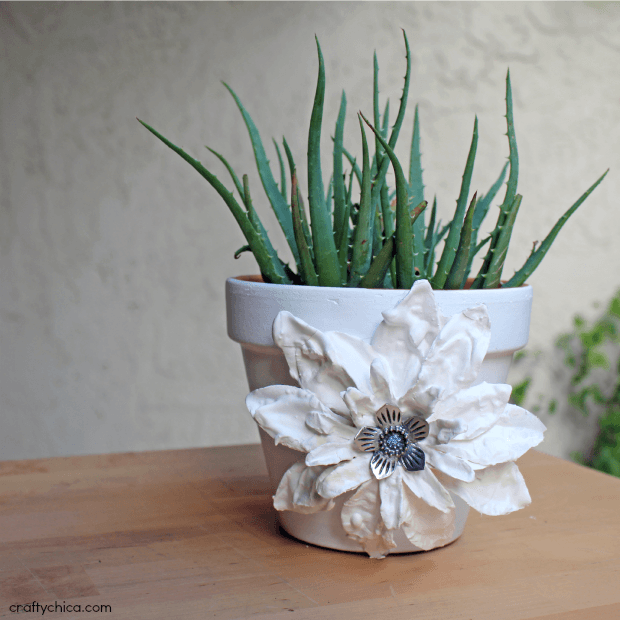
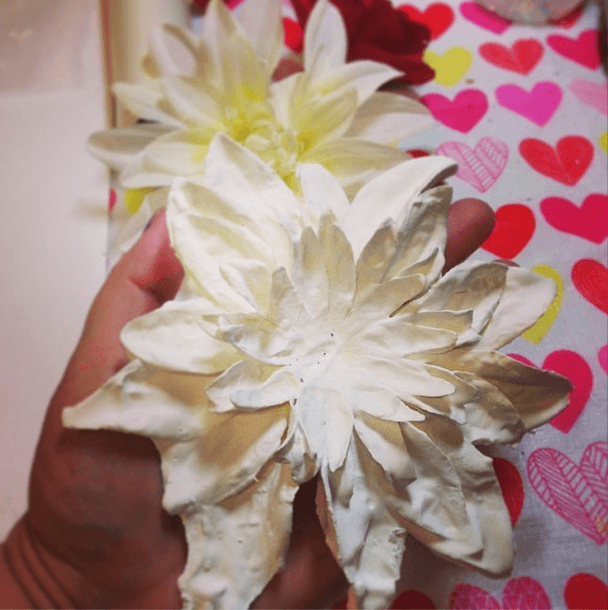
Plaster dipped flowers is a project I’ve been wanting to try and am so excited to have finally gone there! It’s very addicting because the results are simply amazing! The texture and possibilities are endless! Check out my video for the full tutorial.
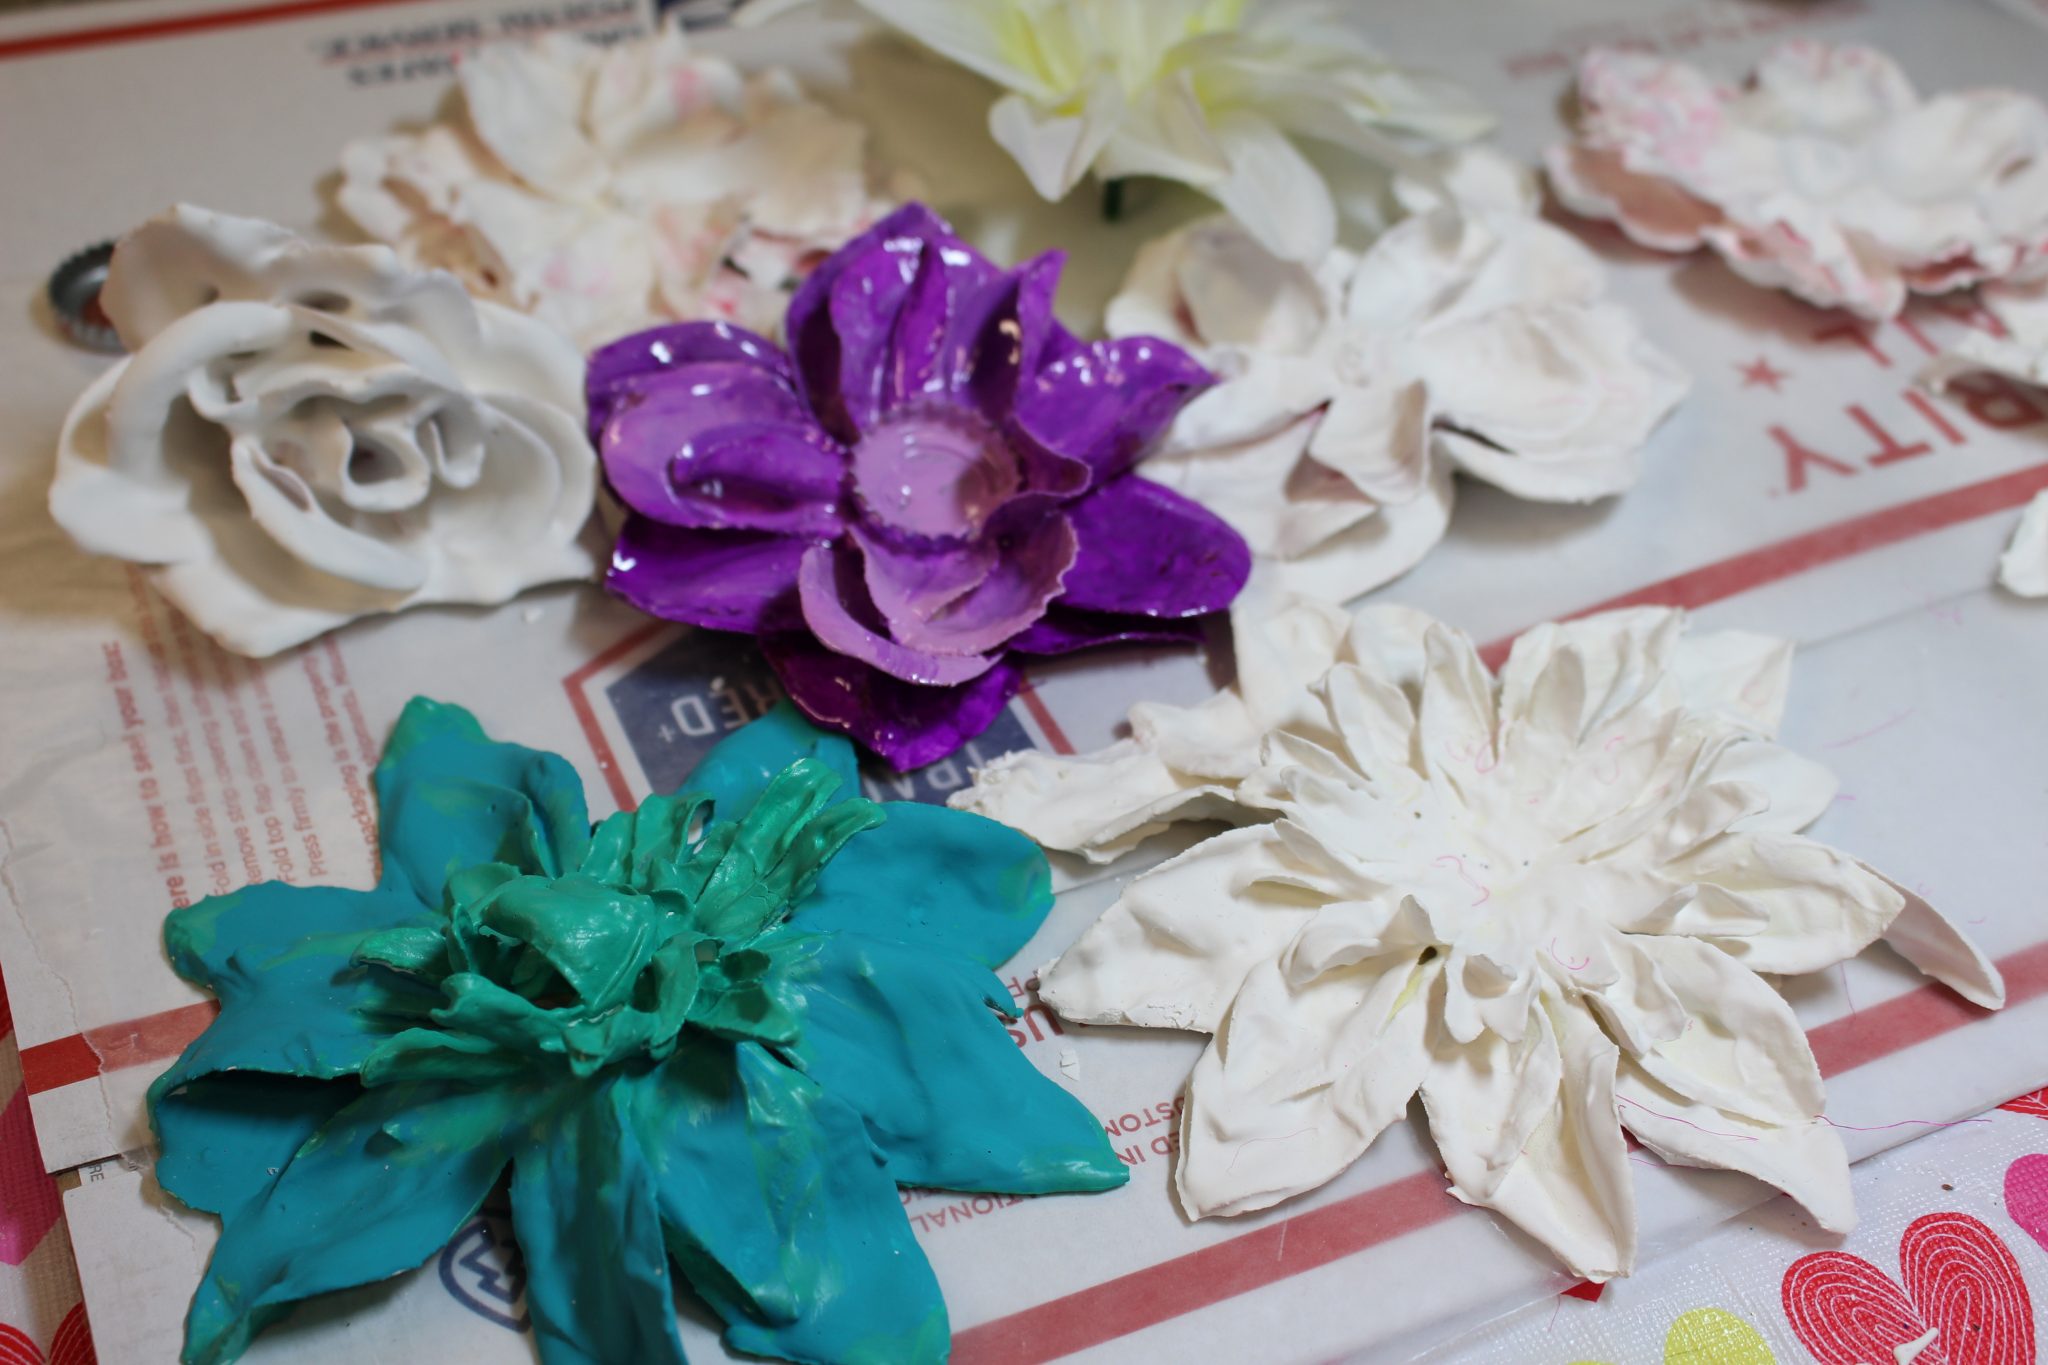
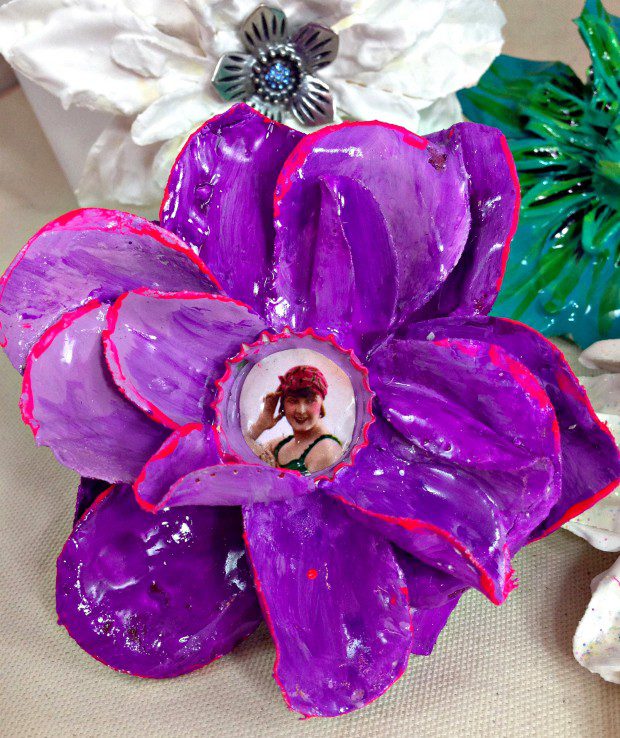
Once you make these, you can leave them blank and save to decorate later or paint and embellish them as you wish. If you need a different kind of crafty idea for a group, this could be a nice alternative to paper crafting or tie-dye. Experiment with all kinds of silk flowers, and you can even try adding color to the plaster as you mix it to get some really unique plaster dipped flowers big and small!
Check out my video for the full tutorial.

LINK: http://youtu.be/SNxIn-TspSE
But here are the tips I really want to stress for making these plaster dipped flowers:
1. The box directions for Plaster of Paris say to use 2 parts plaster to one part water. I found you need a little bit more water, otherwise, the mixture is too dry and clumpy. You may have to dip your flowers twice, but it is worth it to get a cleaner, smoother look.
2. Just use dollar store silk flowers.
3. If you want to glue something in the center of your flowers, make sure to remove the plastic things in between each layer.
4. Work on wax paper.
5. You will have some fails, but that is ok, they are dollar store flowers!
6. Plaster sets in a few minutes – make sure to have everything prepped before you mix.
RELATED: How to make a silk flower curtain!


did you varnish the flowers that you left white to seal the plaster?
I didn’t but I’ll try it next time!
Some of them I did, others I didn’t…
Thank-you for this I need someone to show me
And this is great ❤️????
where did u find the pretty blue center piece plz