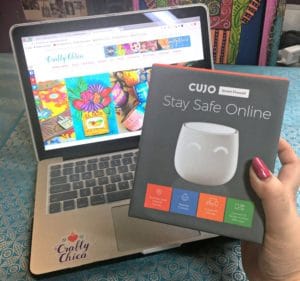
Last month I was invited to try out the new Samsung Galaxy Note 3 and Galaxy Gear Watch for three months. I’m a hardcore Mac girl – Apple all the way. I think that is why I was asked to give it a whirl, and I must admit, I’ve been curious about the Galaxy Note for some time. I’ll have a full review at the end of my program, but for now I’ll share a few things along with a DIY! I couldn’t help but do something crafty along the way.
Here’s what I have to say so far: I really like that it is smaller than an iPad Mini, but bigger than an iPhone, it makes all my social networking use much easier. It’s just the right size and I love the bigger screen. I also like the note taking feature and the stylus that is conveniently housed in the phone. There are a LOT of apps and features that are overwhelming at first. I know they are all awesome, so I’m tackling them one at a time. As of now, I cannot figure out how to turn off the sound of social networking notifications, lol. Stimulation overload! My thing, is I juggle a lot of tasks on and offline, and I can’t afford to spend a lot of time trying to figure things out.
I guess the same could be said for people switching from the Note 3 to an iPhone, right? I’ll get there! I have noticed that every time I use it or post pictures, people always say “Is that the Note 3? I want one!” or “I love mine!”
But what I have figured out, I really like. The watch – well, we are still staring at eachother. I’m going to introduce myself to him soon. In the meantime – people always ask me to share a diy for Android cases, so here we go! I did a decoden cover for my Galaxy Note 3! (I’m taking this baby with me to NYC this weekend and I’m excited to put it to work! and the watch too!)
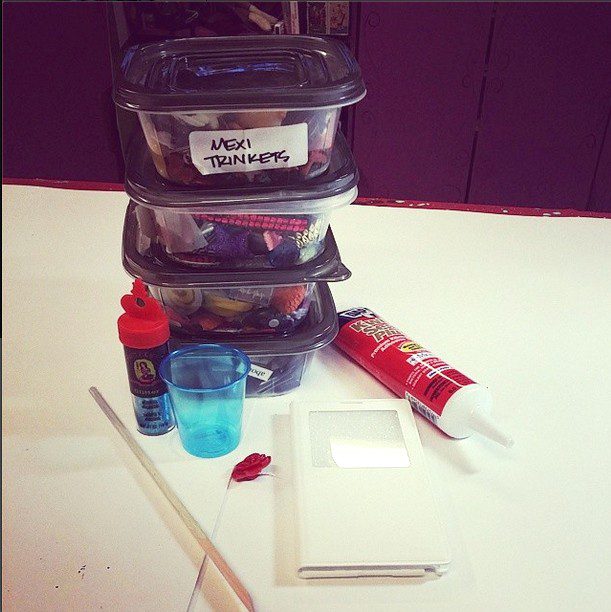
Supplies: Hard case for the Samgsung Galaxy Note 3, clear bathroom silicone, glitter, small objects, Tulip Glam It up Crystals and most important – a bunch of small objects.
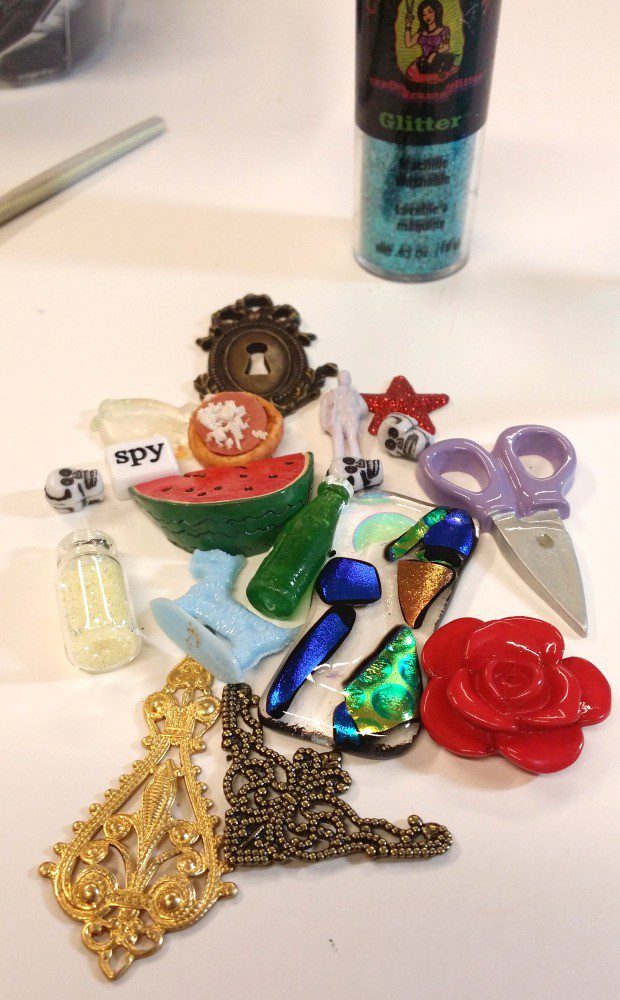
Here is what I chose – knowing I wouldn’t be able to fit all of them. It’s better to have more than enough.

Squeeze some bathroom silicone in a cup and add in the glitter. Stir until mixed, then coat a thick layer on the surface.
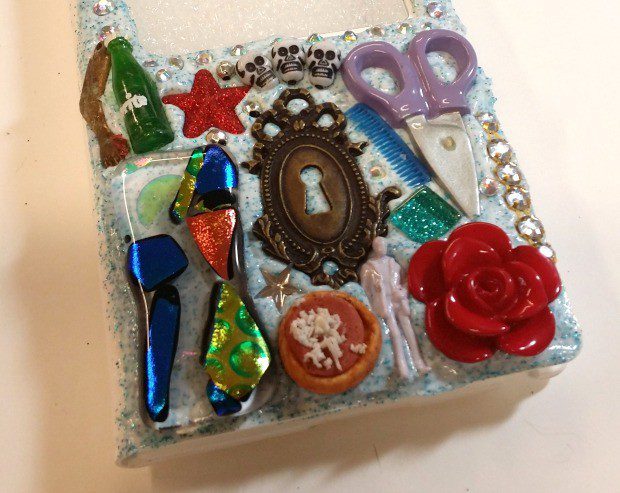
Now, embed your objects! Press them in place. Let dry over night.
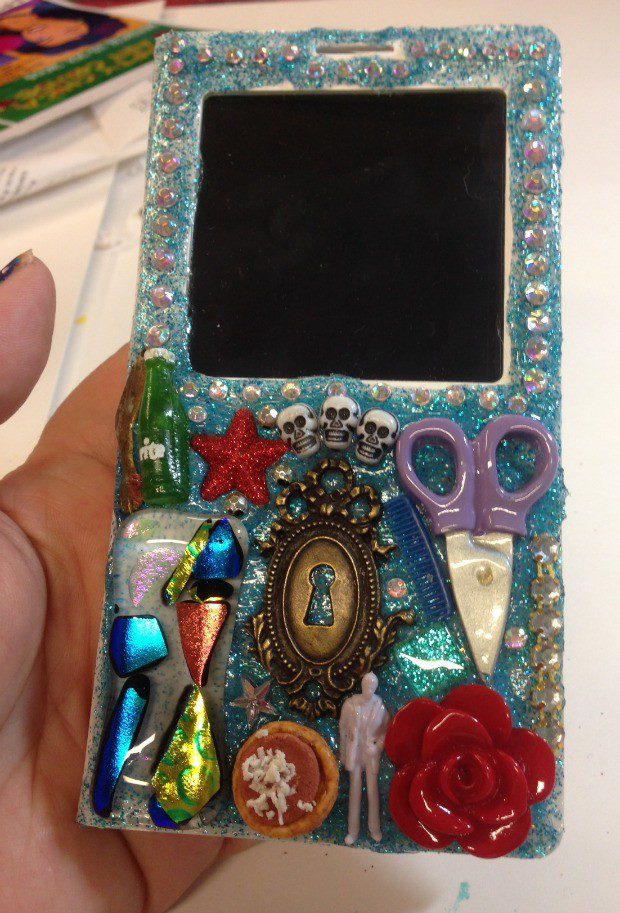
And here you go!