Supplies for how to make zipper bracelets:
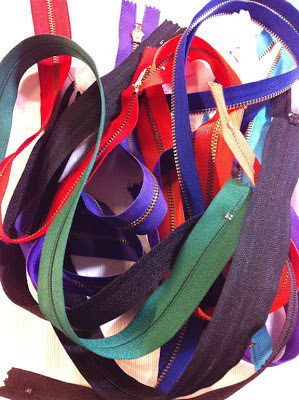
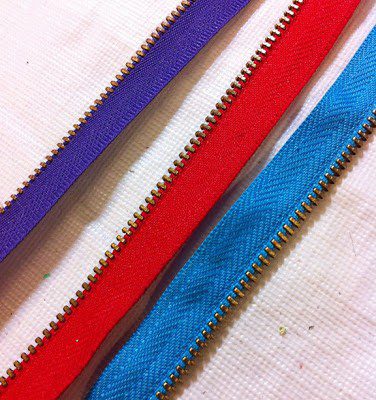
Zippers: Choose zippers in various colors and lengths depending on the size of the bracelet you want. Metal zippers give a more rugged look, while plastic zippers can offer brighter colors and a lighter feel. For kids – go with 5-6″ in length.
Velcro: Get both hook and loop strips. Self-adhesive Velcro strips are easier to work with but sewing Velcro provides a more durable hold.
Scissors: For cutting the zippers and Velcro to size.
Fabric Glue: If you’re using non-adhesive Velcro or if you want extra reinforcement for adhesive Velcro.
Measuring Tape: To measure the length of the zipper and Velcro to fit your wrist.
Decorative Elements: Puffy paint, gems, flat-back crystals, trims.
No-sew craft: putting them together!
Design the look:
Do you want your zipper bracelet to actually unzip? Then make the bracelet with the whole zipper.
Measure and Cut the Zipper:
Use the measuring tape to measure your wrist and decide how long you want the bracelet to be. Cut the zipper to your desired length, leaving a little extra for overlap where the Velcro will be attached. If your zipper has metal ends, you might need to use jewelry pliers to remove them carefully.
Prepare the Velcro:
Cut small pieces of both the hook and loop Velcro strips to fit the ends of your zipper. The Velcro pieces should be small enough to not wrap all the way around the wrist but large enough to provide a secure hold.
Attach the Velcro:
If you’re using self-adhesive Velcro, simply peel off the backing and stick each piece to the ends of the zipper, on opposite sides (hook on one end of the zipper and loop on the other end, on the opposite side). If you’re using non-adhesive Velcro or want a more durable bracelet, sew the Velcro pieces in place using the needle and thread.
Reinforce with glue:
If you want to ensure a more secure attachment, or if you’re working with non-adhesive Velcro, use a dab of fabric glue under the Velcro pieces for extra hold. Allow the glue to dry as instructed on the packaging.
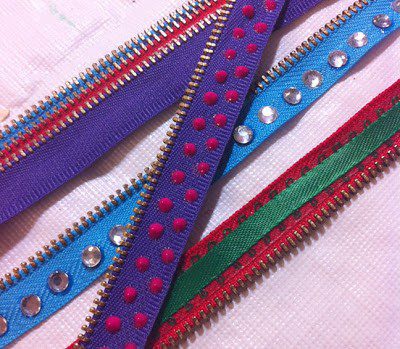
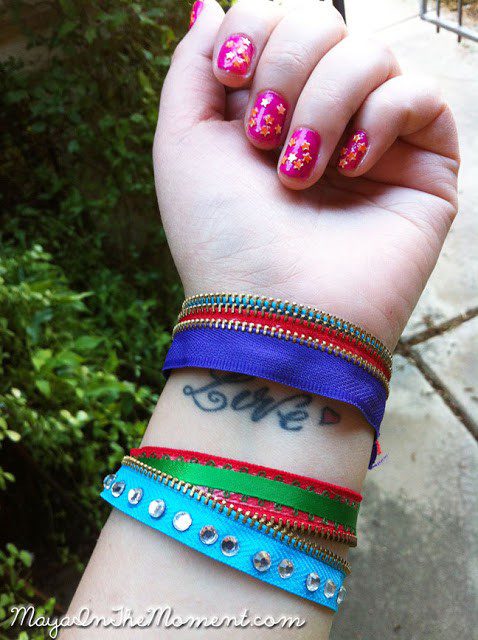
Decorate:
Use Puffy Paint or flat back crystals to embellish the final look. You can even glue on some trim!
RELATED: