Check out my IKEA RÅSKOG Utility Cart makeover! My friend Emily bought one for me for our new workspace at Mucho Más Art Studio and as usual, I couldn’t leave well enough alone. I think crafting, painting, and embellishing are my methods for destressing and burning off nervous anxiety. We had just moved into the space and started setting up and loading things in and before I made ANYTHING I decided I absolutely needed to decorate this cart!
Procraftination? I think so!
I figured I’d turn it into a tutorial for all of you! Yay! This RÅSKOG Utility Cart is 24.99 if you buy it directly from IKEA, but I think you have to pay for shipping. Or you can buy it from Amazon for $43, but I think it includes free shipping. I bet you can find them on eBay, Craig’s List, and I think Michaels even sells a version!
What I like about this cart is it’s easy to put together and you can slide the trays to whatever level you want. So think about what you’ll be using your cart for before you assemble it. Tall paint bottles, or paper, etc.

PAINTING TIPS
The first thing I noticed when I started was the surface is really slick, you’ll need a primer under your design.
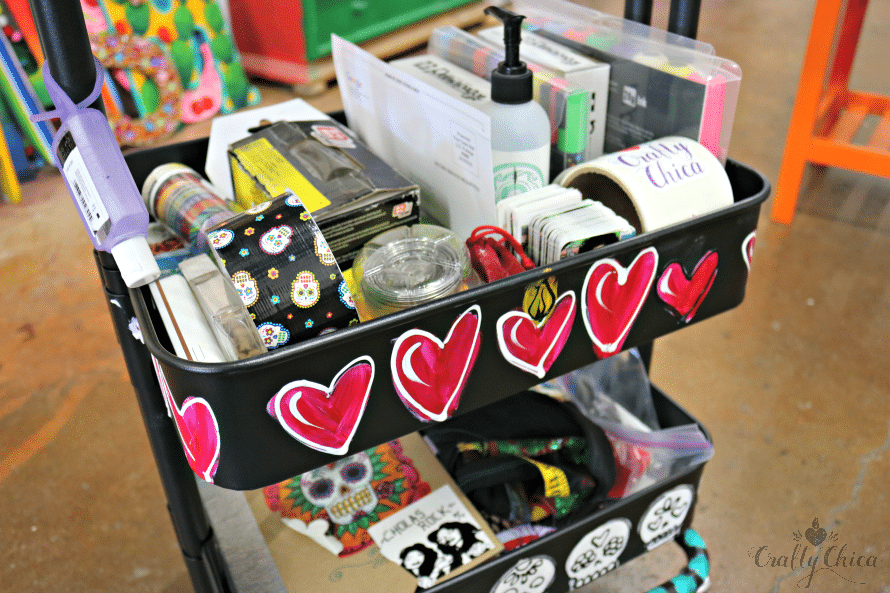
I started with white mixed with a little bit of red to make the hearts.

I let the base coat dry completely, then went over it with red.
RELATED: Mucho Más Art Studio, T-Shirts, Exhibit, Mugs, Freebies!
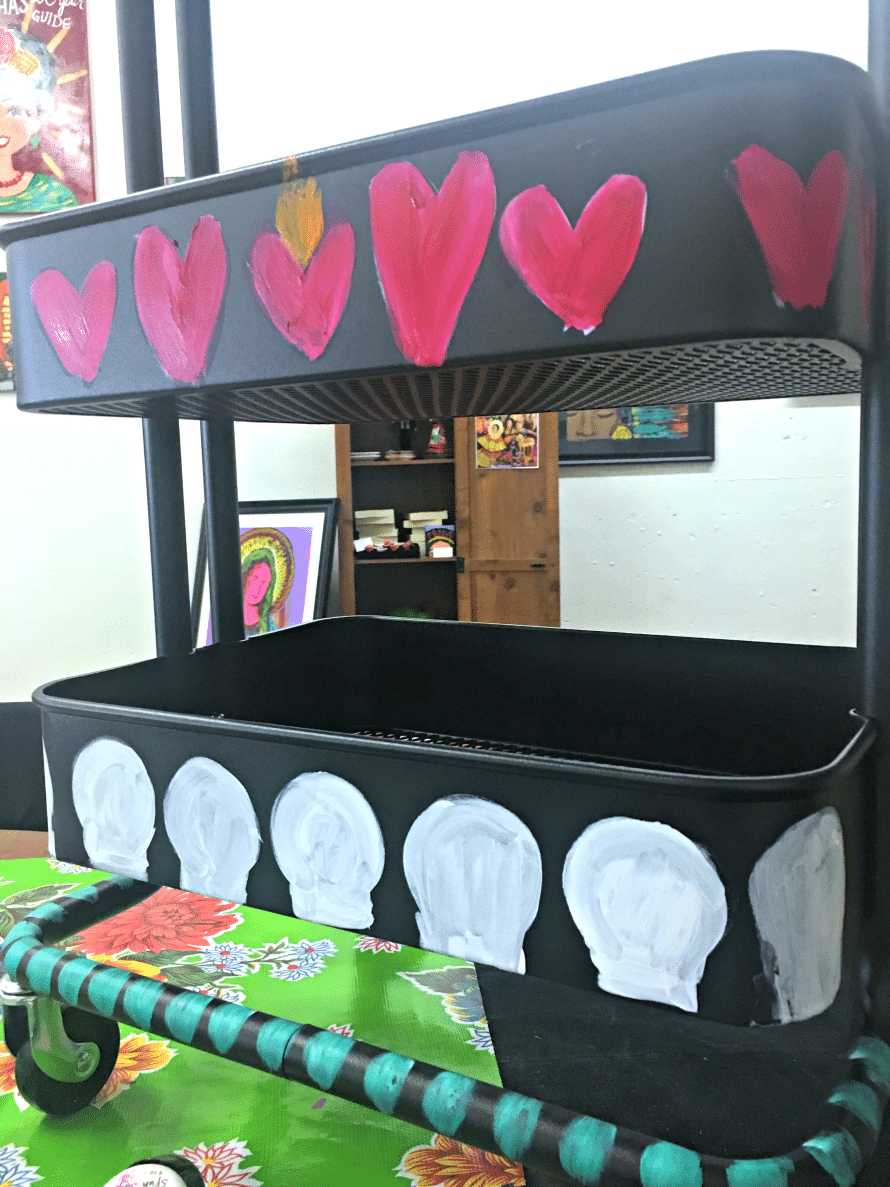
OUTLINE TO MAKE IT POP!
At this point, I needed to hurry and finish because my sister had just arrived to help me paint the shelves for our displays, so to move things along, I pulled out my trusty puffy paint to outline and make the designs pop.
I used white to outline the red hearts. Except I left one with a black outline to remind myself that it’s ok, often good, to have something unexpected. Gotta make room for that!
And black for the skulls! No color, just outline. The teal stripes, I painted white under those as well.

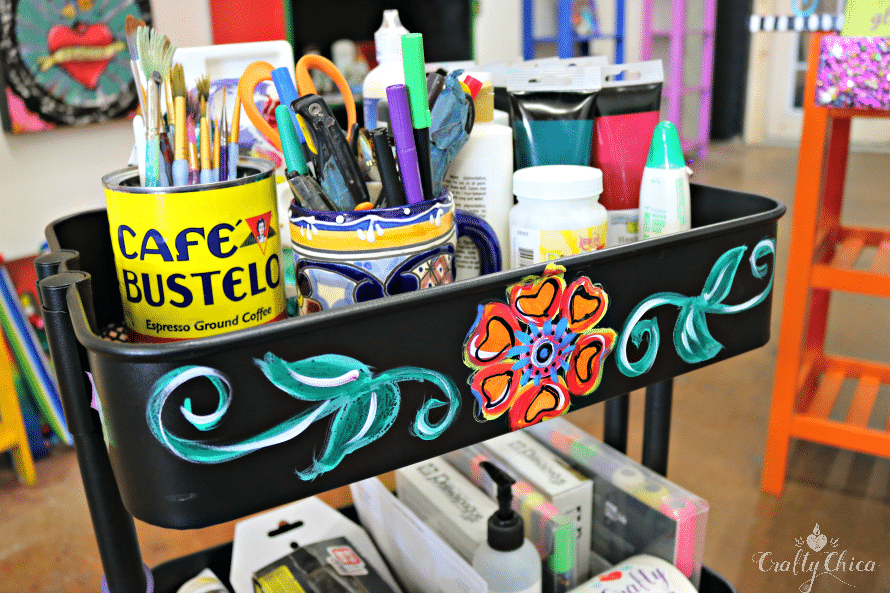
The top tray is fancy because it’s the first one I painted. You know how that goes, right? A project starts off all involved and you have to speed it up and the bottom doesn’t get as much love?
But look at the leaves – you can see I didn’t prime under those. But it’s all good!
SHOW IT OFF!
I love how thisIKEA RÅSKOG utility cart makeover turned out. I feel like it will give me good energy as I work on new pieces!
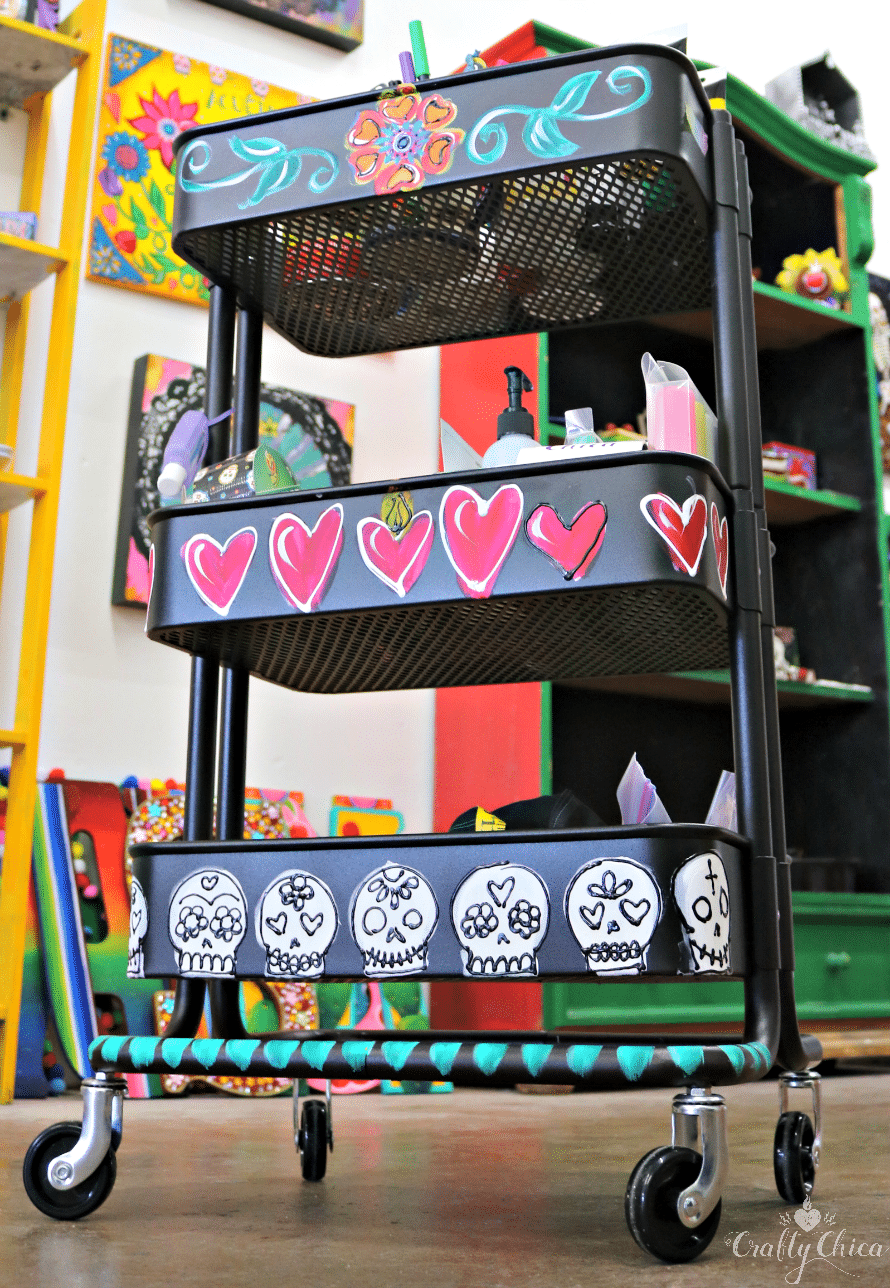
Check it out, the trays are even vented!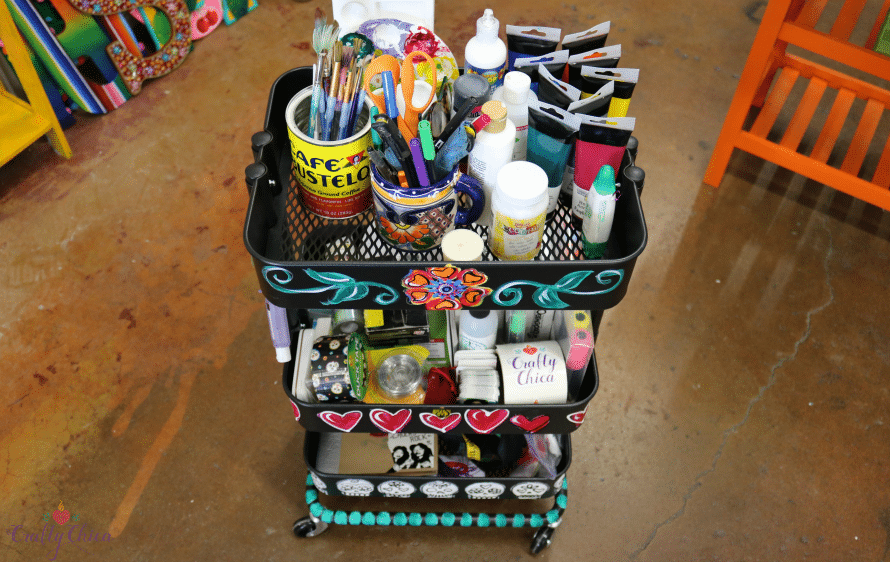
Here is its new home, right to the left of my work table! 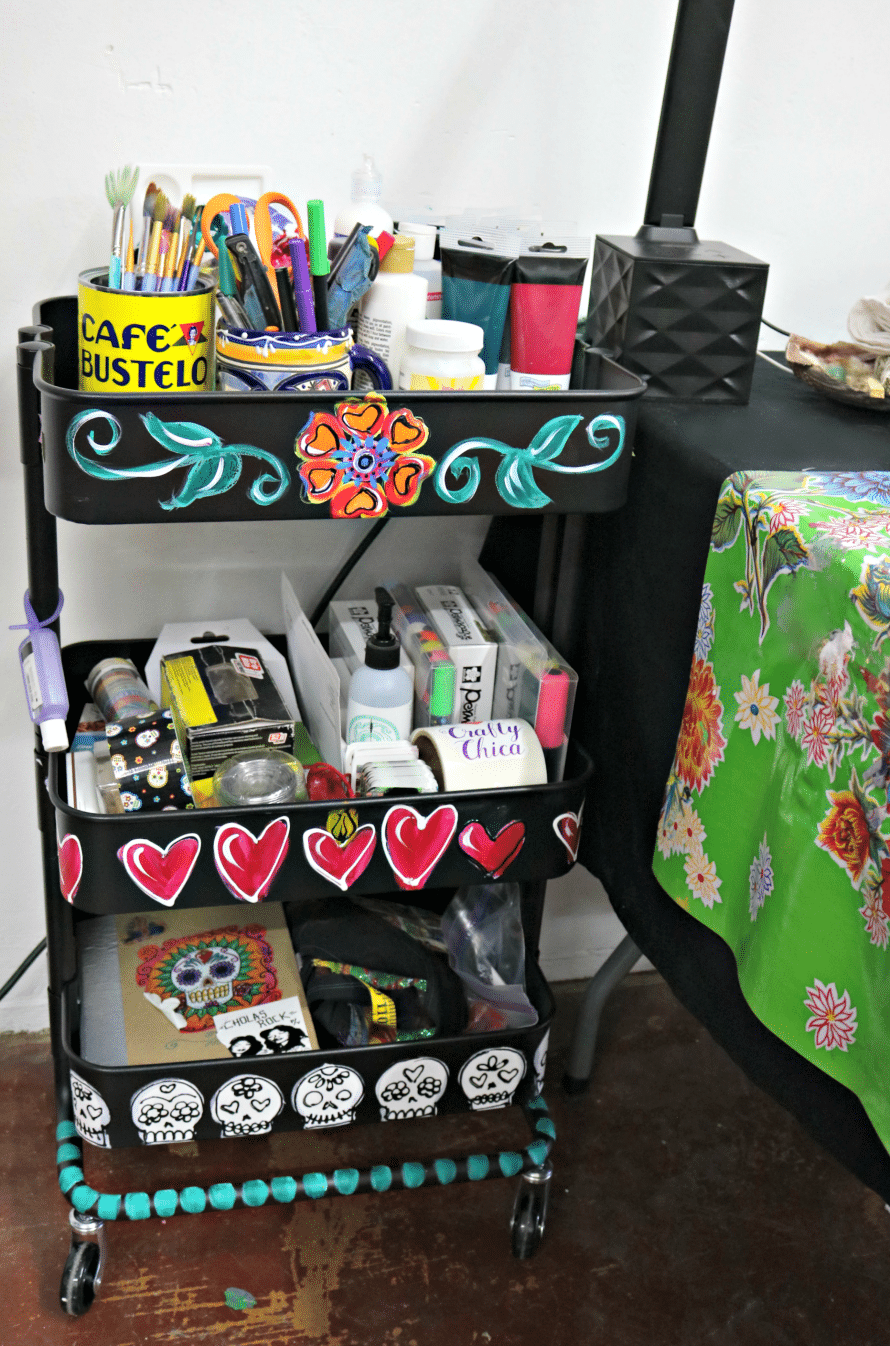
By the way…after I proudly finished this cart, we set up the drop cloth to paint the shelves and I started acting goofy with my sister.
Yup, I twirled about, showing off my dance moves, thinking I was all slick and cool – and my foot caught on the drop cloth and I FELL.
I fell forward to my knees and one guess what broke my fall.
MY NEW RÅSKOG CART!!!!
It felt like slow-mo, I saw my hand reach out to grab it for stability and all I could think was: “Please let the puffy paint be dry so it doesn’t smear!”
My second thought: “Please don’t let me hurt myself!”
I ended up with huge bruises on the front of my calves, but everything else checked out just fine. So this little cart definitely gets two thumbs up from me.

Not only does it hold my supplies, but it also broke my fall!
Thanks for reading about my IKEA RÅSKOG Utility Cart makeover (and my fall)! I have more tutorials coming soon from the space. I’ve been making things non-stop and I’m excited to share them, as well as the process!