I have a funny story to go with this wood burned sign DIY. I know, I always have a story! I’m going to be teaching a wood burning class at Michaels Stores headquarters this week (eeek!) and have been creating projects to up my skill set. I thought for Father’s Day I’d teach you guys how to make…
A wood burned portrait of your dad!
I couldn’t contain myself, I thought this was the ultimate clever idea to honor Dad. I excitedly blurted it out to Patrick and he didn’t return the response I expected.
“No,” he said. “Nooooo….”
What the heck does he know, I thought. So what if he is a dad! “Why not,” I asked, offended.
He chuckled and then looked me square in the eyes. “Trust me, no dad wants a wood burned portrait of himself. What is he supposed to do with it? What will he say? ‘Wow. Thank you, family, for this awesome wood burned portrait of…me.”
He kinda had a point I guess. “So what can I wood burn that a dad will like?”
“I don’t know,” he said. “Give him something sexy, like a pinup girl or a cool car,” he suggested as if it were a no-brainer.
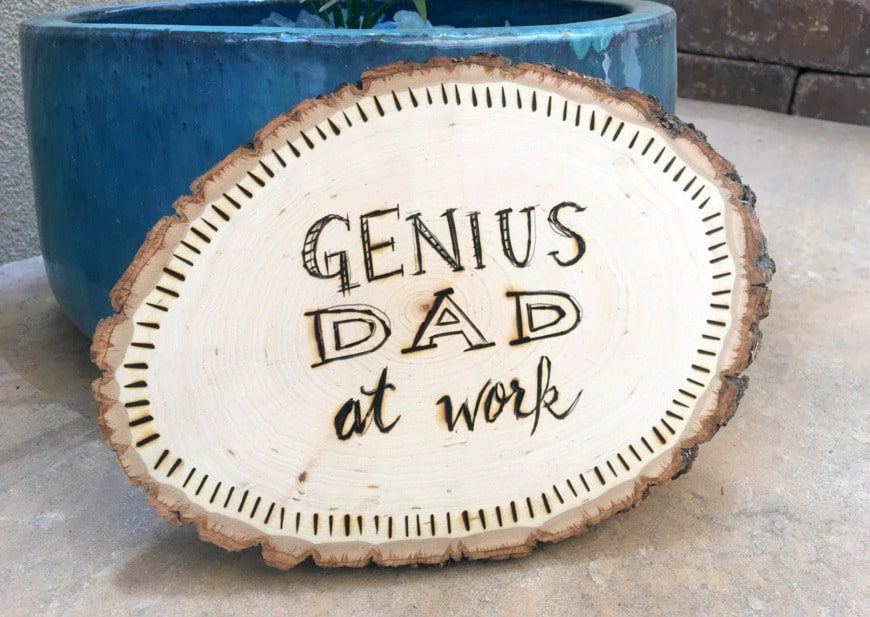
I didn’t draw a pin-up girl, I should have, but I chickened out because of my lack of drawing skills. I didn’t want a wonky pin-up girl, right? So I went the safe route and made a “Genius at work” sign for your dad to hang in his office, the garage, his work room, etc.
BUT if you do want to draw a pin-up girl, there are likely line drawing templates online you can use. Aw, heck, I’m gonna try the pin-up girl. But for now here is this project. Stay tuned, because I’ll post the pin-up girl when I’m done with her. Challenge accepted!
Supplies for the wood burned sign DIY:
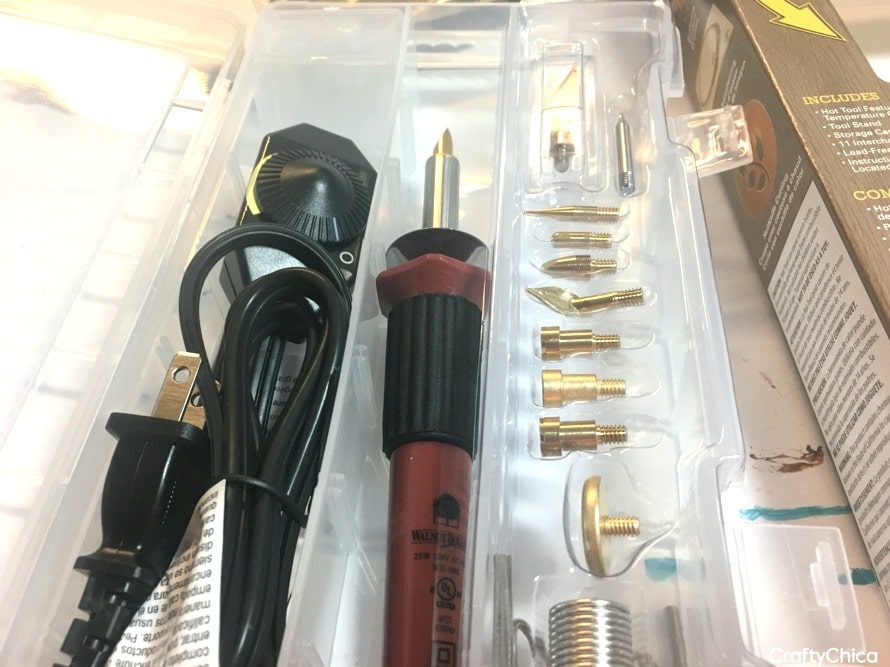
Here’s what I used:
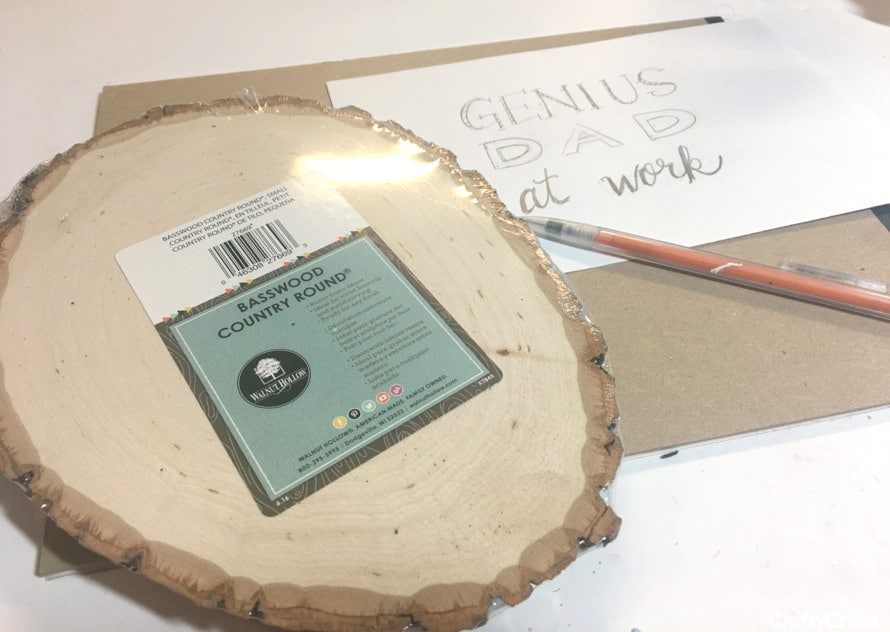
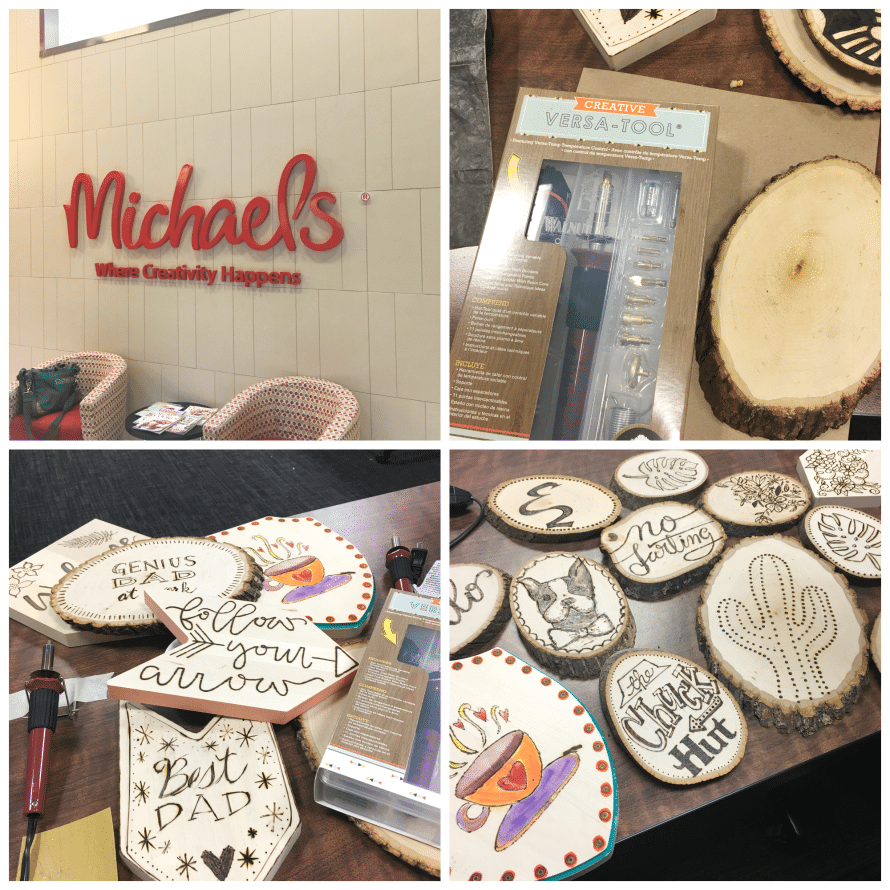
Walnut Hollow Birch Rounds For Home Decor, Accentpiece, Weddings, & Art & Craft Projects (3 Pack)![]()
Walnut Hollow Graphite Transfer Paper, 12 by 24-Inch![]()
Template or pencil to draw your design on the plaque
Mask
Directions for the wood burned sign DIY:
Prep your design, get the wood and turn on the tool. Use tape to anchor down the tool, it gets really hot and you don’t want it to fall over!
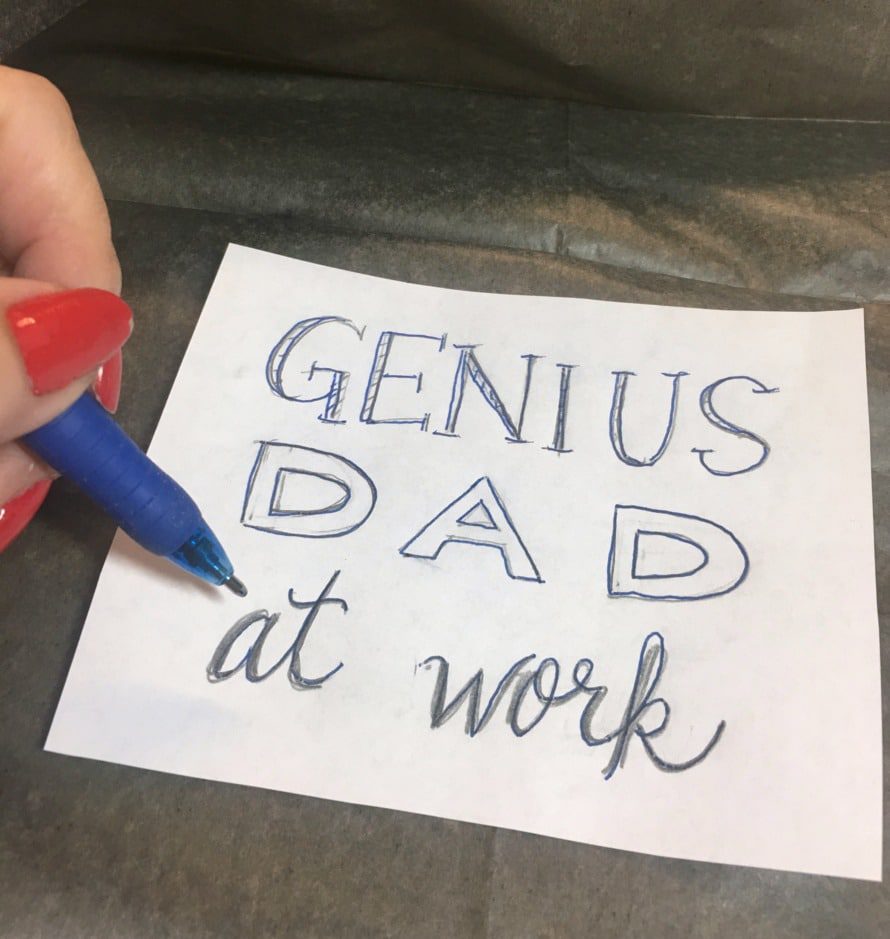
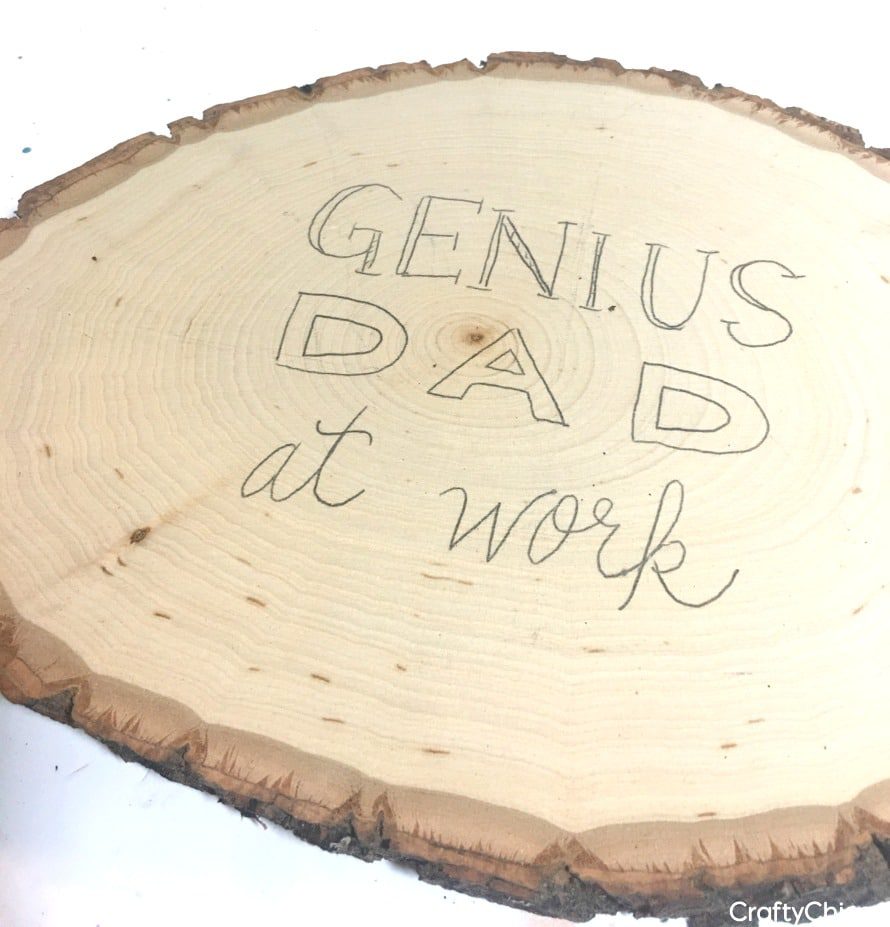
Place the graphite paper face down on the wood and your design on top. Lightly trace over the design. Don’t trace too hard because you just want light lines on the wood. And there you go, it transferred!
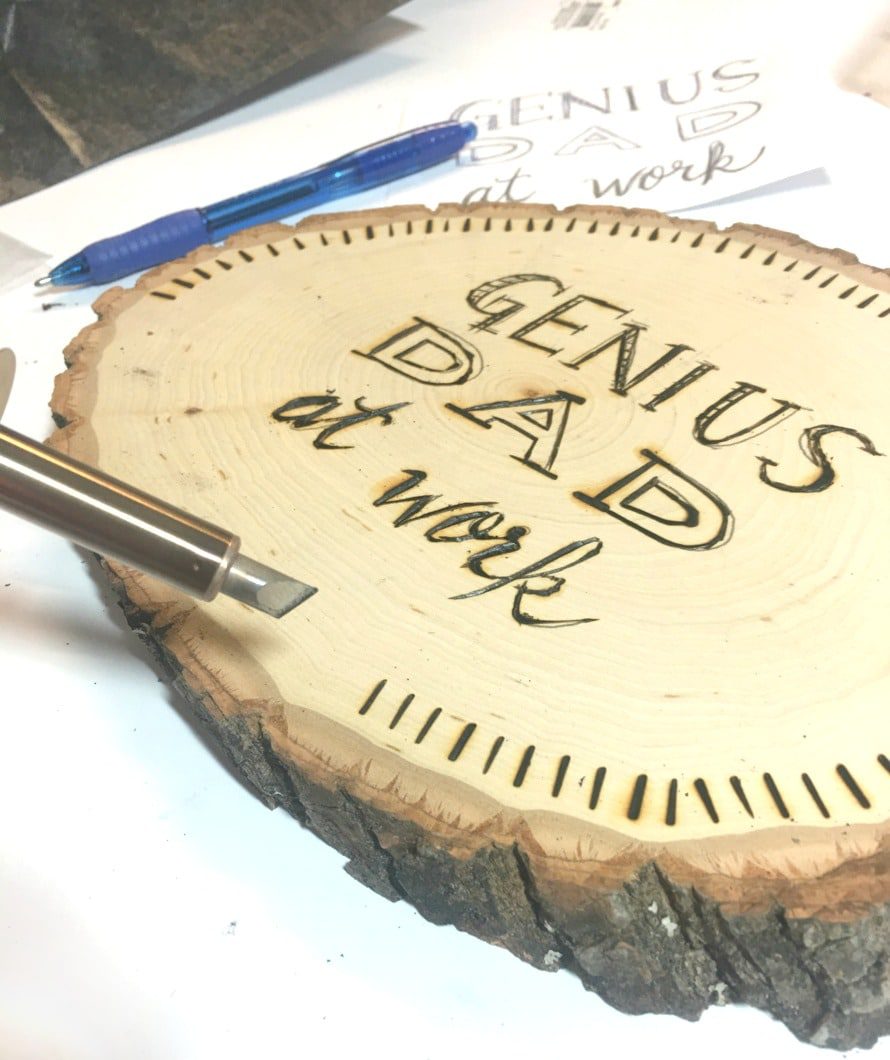
With your heated tool and wearing a mask so you won’t inhale the smoke from the tool, carefully go over the lines. I used the basic tip that is slightly wedged. Continue on until you get the look you want. Go slowly, and concentrate on staying on the line. It’s a little tricky at first because of the wood’s texture but stick with it. I like to turn the wood as I burn, as opposed to moving the tool. I feel like it gives me more control.
Here’s what it looks like done! I just need to erase the graphite lines, again the lighter you trace the better.
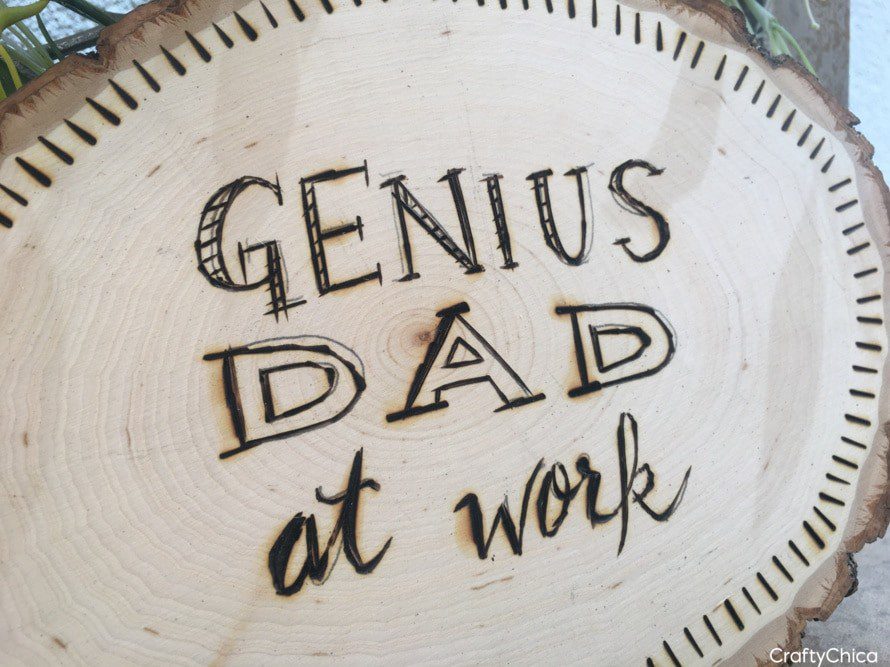
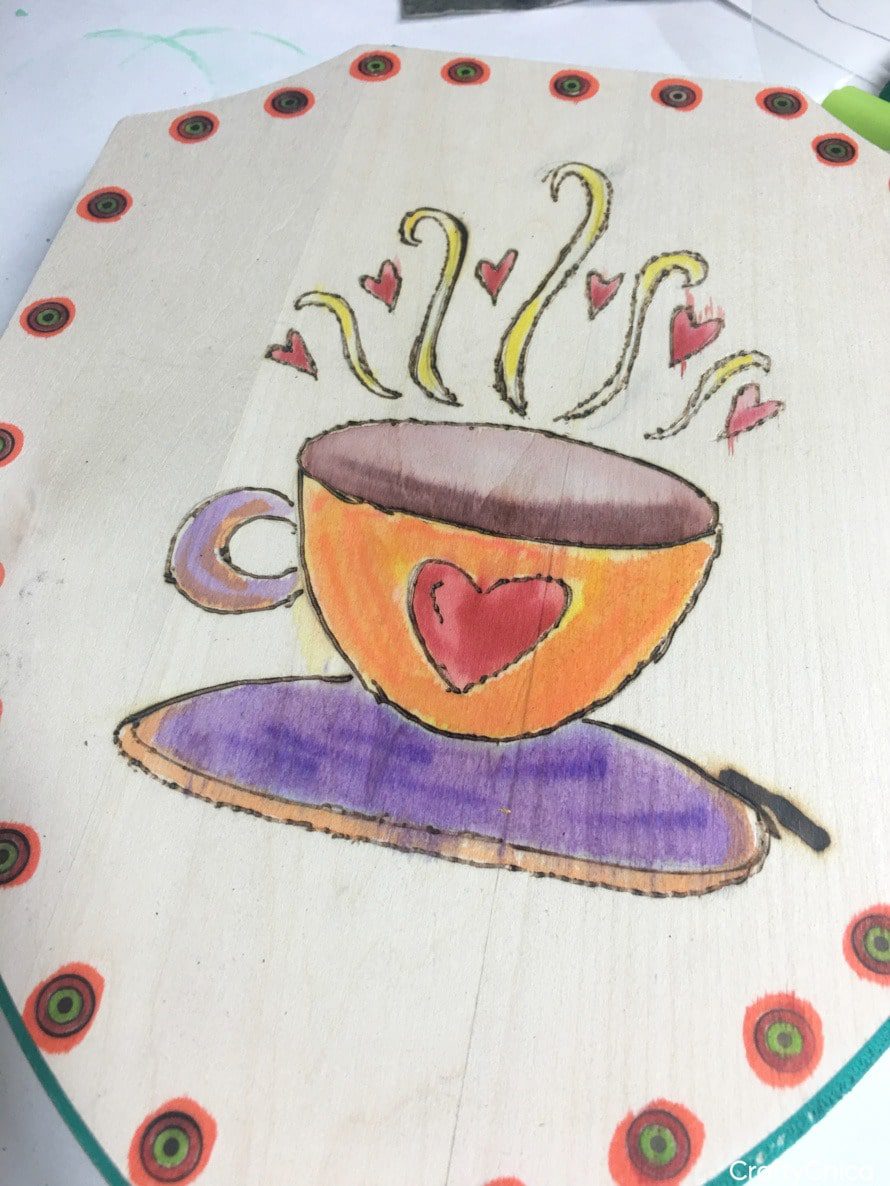
I used markers on this one. I drew on the wood, just a line and then dipped a clean liner brush in water and went over the ink on the wood. Be careful not to draw too close to the line, or the marker will bleed once the water hits it.
Thanks for checking out my project. Okay, now to go work on that pin-up girl!
UPDATE: I taught this class at Michaels Stores headquarters!
https://www.instagram.com/p/BVaOWUBAA7r/?taken-by=craftychica
https://www.instagram.com/p/BVayvLThv1M/?taken-by=joshtalbotart
https://www.instagram.com/p/BVXt7p6BJkb/?taken-by=alcoholinkart
And for your comedy enjoyment, here is Maya’s latest video!