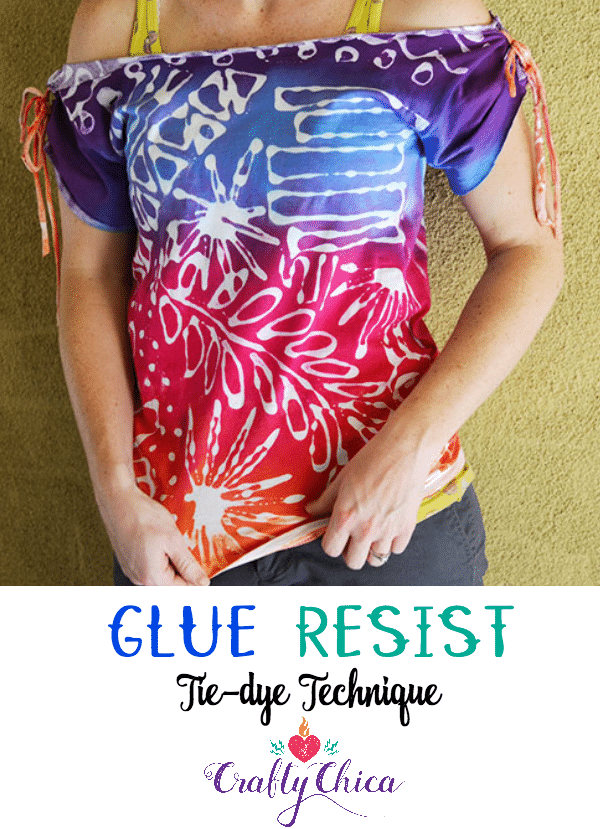
This glue resist tie dye technique is amazing – the results come out so cool! It’s like a super easy and crafty version of a batik-dye.
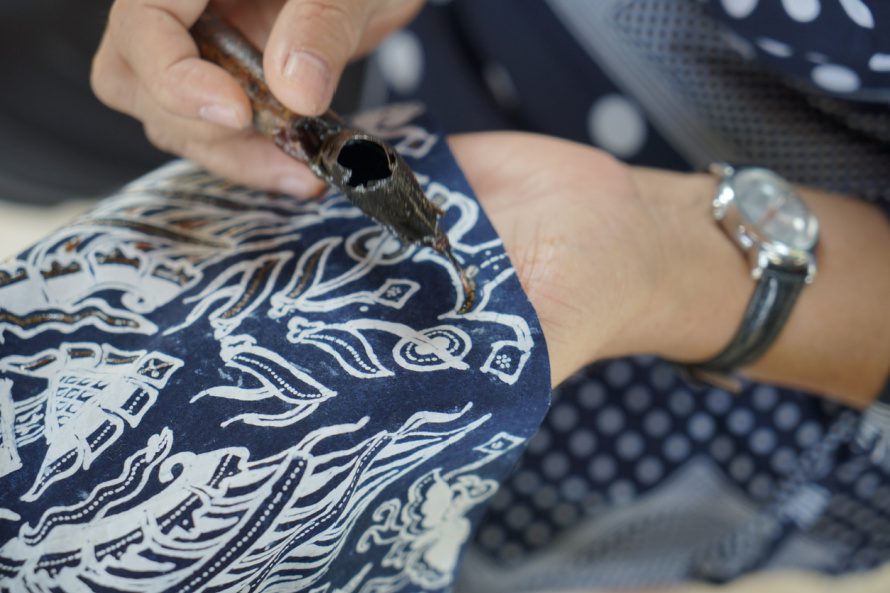
The image below is of batik, a wax resist process originating in Indonesia. After the wax is applied, the dye is added tot he fabric. It is usually applied to a large piece of white cotton fabric.
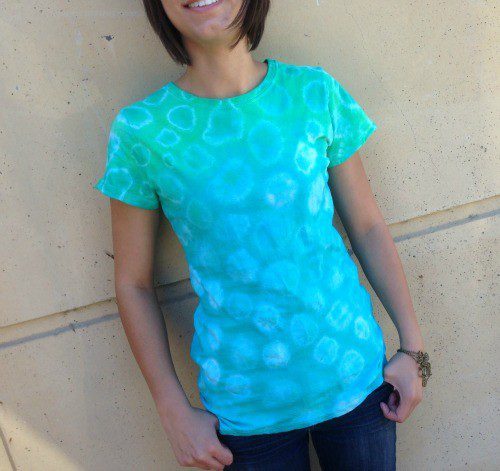
For this glue resist tie dye technique project, we are starting with a white cotton T-shirt.

Prep!
If you are new to this, start with a basic T-shirt, even a bandanna. Wash the shirt to remove any fabric softener (for an old shirt) or sizing if the shirt is brand new.
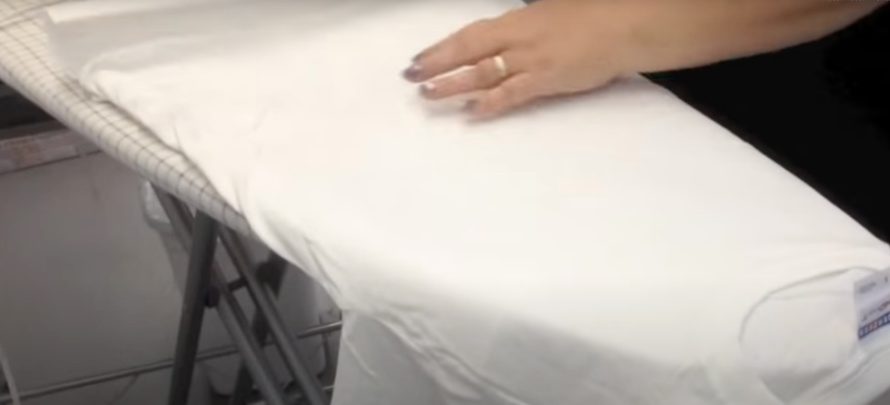
Insert a piece of freezer paper inside the shirt and iron the top of the shirt. This will protect the glue from bonding with the back layer and will keep the shirt stiff so you can easily apply your design.
Create a sketch of the pattern you want to draw on the shirt. Keep in mind the glue is kind of thick when it comes out of the bottle and even beads up a bit. Make sure your pattern is loose and easy to follow for the best results.
Once you have your pattern, draw it on the shirt using a piece of yellow chalk.
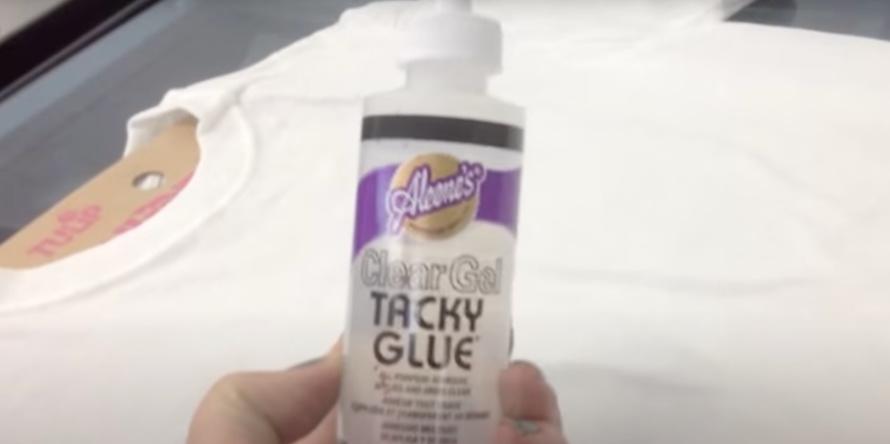
Take a bottle of clear gel glue and draw over your chalk. It’ll wash off, promise!
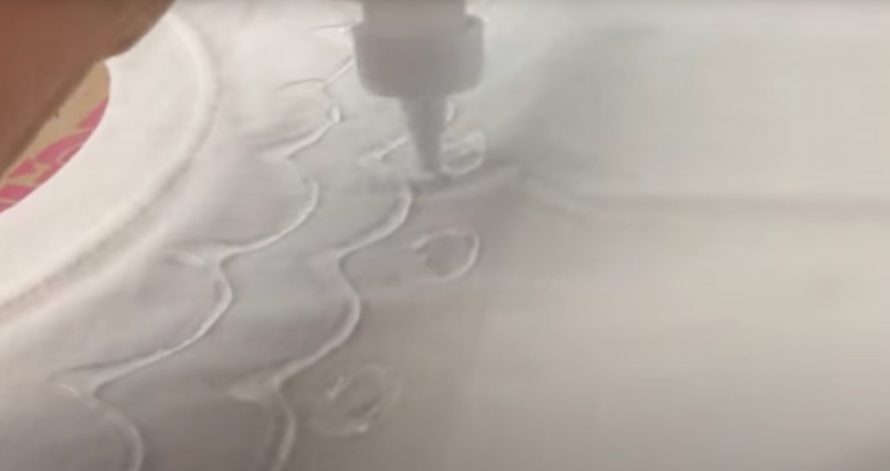
Once you have your design finished, let it dry thoroughly! Tap the glue areas to make sure they are hard.
Dye your shirt
For this application, I suggest using spray bottles. You want even coverage of the dye over the front of the shirt. Cover the whole shirt with the dye!
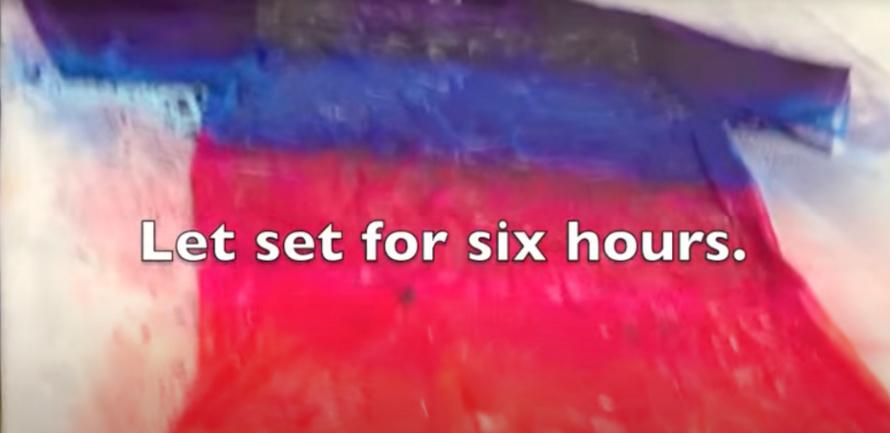
Let the shirt sit for six hours.
When it is completely dry, carefully remove the paper from the inside and rinse the shirt in the sink using a sprayer. Keep spraying until the glue softens and comes off the shirt.
Wash in the machine by itself and then your shirt is done!

Tulip One-Step 12 Color Tie-Dye Kit Super Big![]() – this is the kit I used for this project.
– this is the kit I used for this project.
![]()

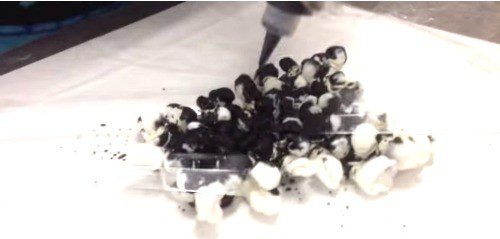
RELATED: Popcorn dye technique
Thank you for checking out my glue resist dye technique. I hope this works for you and you have lots of fun with this idea!

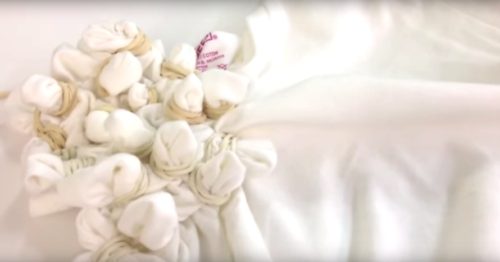
Here is another idea – popcorn style dye technique!

SUPPLIES:
Washed white shirt
Rubberbands, lots of them
Tulip One-Step Fabric Dye
Plastic gloves
Table covering


did you spray the back or does if soak thru from the front (from the spraying)?
I did the back as well!
Hi I love this! Can you use regular white glue or does it have to be a gel type?
Hi Angie! Gel glue works best!
How well does the clear gel glue work with those.
I like it the best!