
We’ve owned our house for 17 years and I swear, every time we walk by our front porch, we say “We need to do something with this area! We need to turn it into a chat corner.” The vision came easy because it’s the perfect outdoor gathering space. It’s covered, and pretty much clutter-free. But no, we just walked by and dreamed. Now that I’m an official Lowe’s Creative Influencer (YAY!!), we can dedicate time and energy to giving some love to spaces like this. First on the agenda – the DIY Patio Chat Corner. Essentially it’s a mini-makeover for an area of your patio. You don’t have to revamp the entire area, just a corner. Make this a cozy patio chat corner for you and your friends or kids to hang out. I converted this entire space for about $300. The biggest cost was the concrete square floor. If you already have cement, you can skip that part!
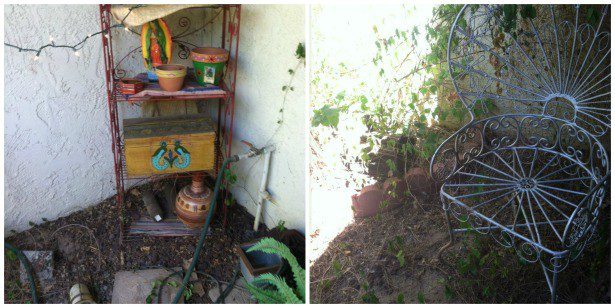
Here are some awkward “before” pictures of our front patio. We had a chair there, but the space sure wasn’t chat-friendly! Honestly, we never snapped photos because there was nothing worthy here.
Supplies – all purchased from Lowe’s:
– Silica sand
– Rubber mallet, push broom
– Garden Treasures 23.15-in L Steel/Iron Patio Bench
– Large wood table base
– Spray paint
NOTE: I already had an Adirondack chair that I painted, but Lowe’s has several versions you can buy and paint and seal!
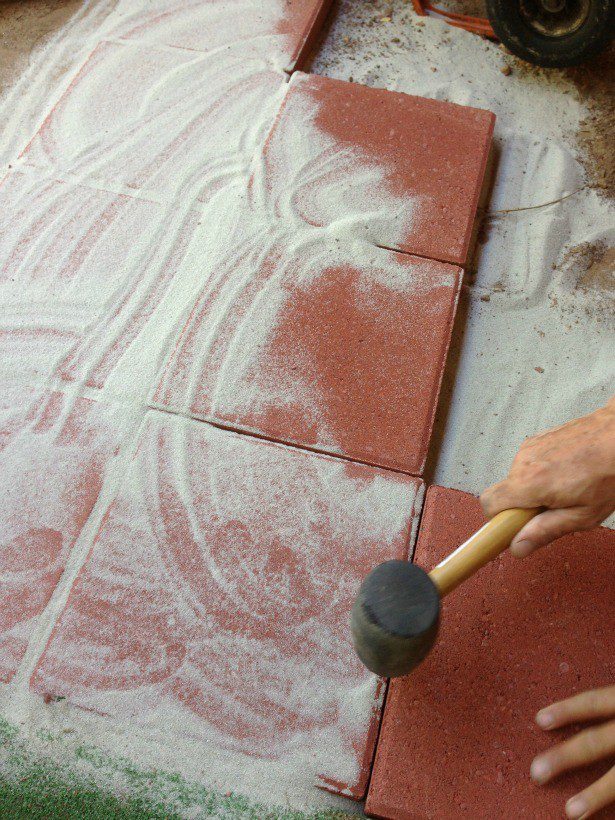
1. Clear the area, smooth out the dirt, and use concrete squares to create a hearty foundation. This is really what gave this space a whole new look! To start, measure how large your space is and buy the squares (Lowe’s can also deliver for you!). Pour out a smooth layer of the sand and level it as much as you can. Set the tiles on the sand in an even row and use the mallet to tap them tightly together so they all line up. This takes a little bit of extra work, but it’s worth it because it will look very polished and professional!

2. Keep sweeping the sand over the squares so the grooves are filled nice and tight.

3. Once it’s done, sweep away the excess sand. You can also wet the entire area so the sand will firm up in the grooves.
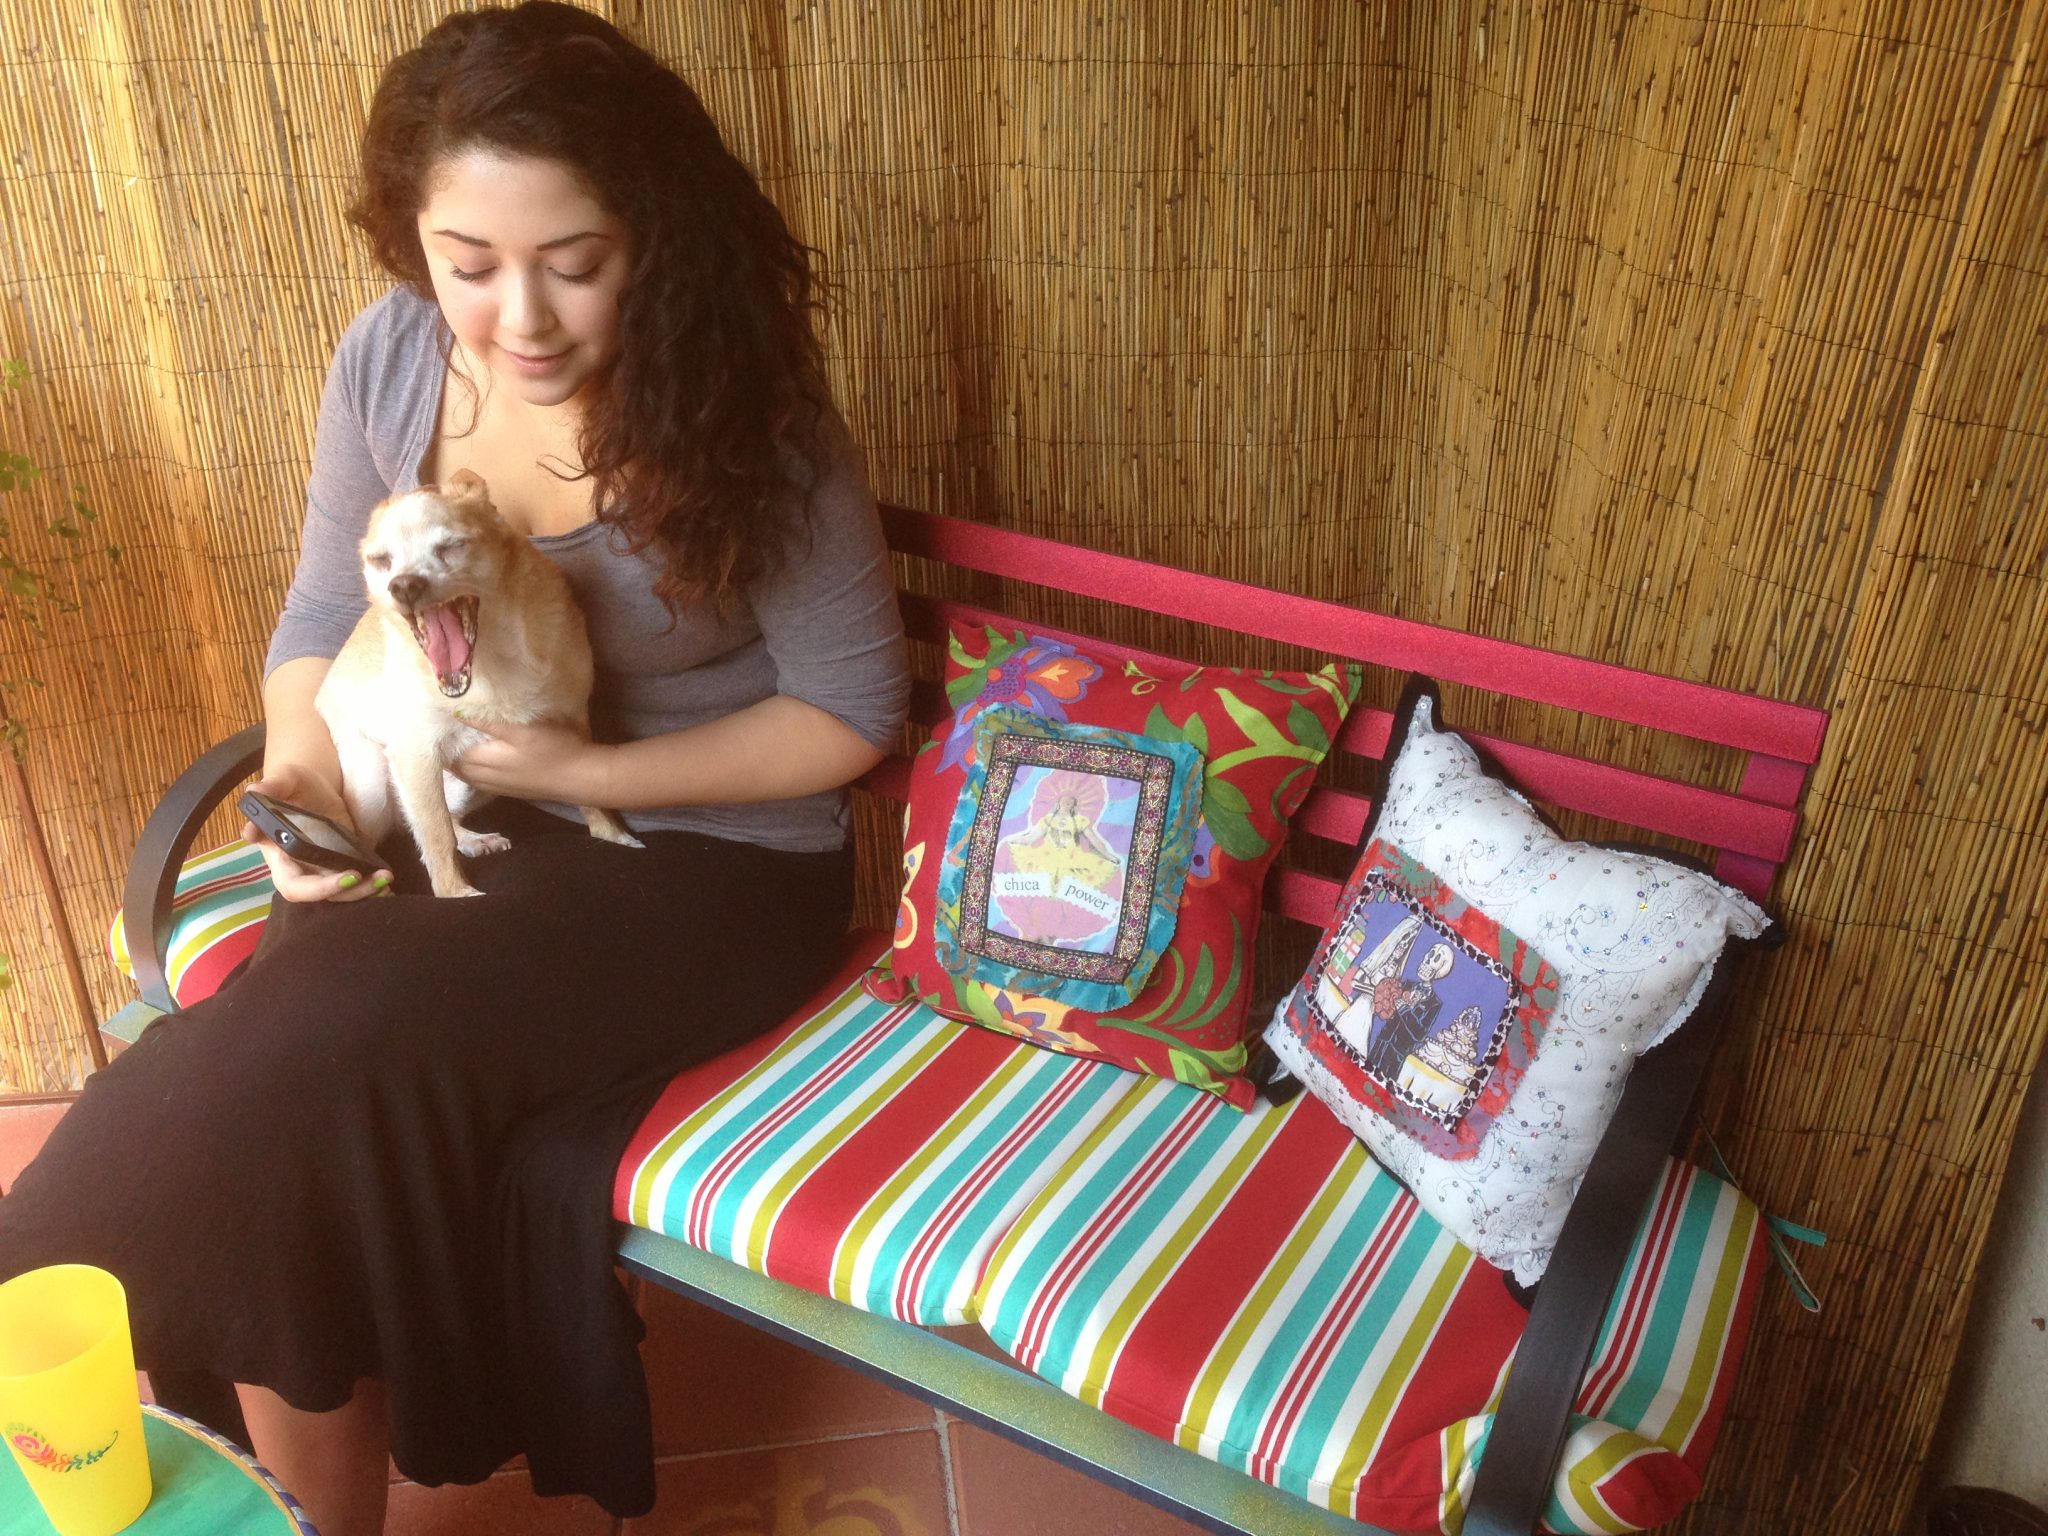
4. Next, we needed to brighten up the metal bench. I used red and green spray paint and added some colorful cushions. We also set up the reed fence. The bench and the fence are my faves. They give the space warmth and personality.
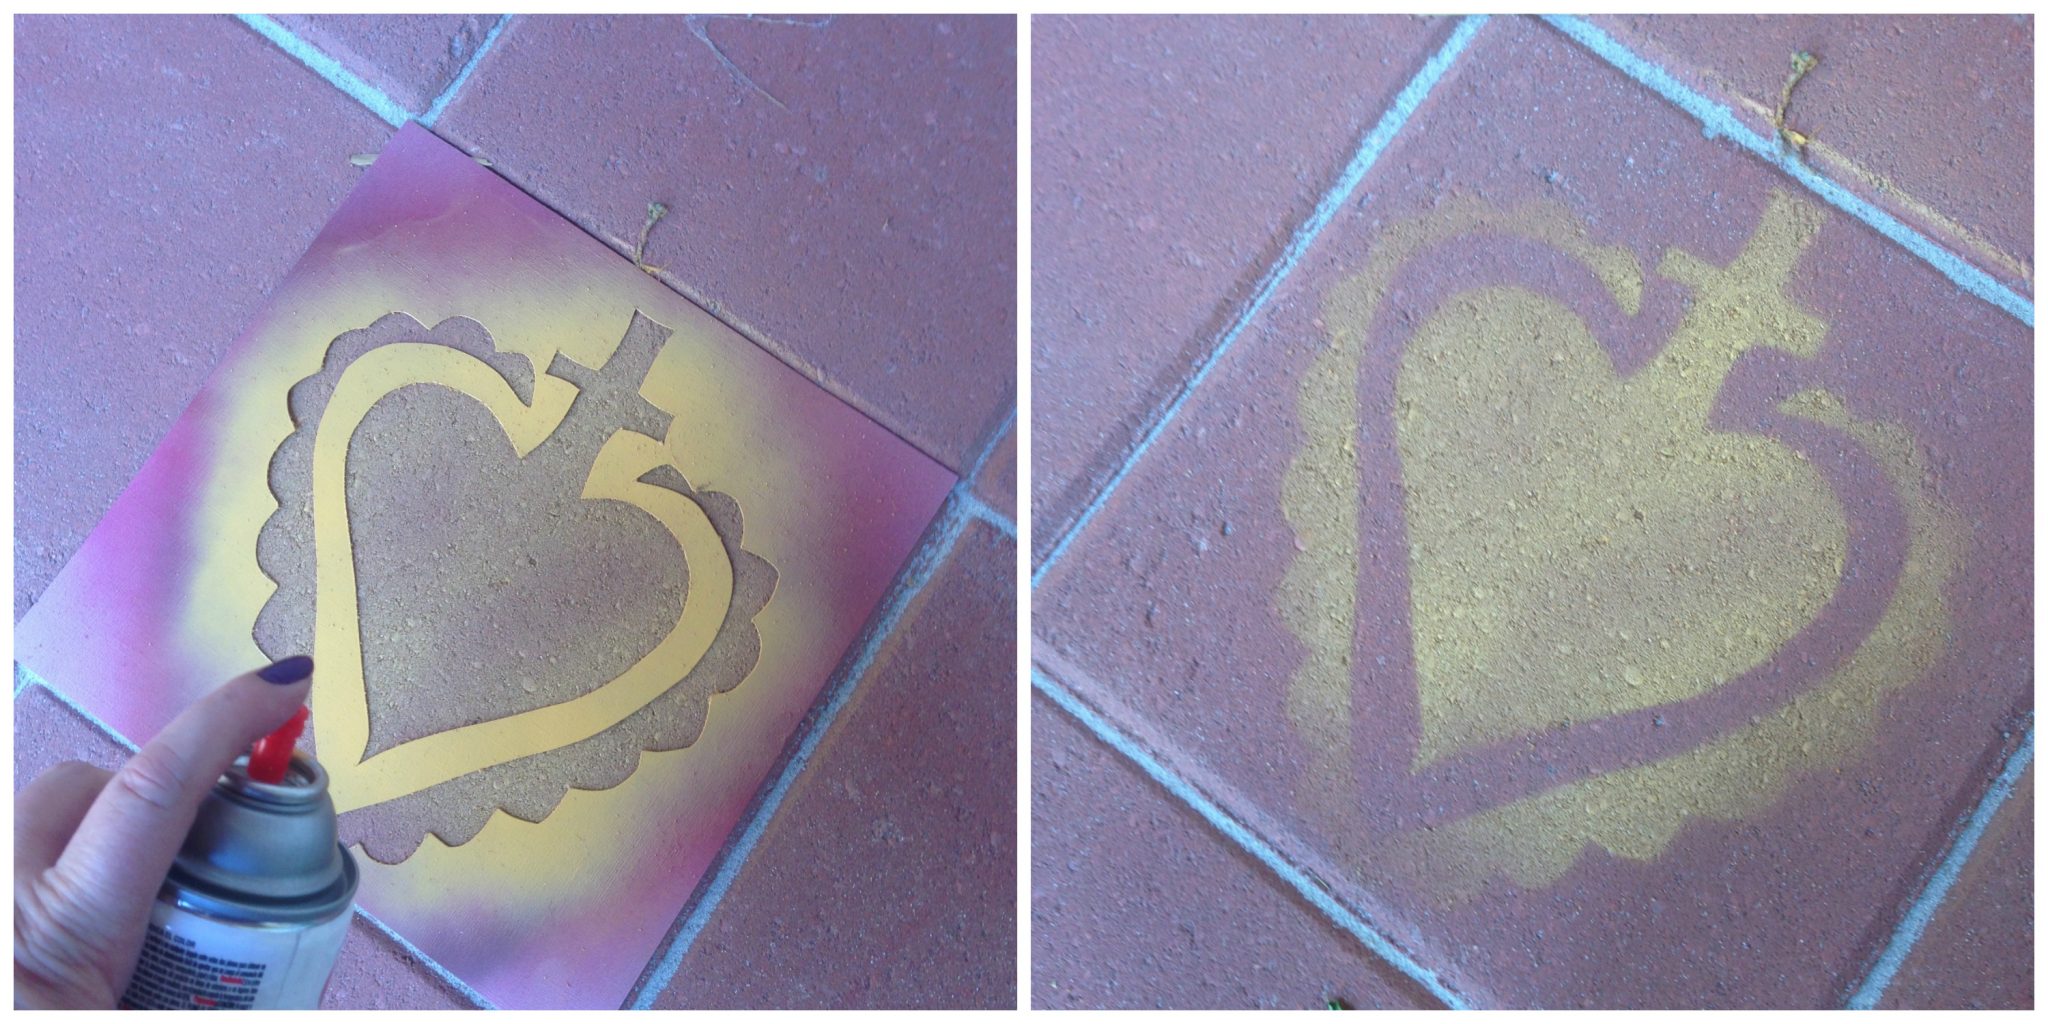
5. Speaking of personality…after we put up the fence and added the table (separate project coming soon!), I felt like the concrete squares needed some “pop.” I used one of my hand cut stencils and spray paint to add random designs. Maybe later I’ll add more, but for right now, yellow worked perfectly.
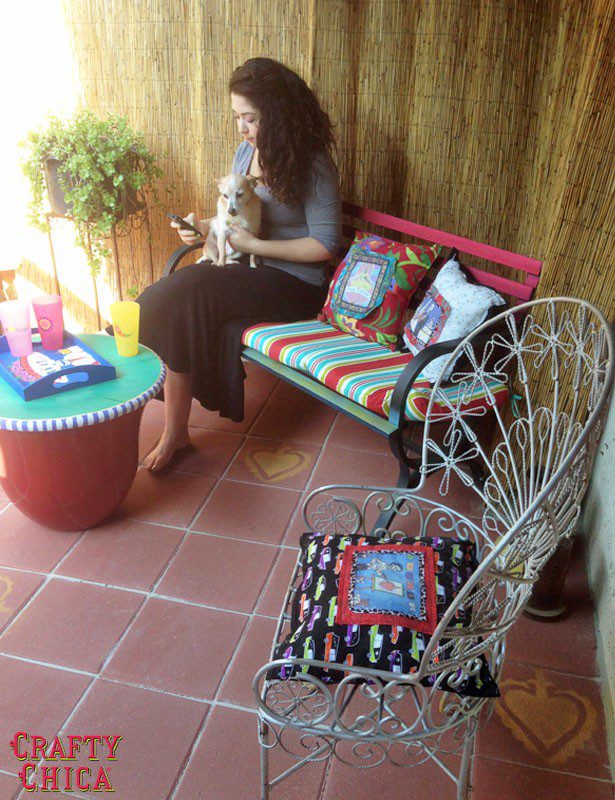
6. Fill in with accessories and other furniture pieces. I pulled two chairs I had in other areas and they fit perfect. I also used some pillows that I made recently!
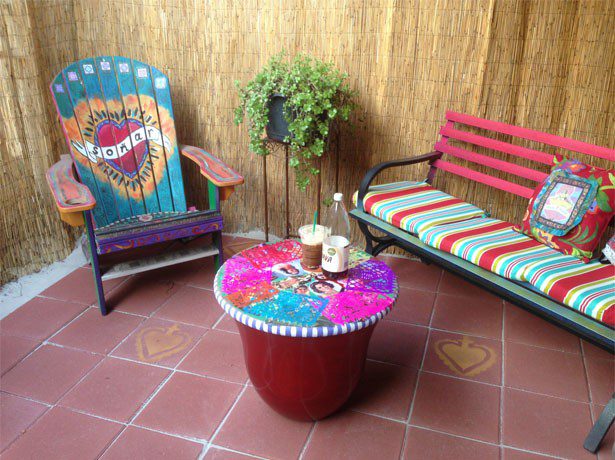
The result is a fun, summery patio chat center that is fresh, cool, and has a touch of Latin-style!
![]()
See more awesome DIY ideas at Lowe’s Creative Ideas!
You can also follow Lowe’s on Facebook, Instagram, Pinterest and sign up for the Creative Ideas magazine and app!
Also – I suggest following them on the Vine app, they have brilliant six-second DIY videos – you can see them on the Lowe’s Tumblr!
This post was brought to you by the Lowe’s Creative Ideas Network! I’m now a Creative Influencers team member – that means you’ll see original Crafty Chica Lowes-themed projects like this on my blog every month! Visit the Lowe’s Creative Ideas Blog to see all the projects from the other bloggers! As a part of the LCI Network, I received Lowe’s gift cards to pay for these projects.


where can i purchase the stencils?